

|
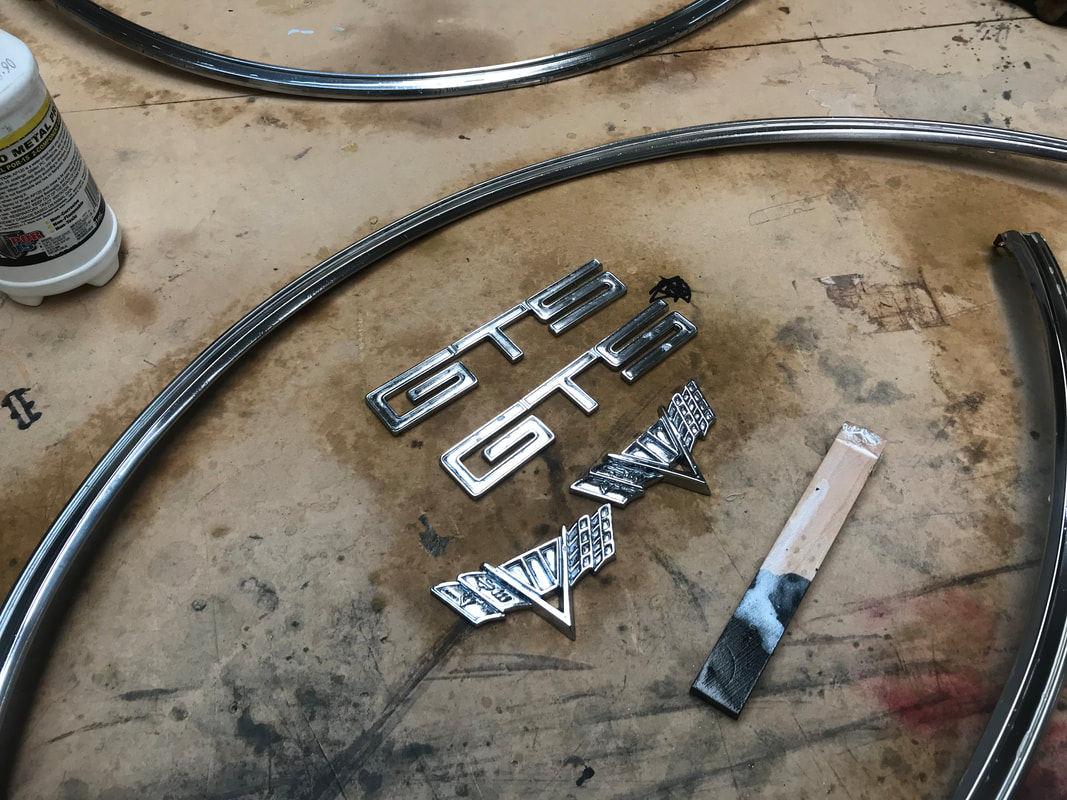
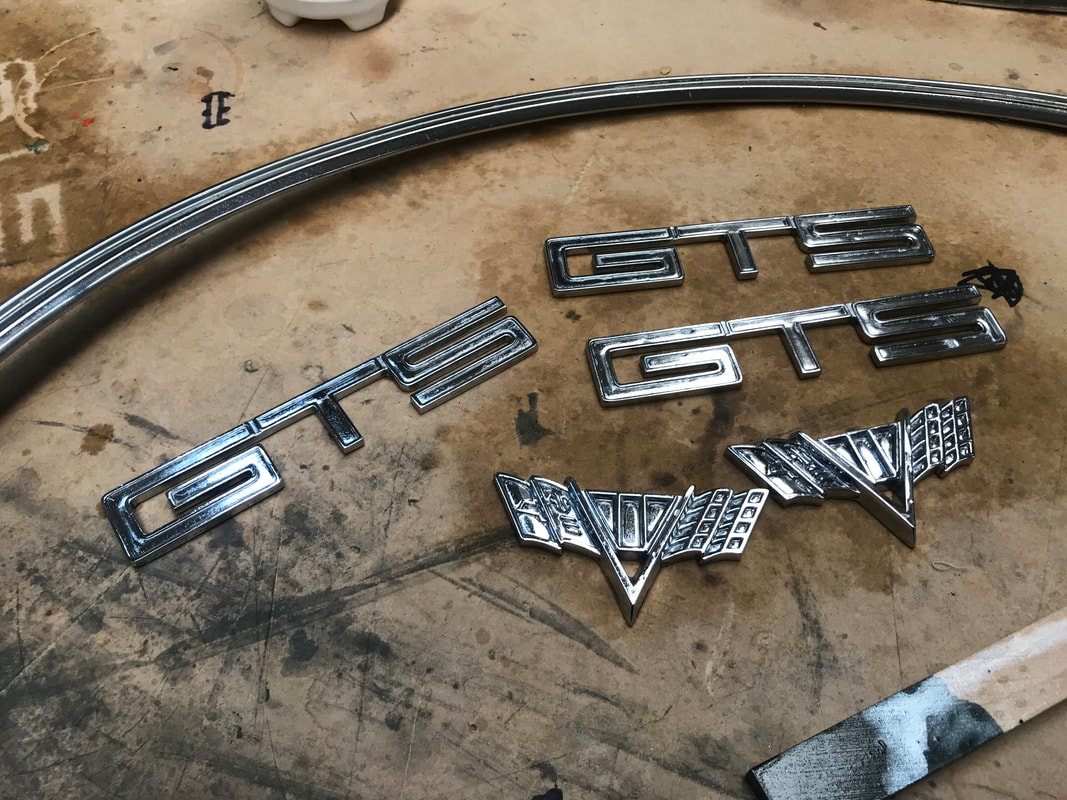
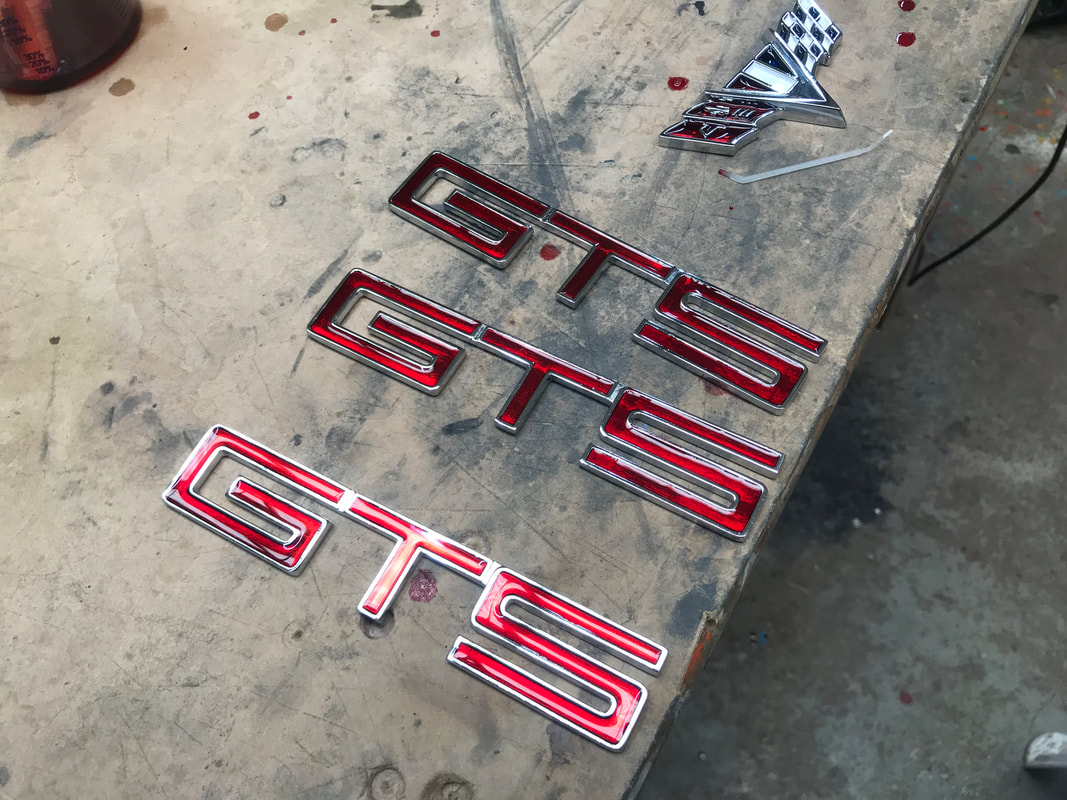
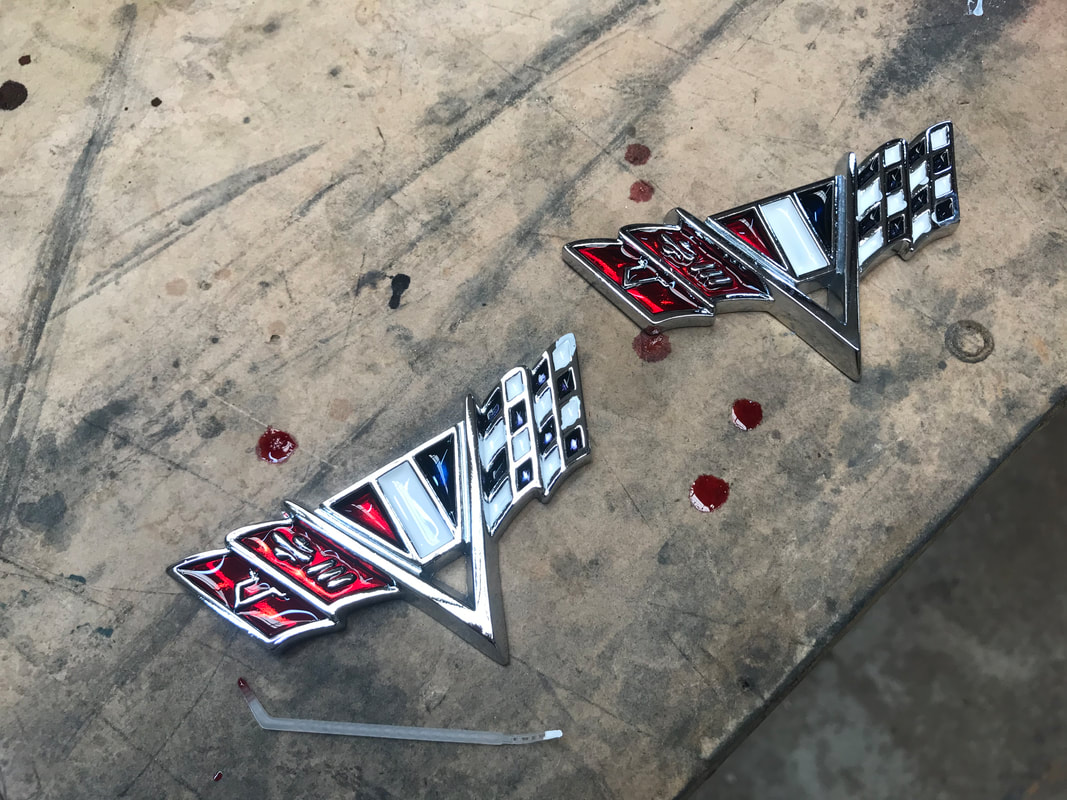
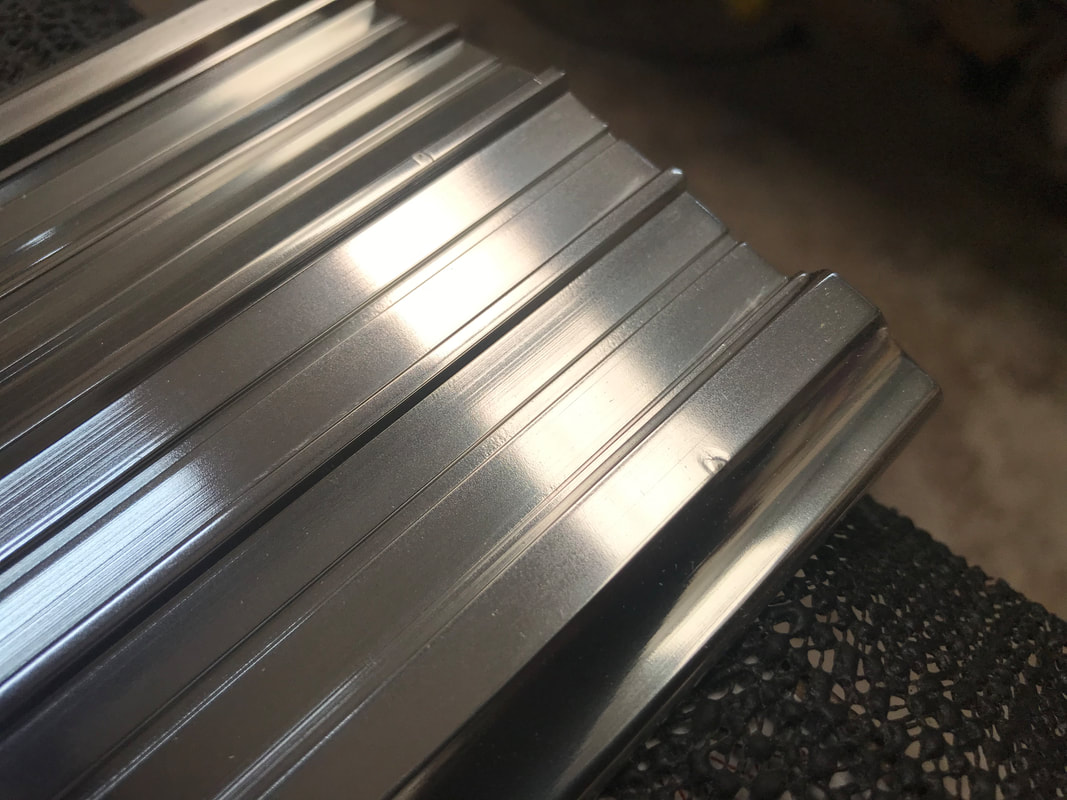
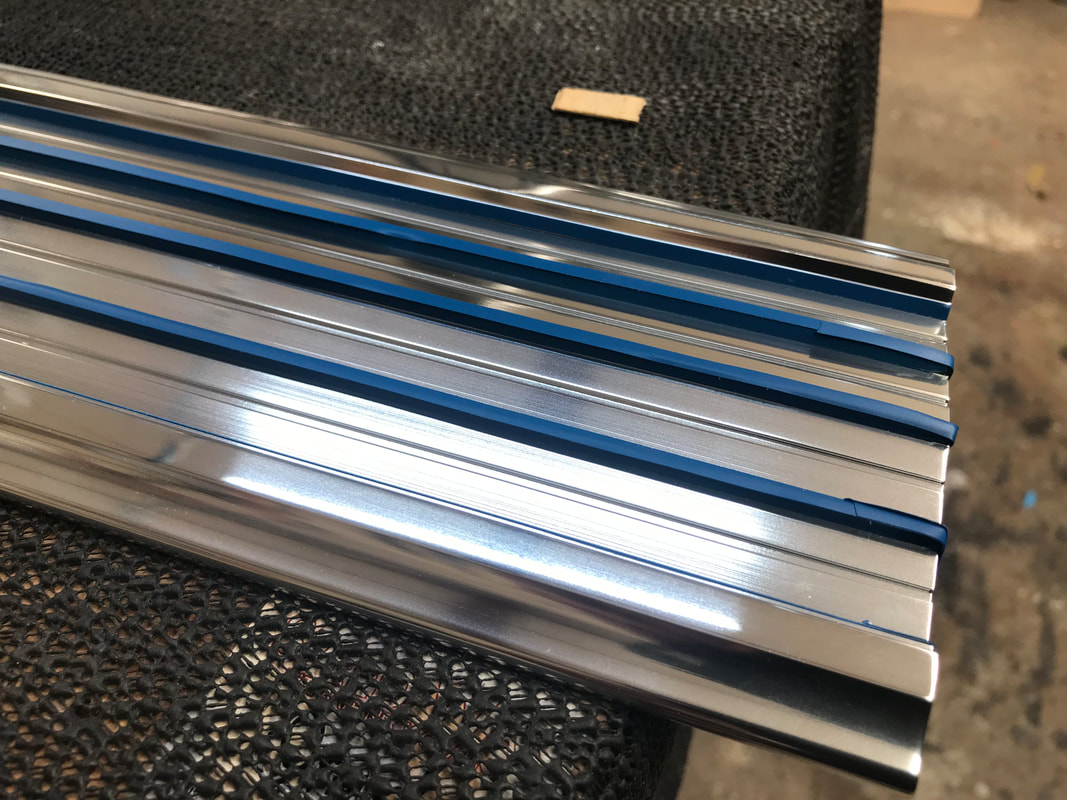
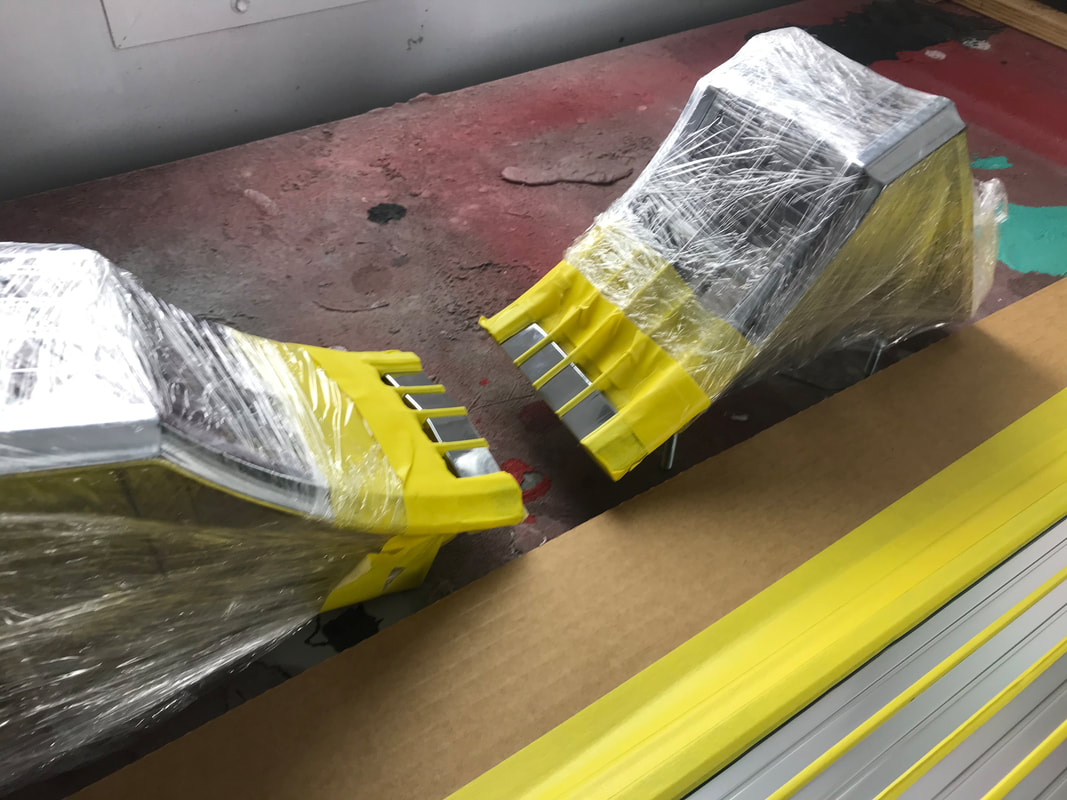
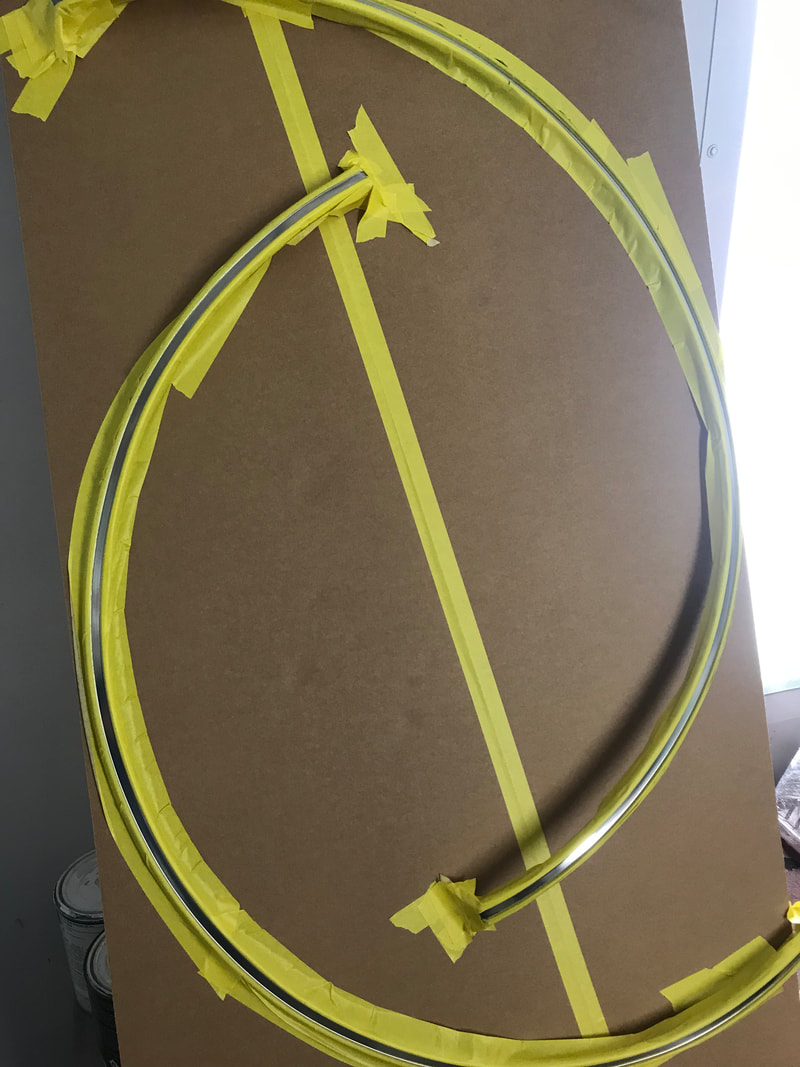
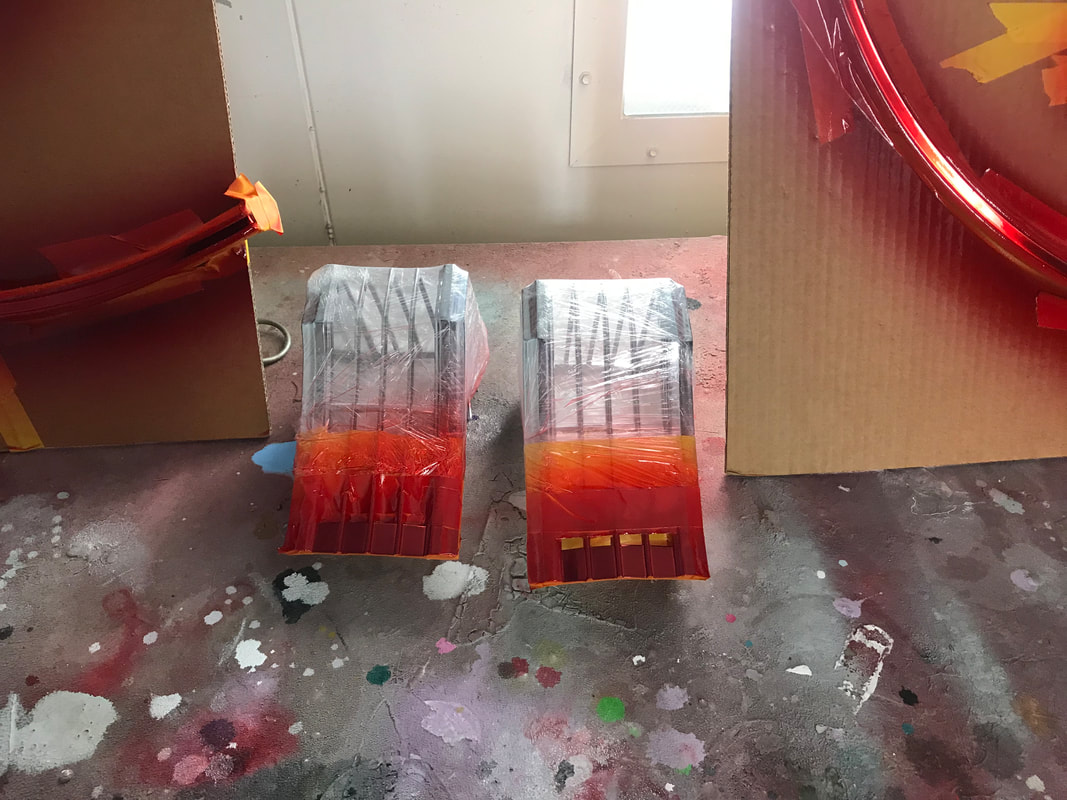
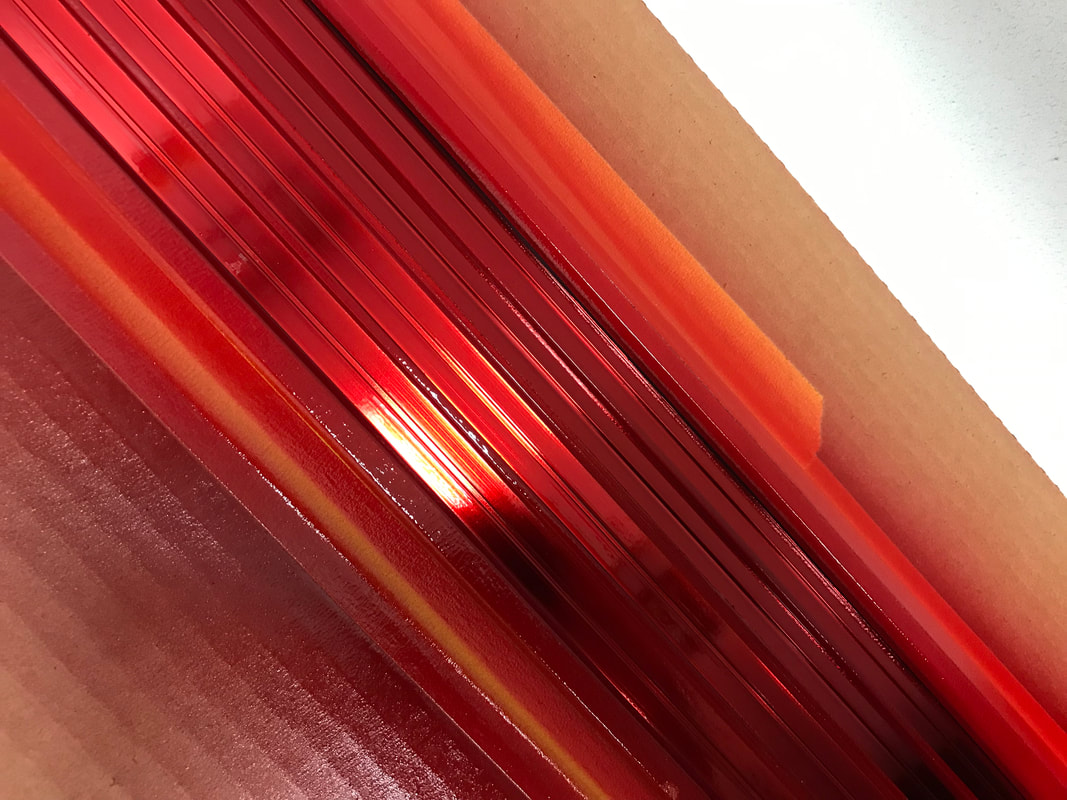
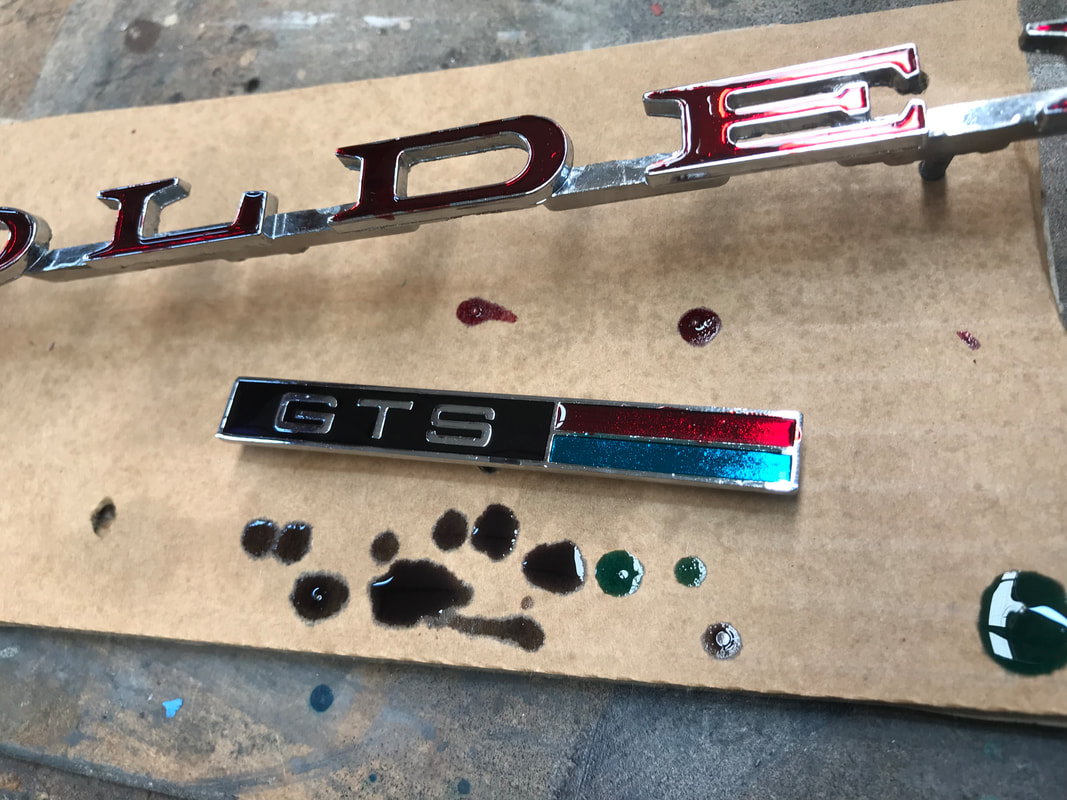
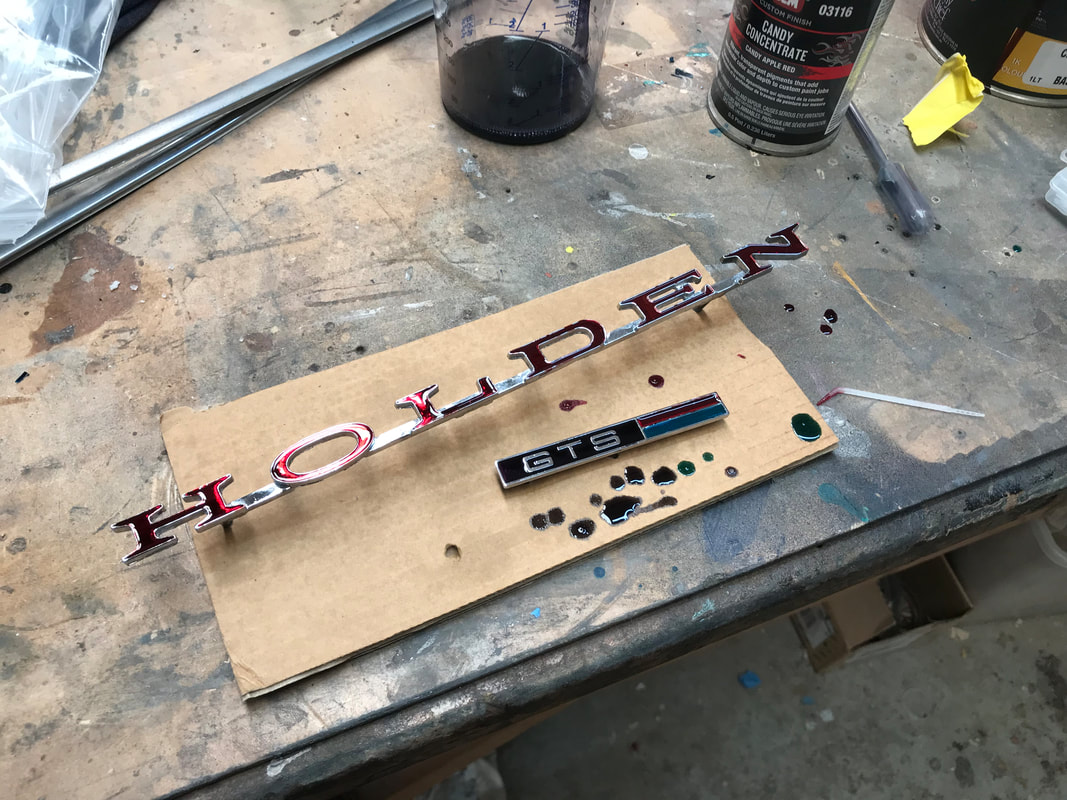
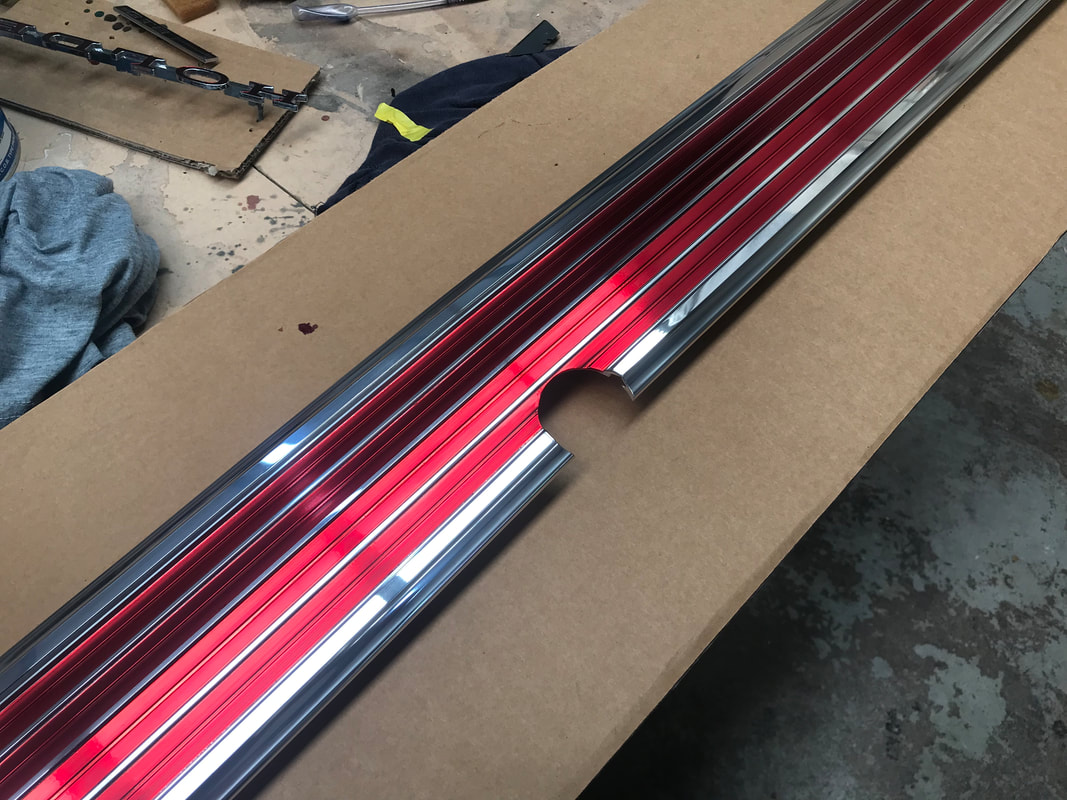
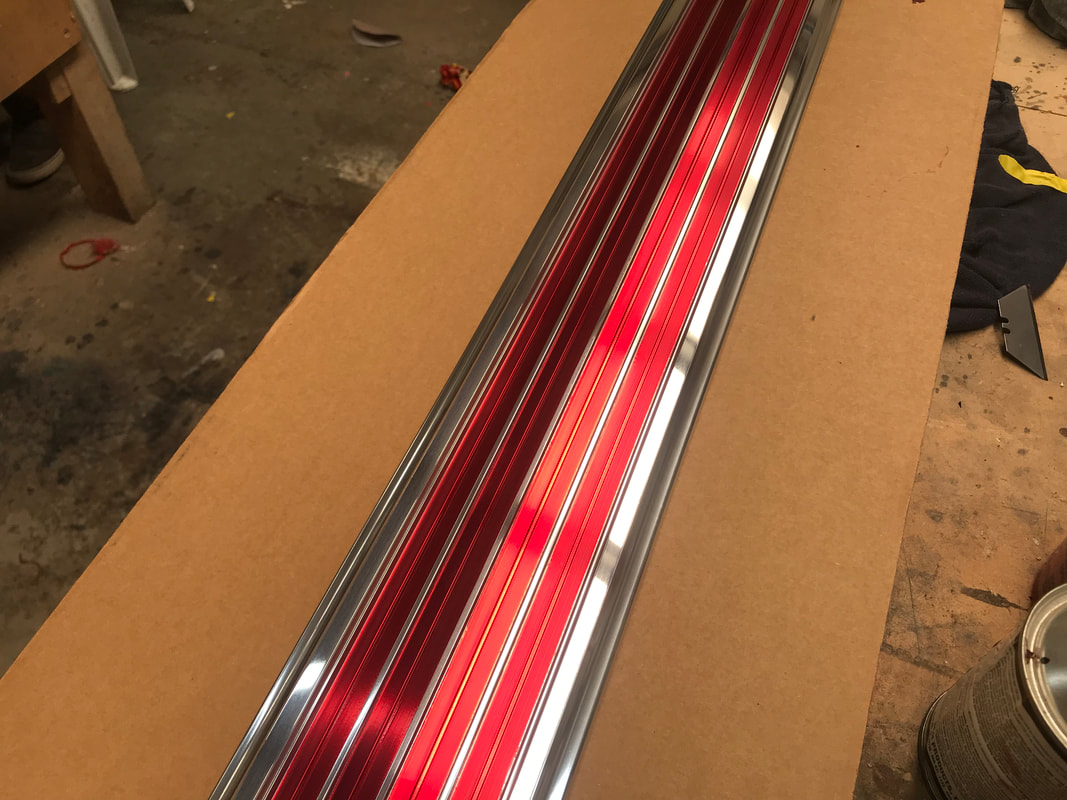
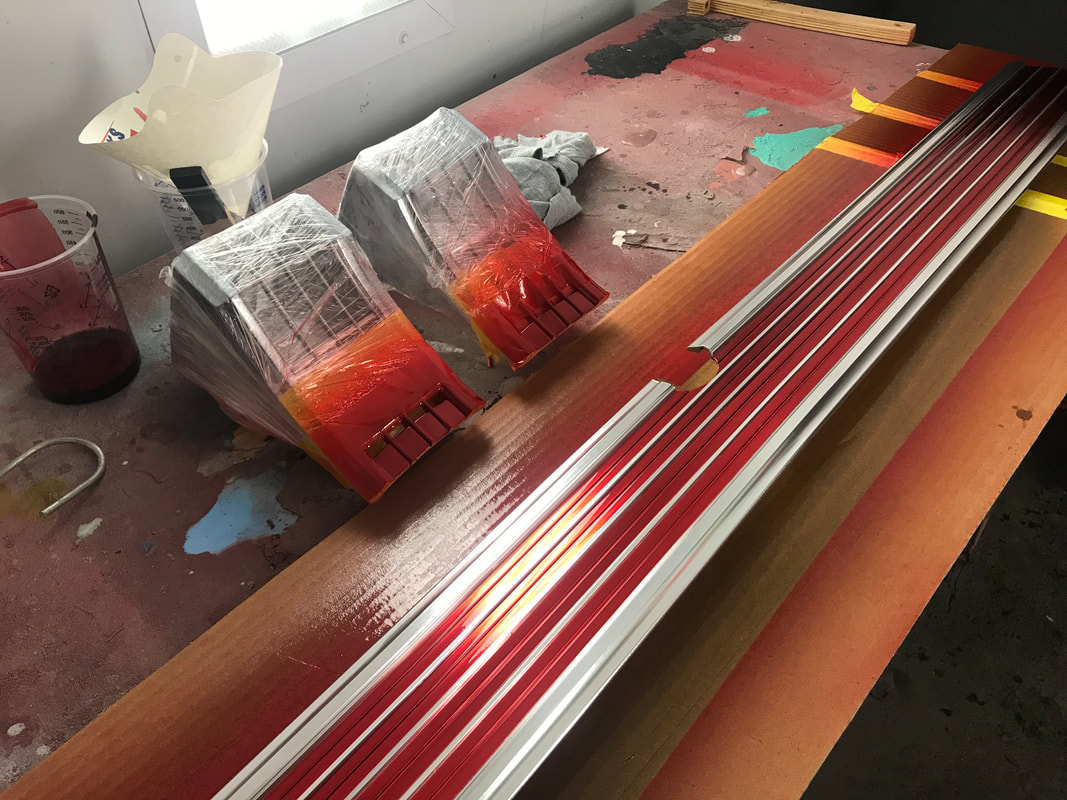
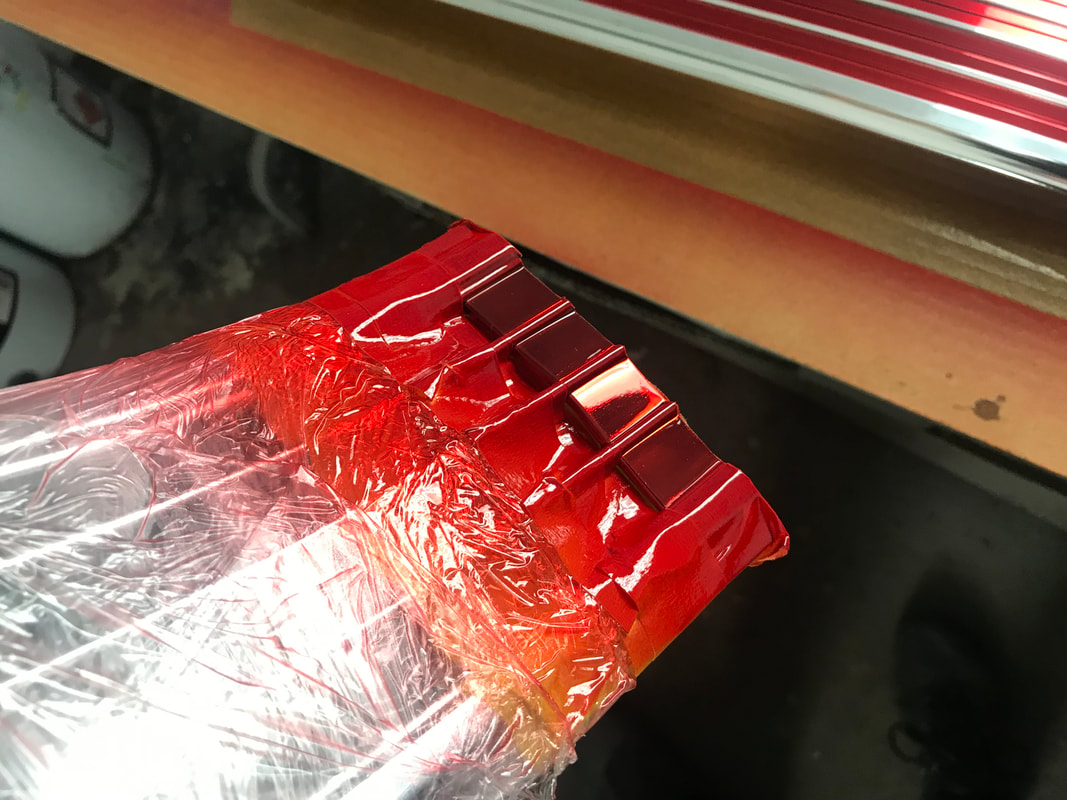
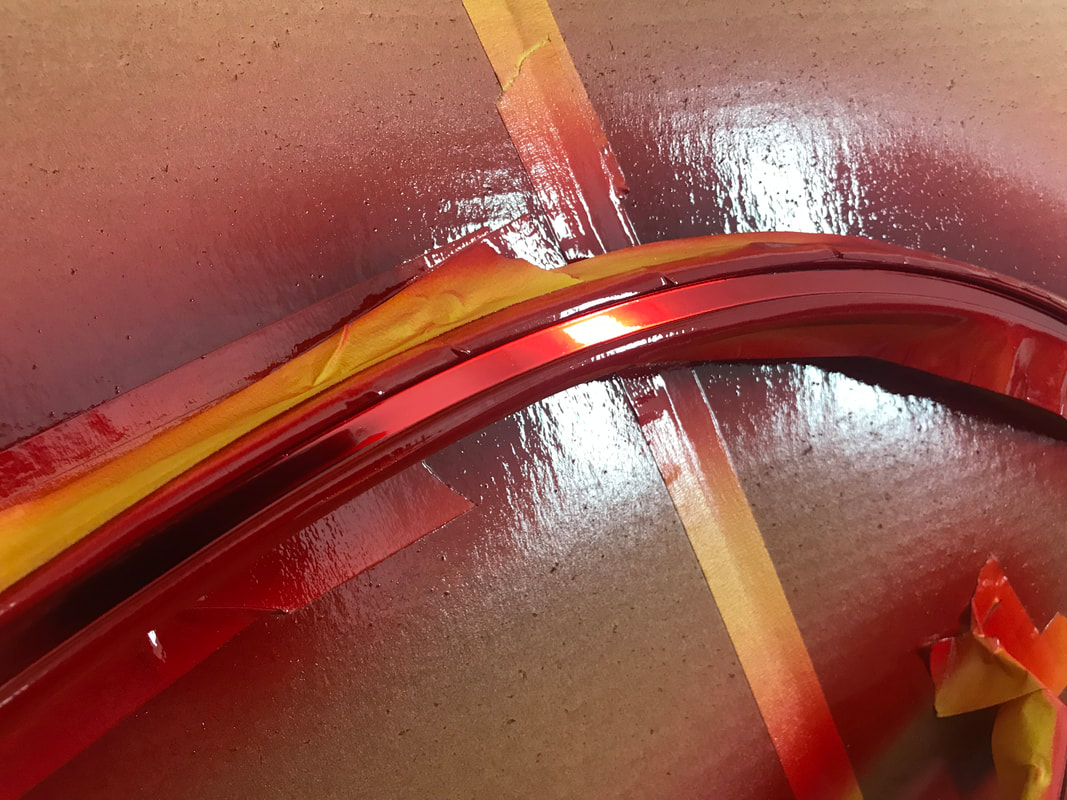
Whilst the body is getting worked on, I wanted to start on the trim work. After going through a few sets to pick out the best pieces to start with, we got to work. The alloy boot trim pieces I had were good, but did have a few marks which would be simply too hard to remove. So the decision was made to purchase a new repro item from New Old Car Company in QLD. I checked out a number of samples from a couple resellers, but they all had a clear coat paint defect at each end. I took my chances buying direct, but the same result unfortunately. But this just gave me the ability to improve on the quality, but stripping and polishing them before clear coating again. To do this we sanded back the finish on the flat sections, then ran through 360, 600, 800, and 1000 grit. From there we used a hardstand buffing unit, with cotton buffs and Merzerna dry compund (medium and fine). An hour to tape it all off, then we used a metal cleaning spray, followed by 4k clear mixed with red candy. The tail lights are by the same vendor, and over all the quality looked pretty good, bar on defect on one of the vertical tail light bars. Easy fix though. We prepared the chrome same as the alloy, and sprayed 4k with red candy. (i forgot to spray the middle verticle bars, will rectify that later). The wheel arch moulds are by Rare Spares, and although nice, they had a dull finish. I wanted to rectify that, which would potentially ruin the matte red painted centres. So the red was stripped off first, then we got out the wet and dry sand paper to brighten up the metalwork. Unbelievably, there were actually some file marks on the wheel arch trims, so we hit these areas with 360 grit first. Everything else was hit with 600, 800, 1000, 1200 and then 1500 grit. From there we buffed as per before. Way too much time was spent masking off each trim, before spraying the same 4k clear/candy. I went with candy to make everything match. It was always unusual to me that the HK GTS had candy red boot strip and front grill badge, then matte red wheel arch trim, then semi gloss GTS badges. So we made them all red candy. Including the badges. To do the badges, once again we used paint stripper to remove the paint, and a small brass wire brush to get into the corners. Metal cleaning prep spray, then 4k clear red candy. This process was used for the GTS badges, the glove box badge, the front grill "Holden" badge, and the 327 "flags" . For the glove box badge, we also used blue and black candy, and for the "flags", white as well. The effect this has is amazing in person. The colours really pop. Labour during this period: 15 hours Strip paint 2 hrs Sanding and buffing wheel arch trims 6 hrs Sanding and buff boot trim 2.5 hrs Mask tail lights, boot trim and wheel arch moulds 2.5 hrs Paint alloy and stainless trims 1 hr Paint badges 1 hr
0 Comments
Your comment will be posted after it is approved.
Leave a Reply. |
HK GTS MonaroFollow the rebuild! Archives
March 2020
Categories |


 RSS Feed