

|
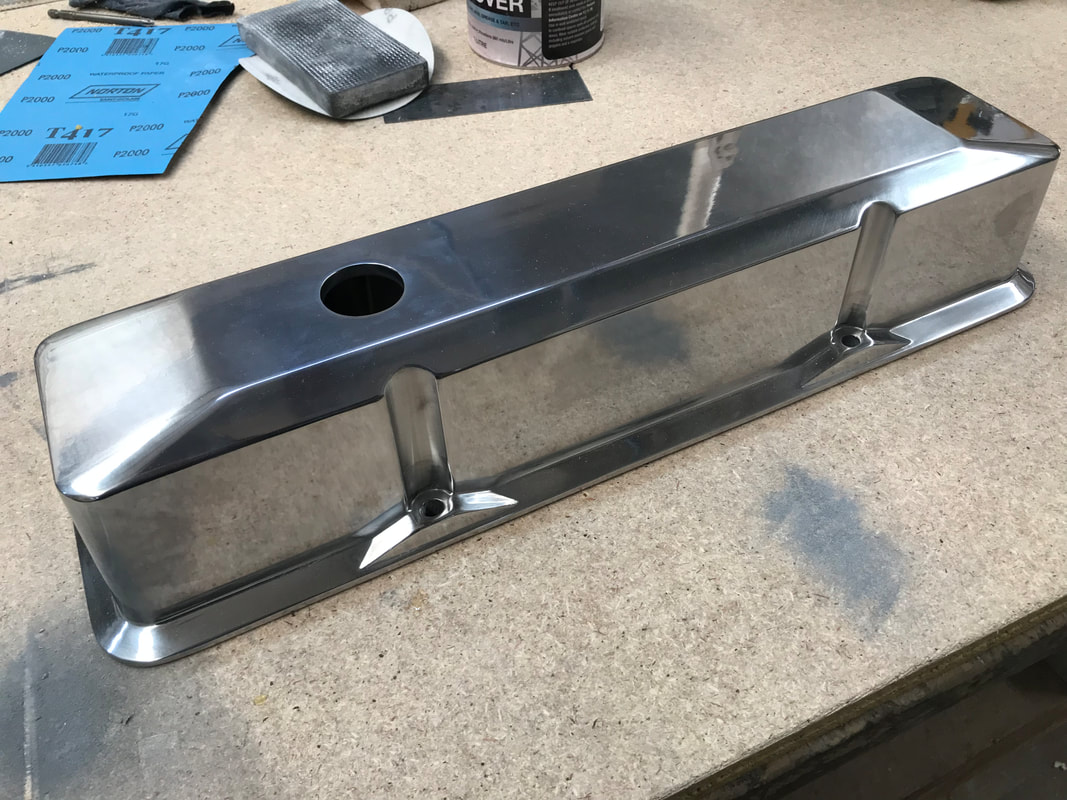
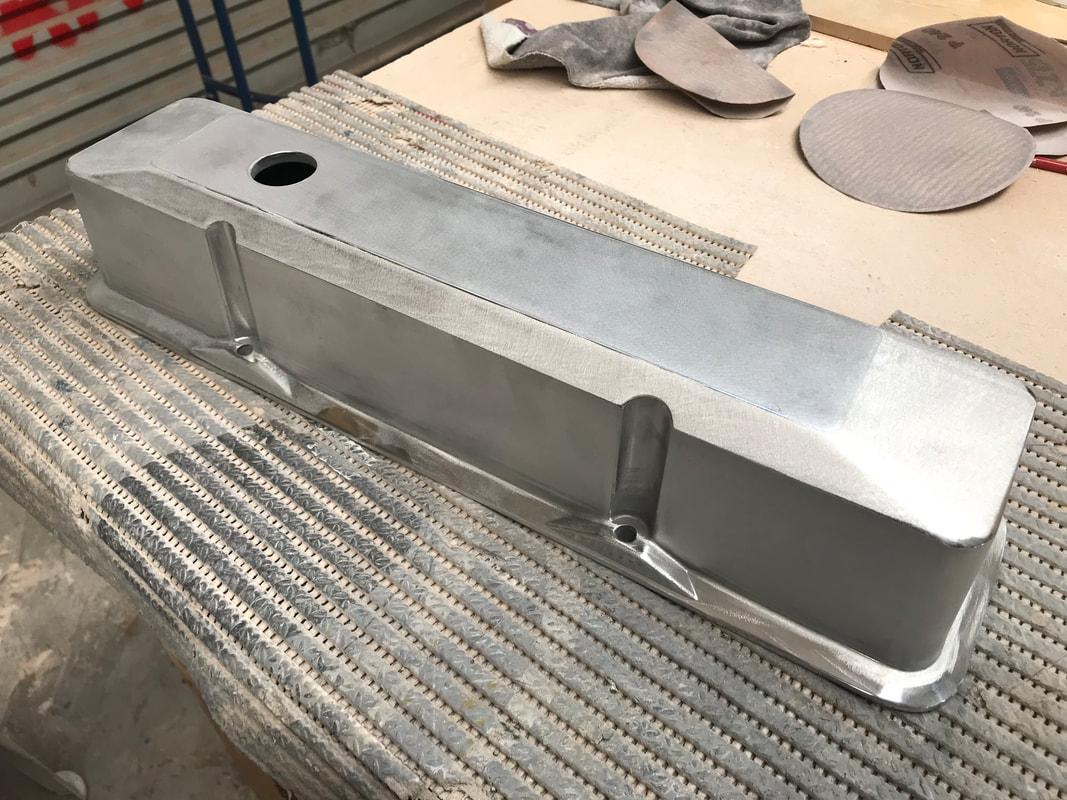
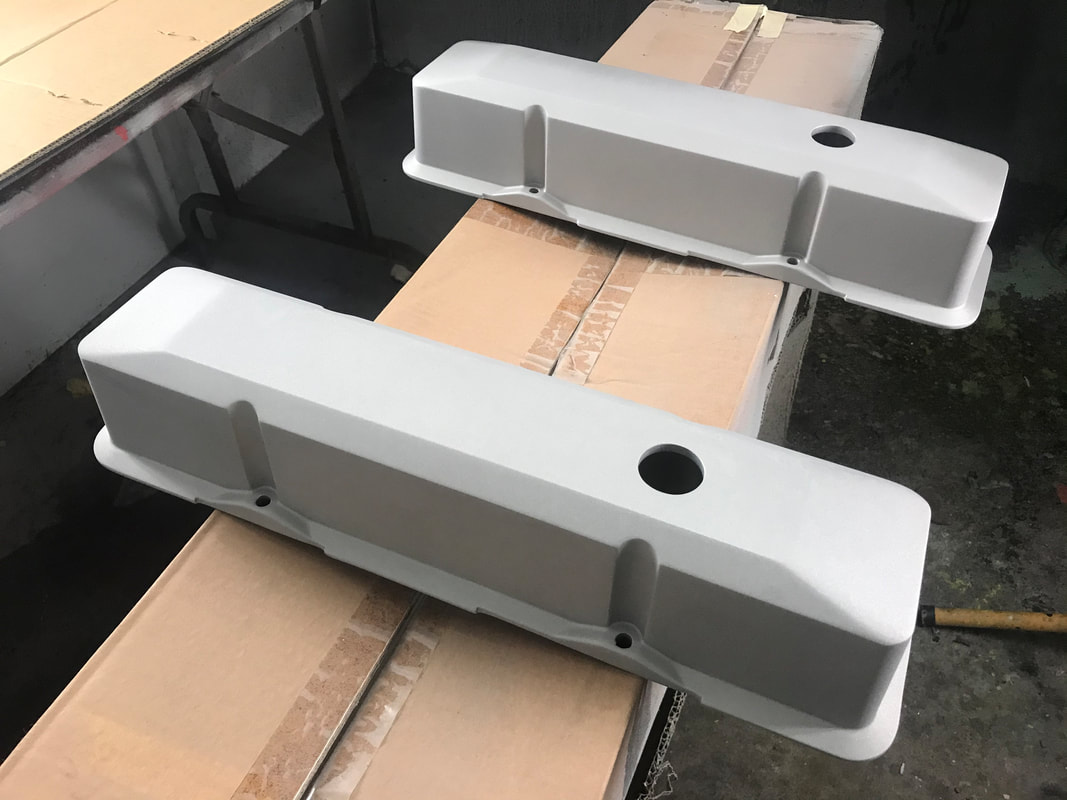
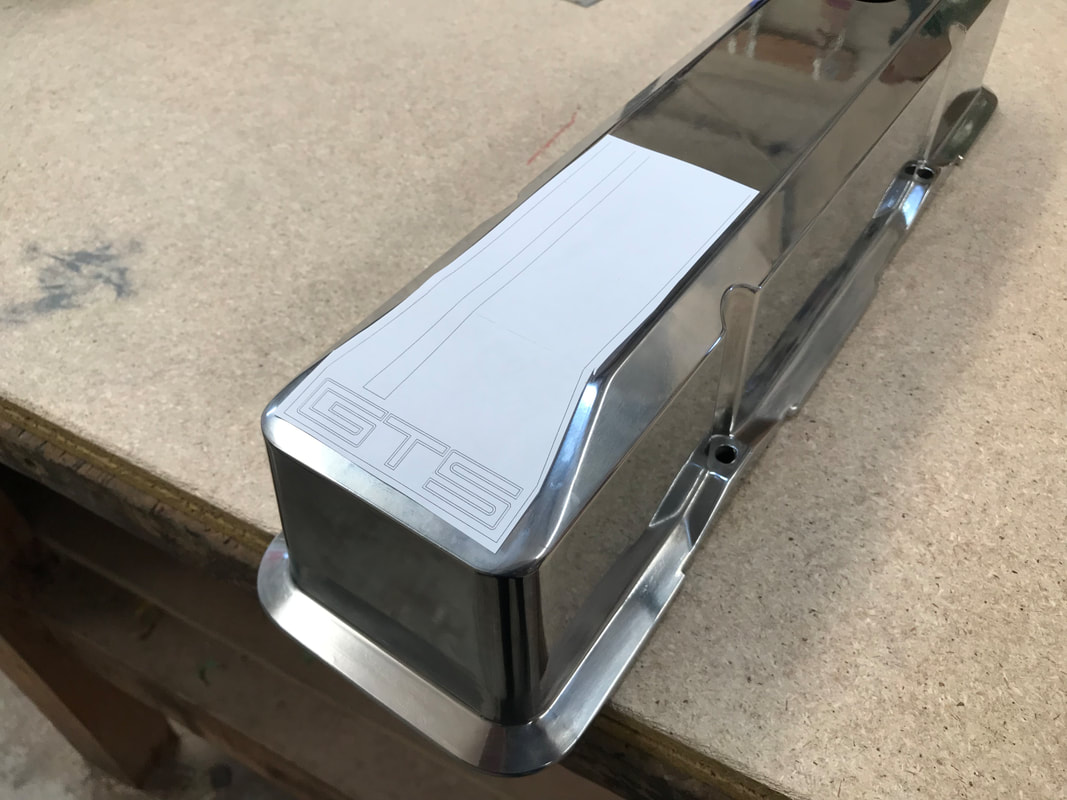
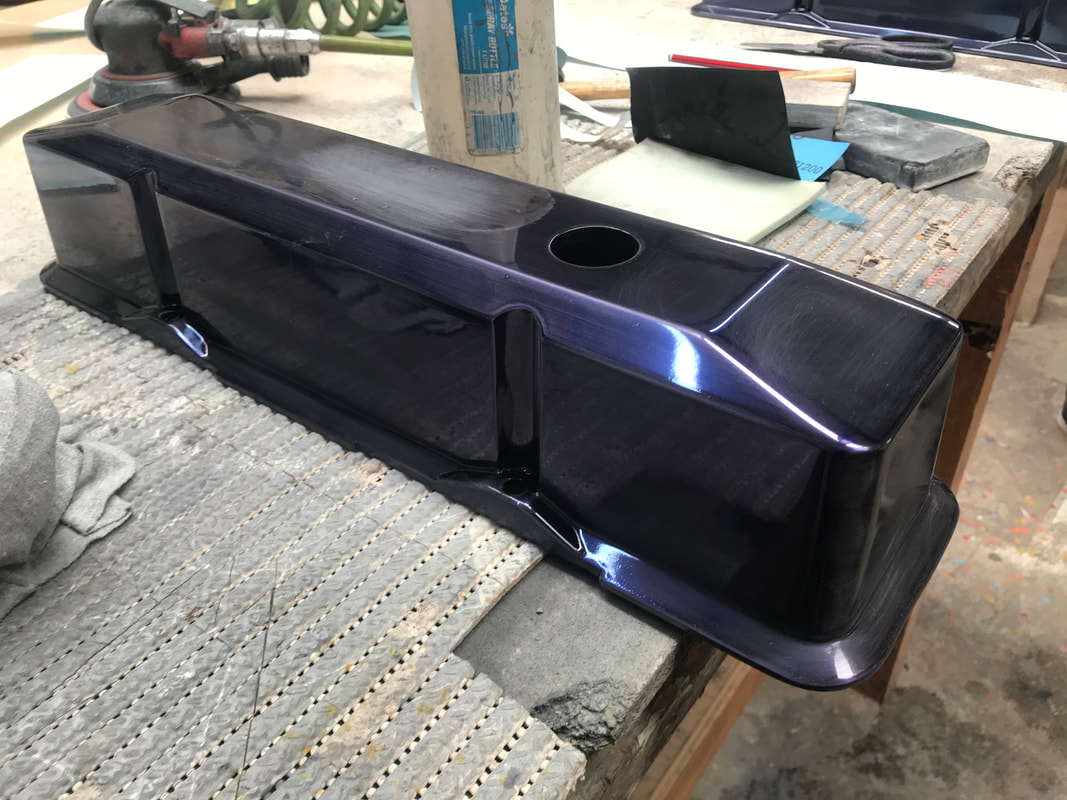
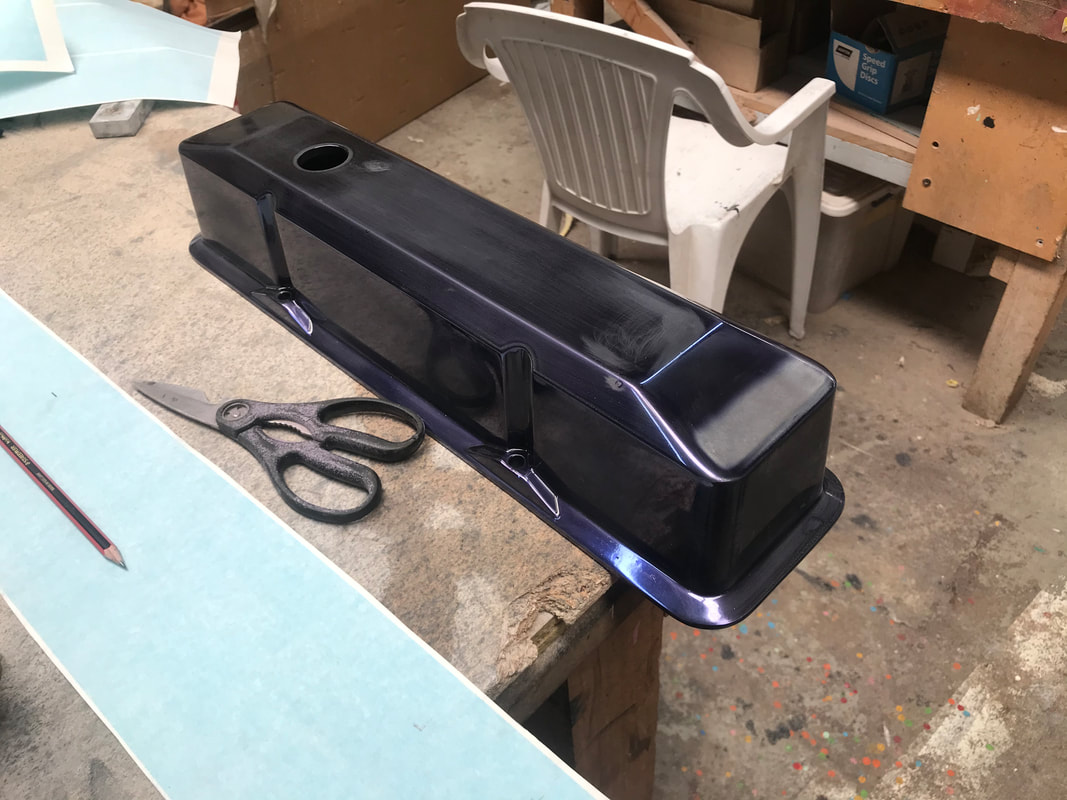
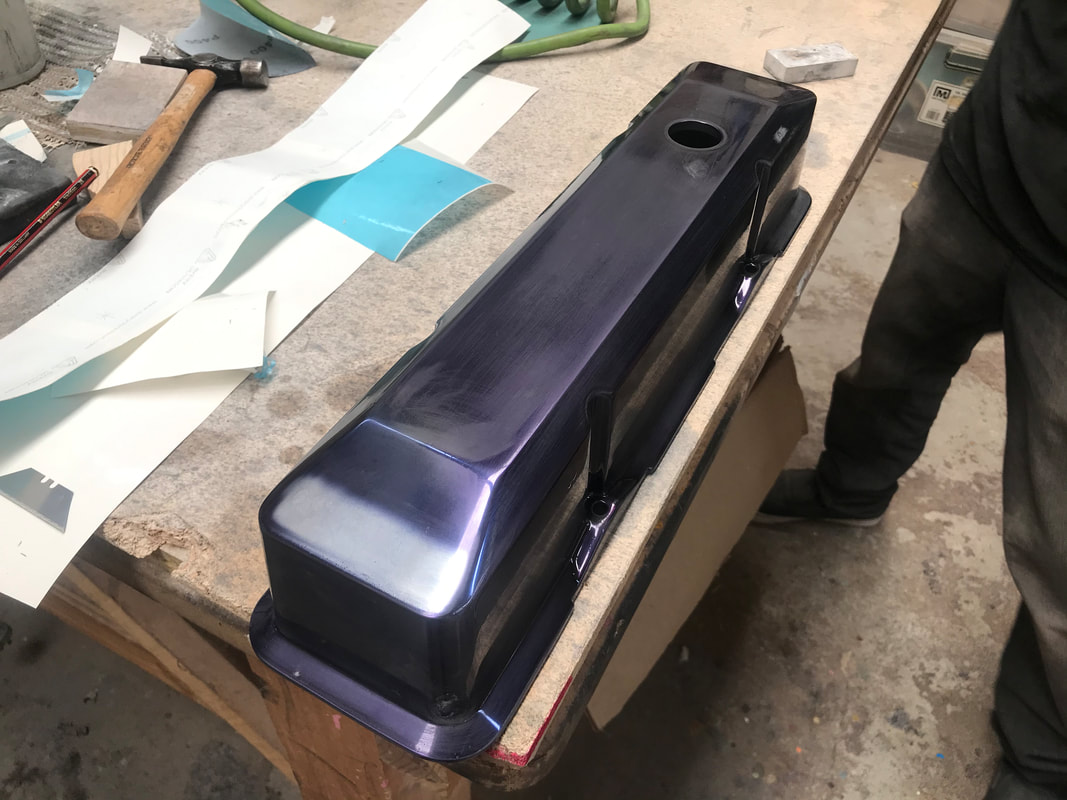
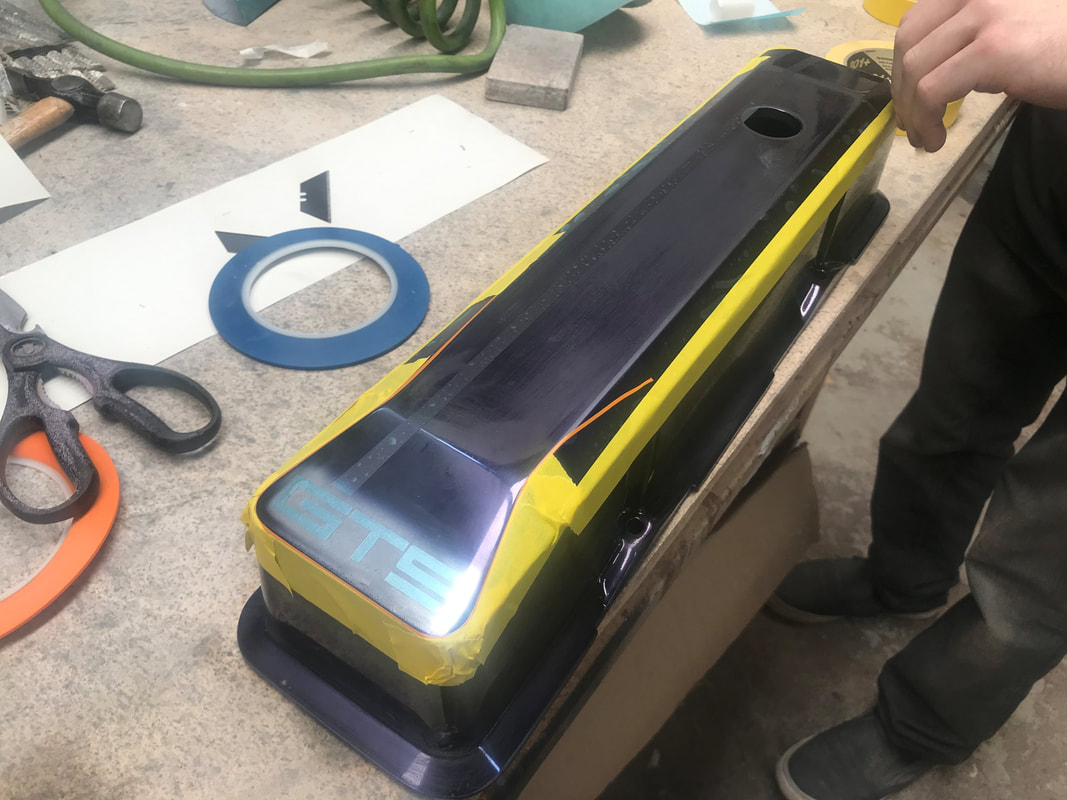
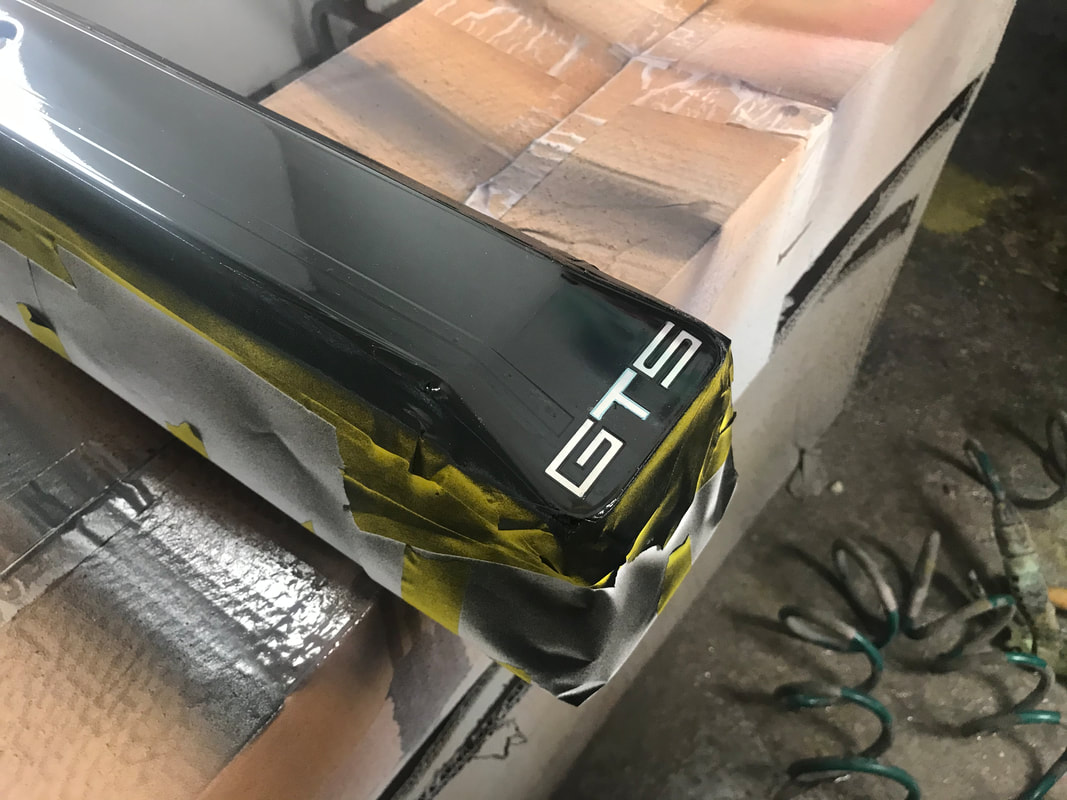
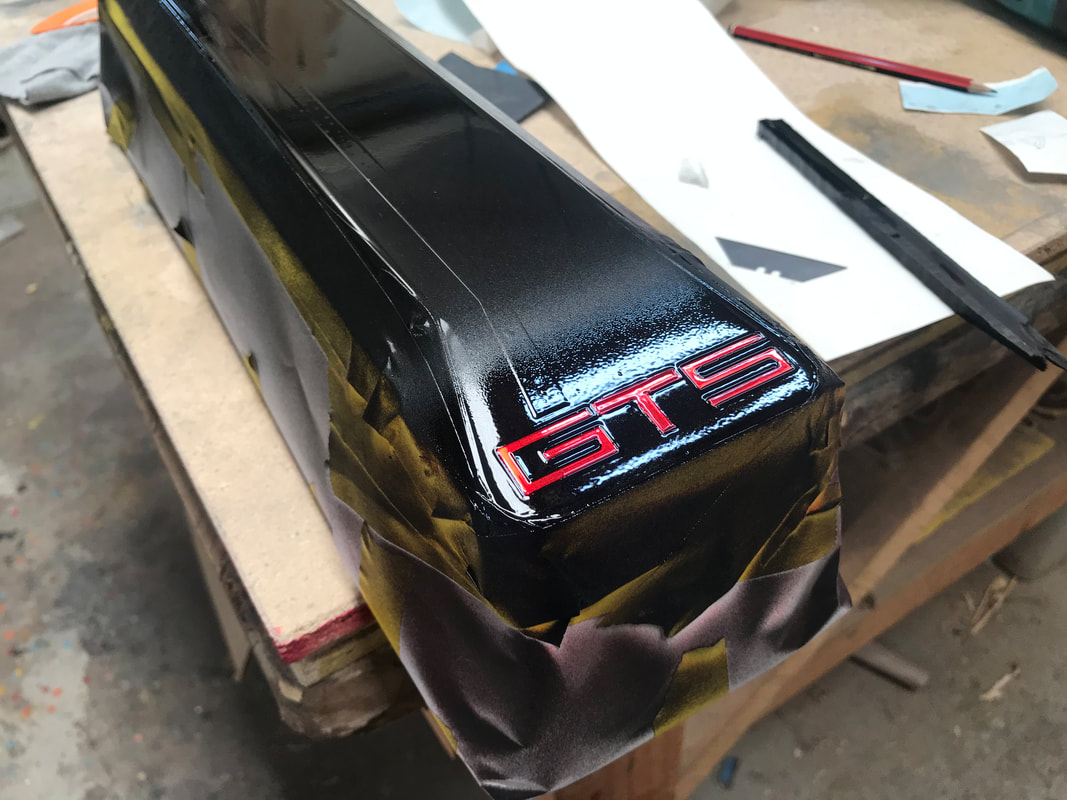
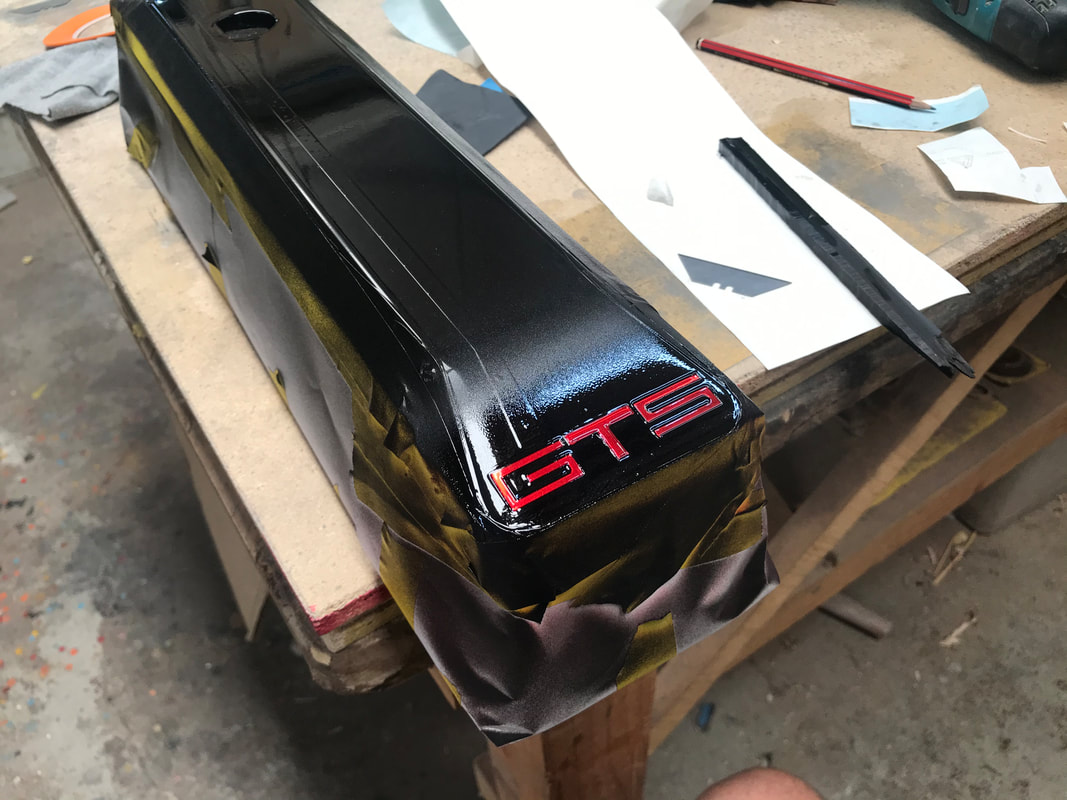
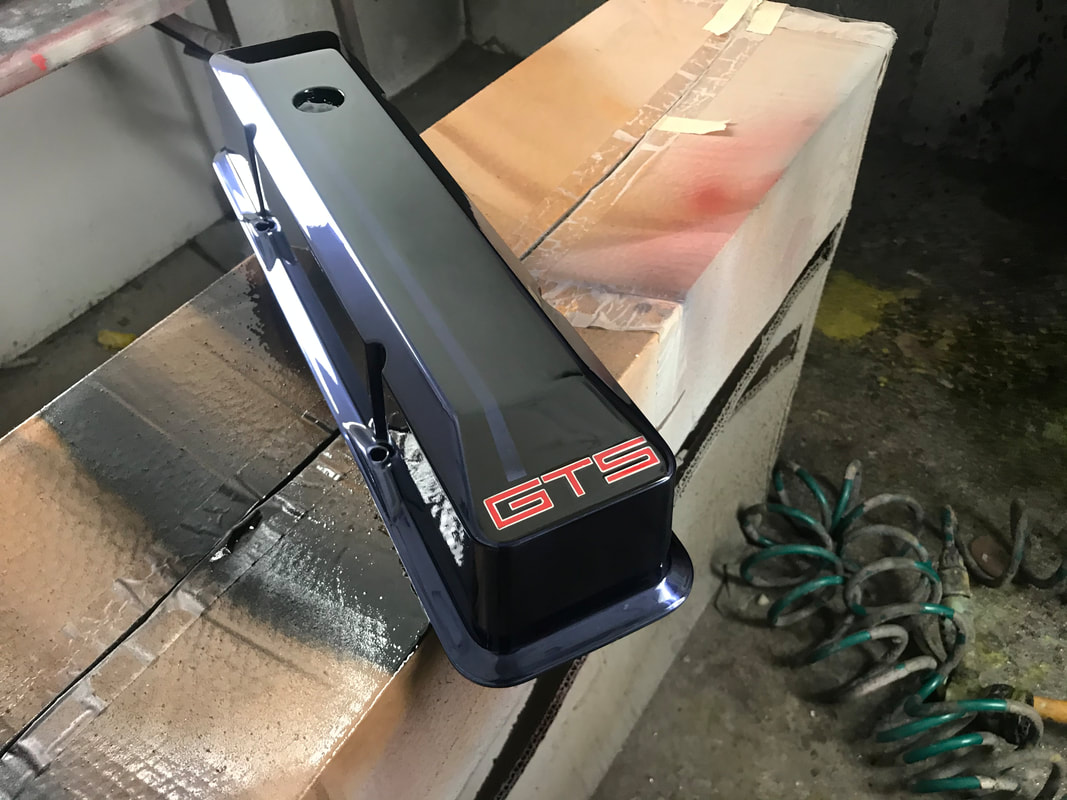
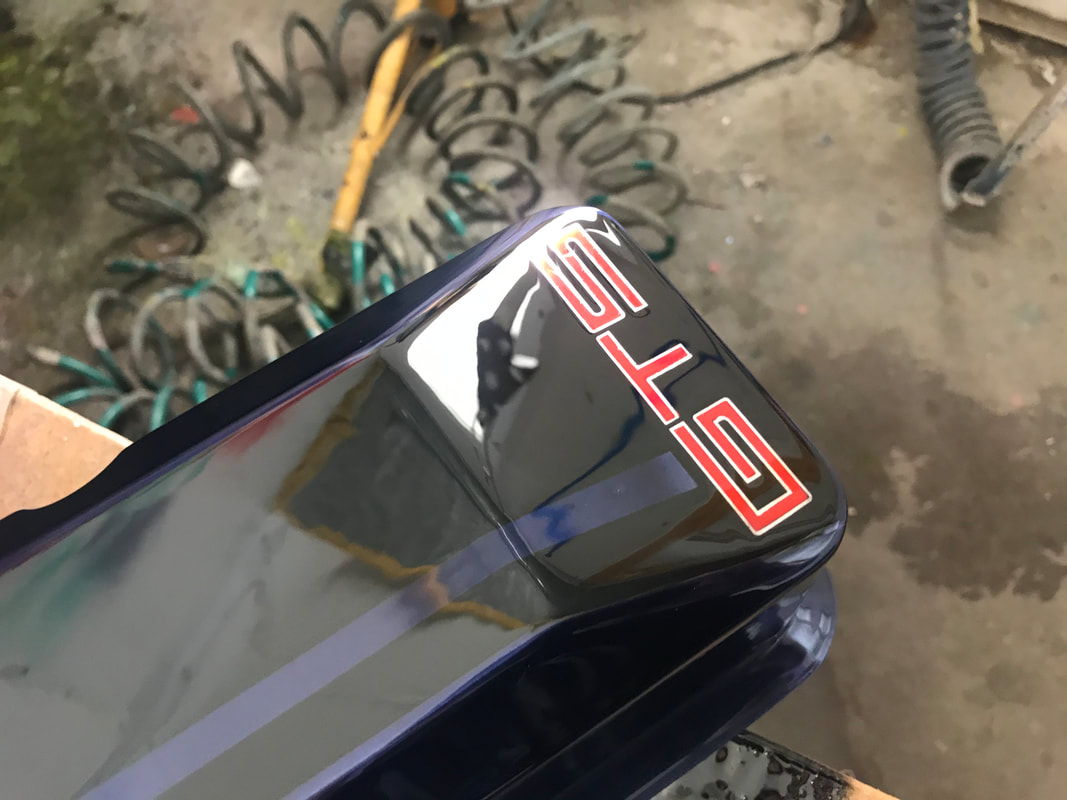
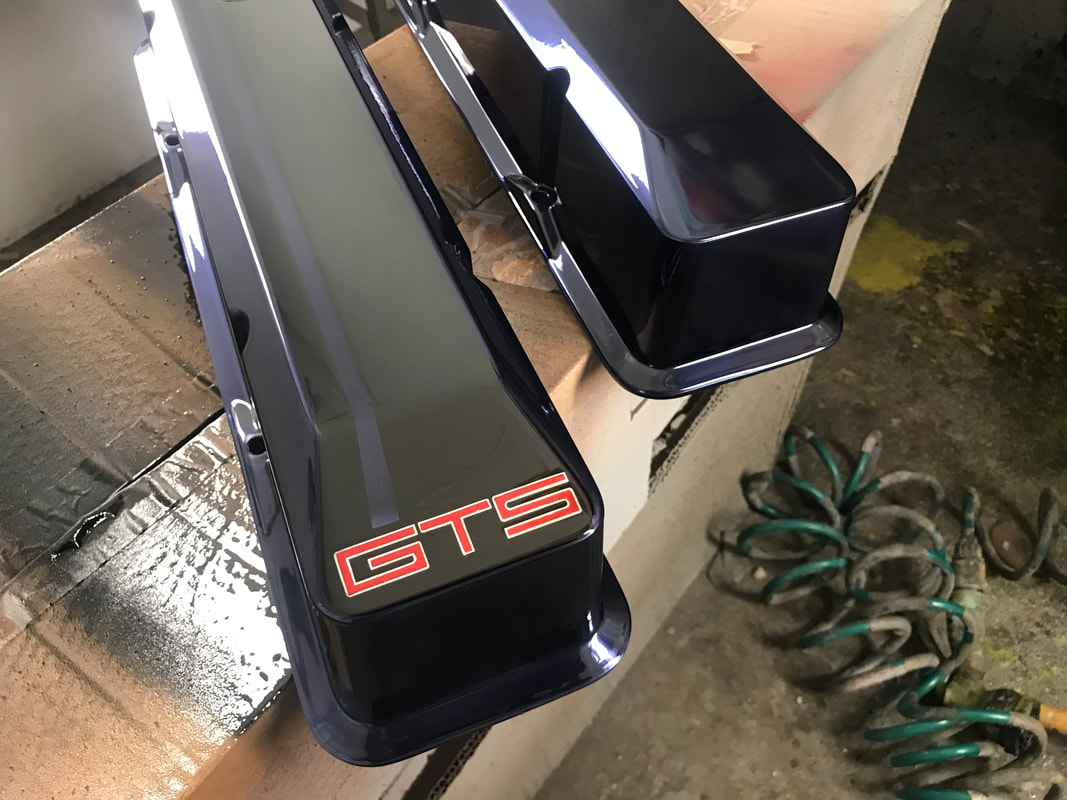
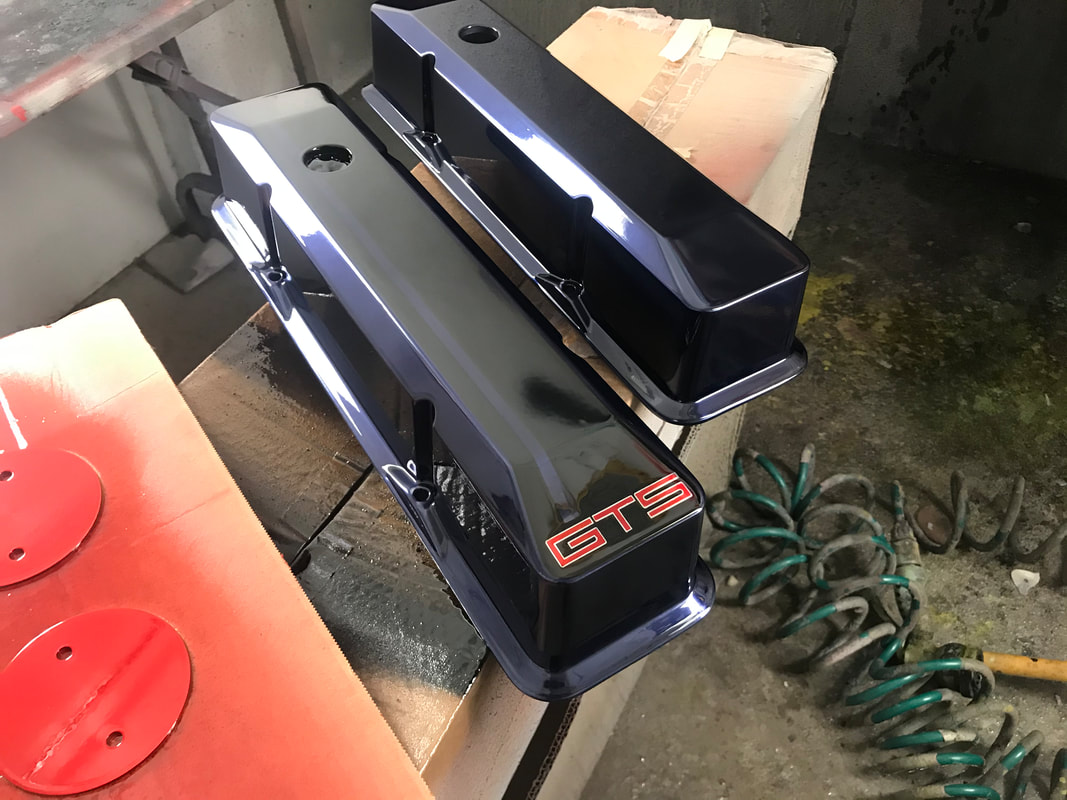
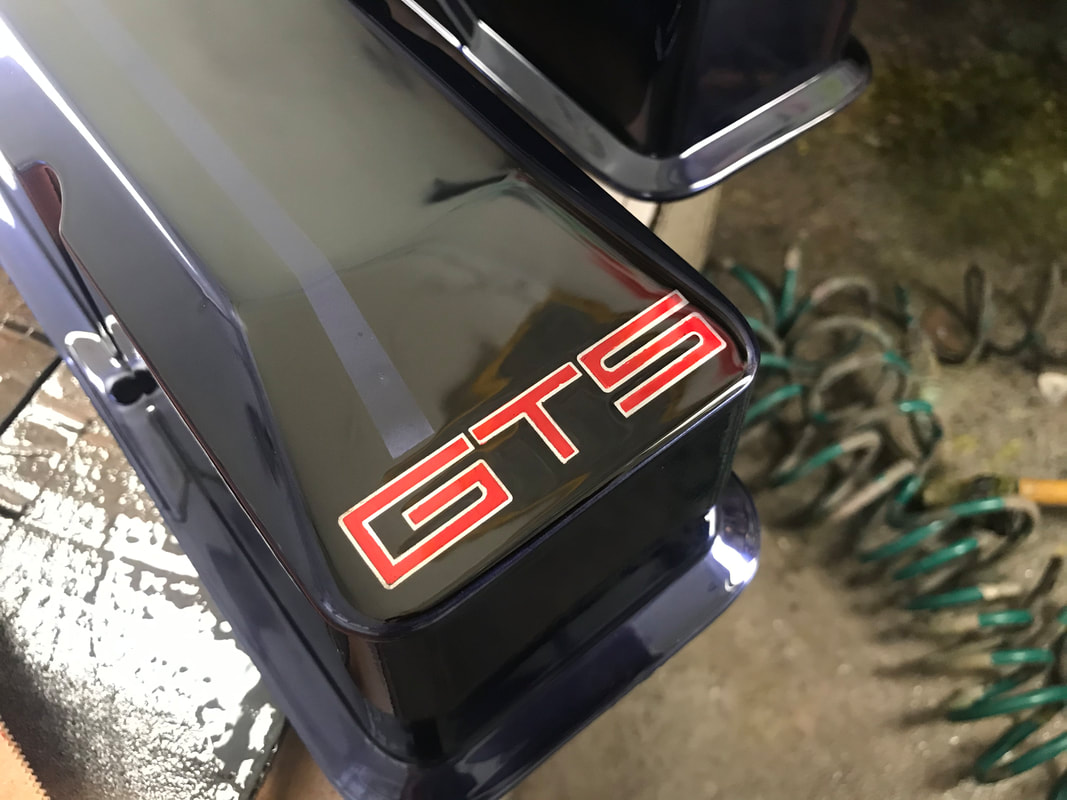
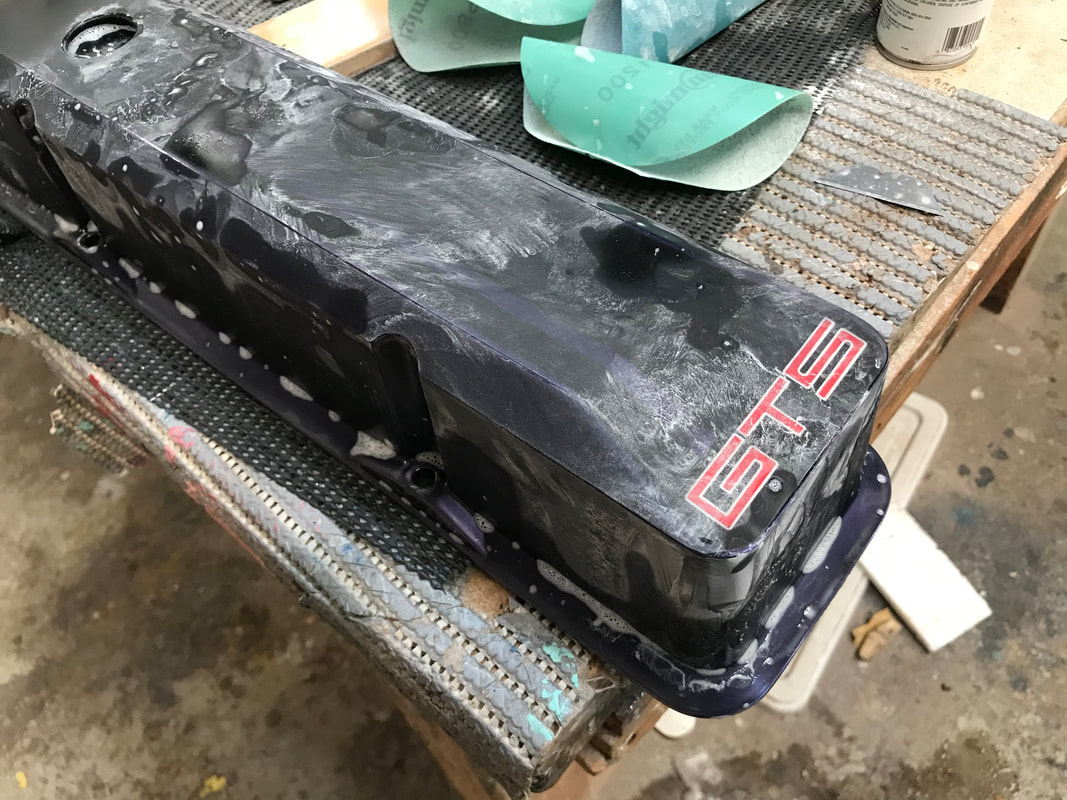
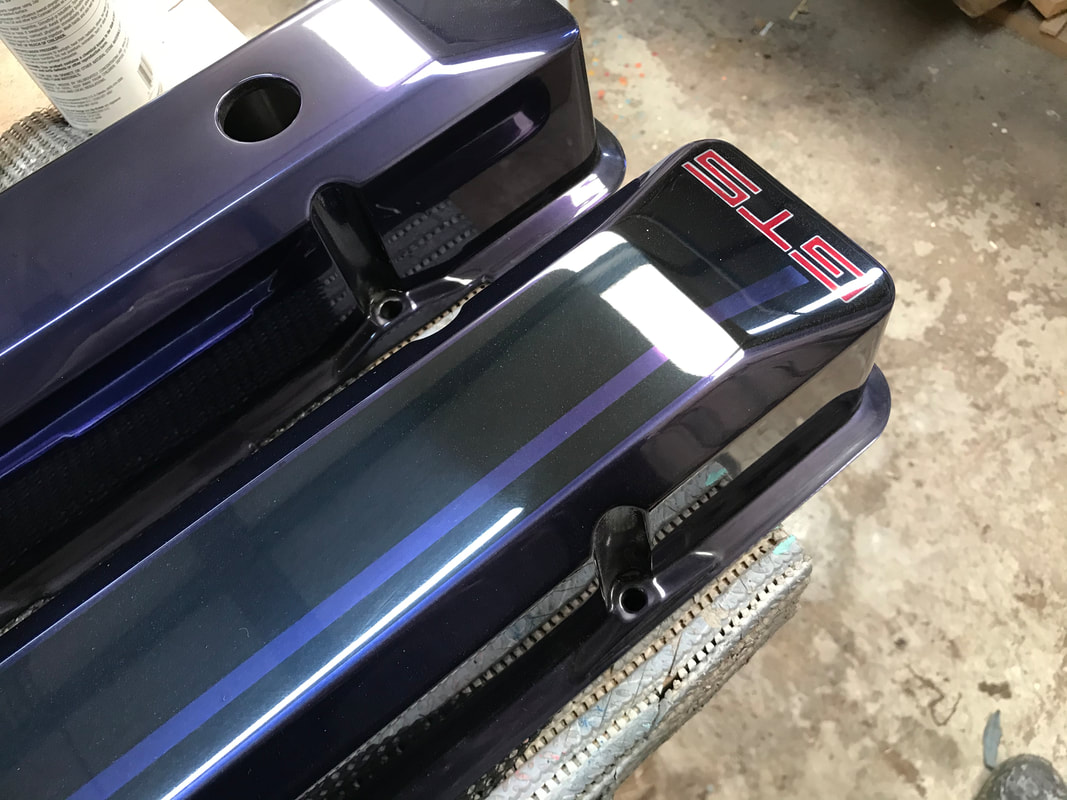
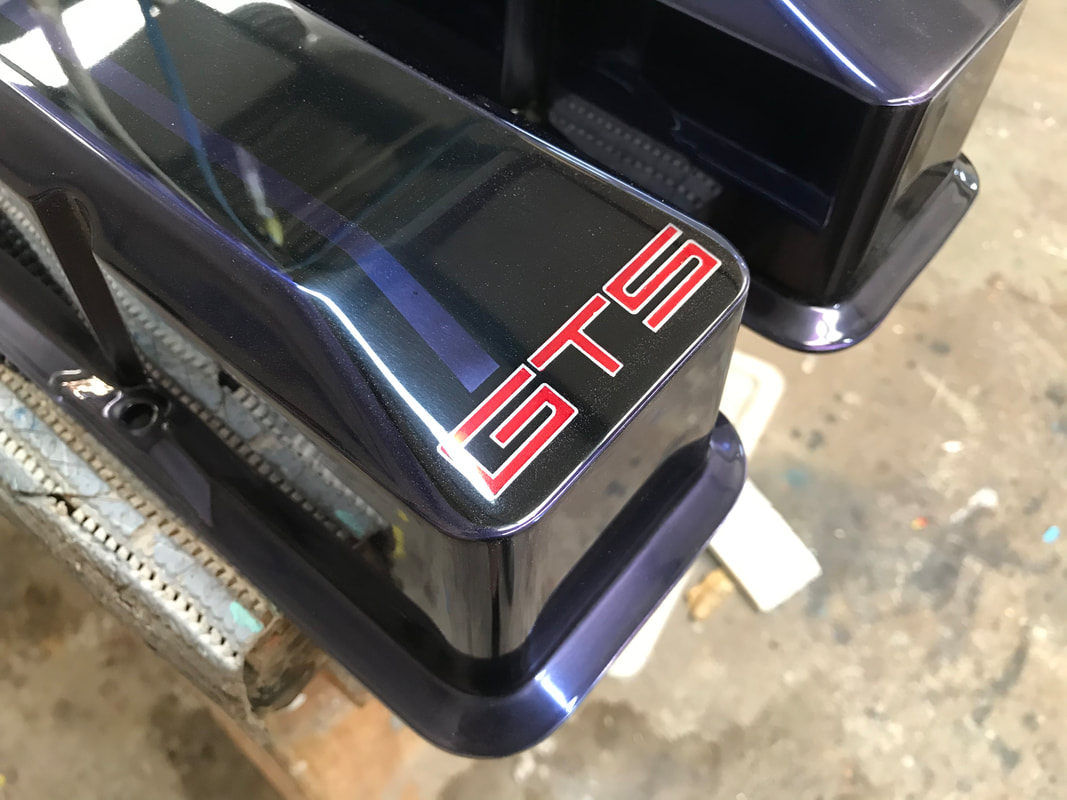
Started off with a set of alloy rocker covers, but we noticed there was some minor imperfections on the top and sides. Mostly just ripples, not a perfectly flat finish, which was noticeable when the light reflected off them. The polishing in the corners could have been better too. So I got a block, some 120 grit sand paper, and started flattening them out. Sanding through to 2000 grit, then polishing on a buffer, gave them a nice, perfectly flat, highly polished finish. Then, in a moment of brilliance, i decided to sand blast them, to match the blower finish (anodised back as cast). Applied a coat of clear, but then lost all their nice look. Instant regret! So back to the 120 grit, through to 2000 again, buffed, and then cleaned to suit the lacquer coating I was planning to do originally. I drew up some GTS logos in CAD, and had the local sign shop cut them out in masking film. I used a 4:1 clear suitable for aluminium, by Spray Chief, with black candy mixed in. Then an extra coat of clear just to protect the surface, and let it dry before sanding back and buffing the front section. I applied the GTS logo (two part), and taped off a set of "stripes", before adding solid black. Then pulled the centre section of the GTS logo, taped off the black, and sprayed the same candy red I used on the boot strip, badges and wheel arch moulds. I sprayed the bug catcher butterflies while i was at it for consistency. Once that has all cured off, I grabbed a scalpel, and trimmed the furry edges of the GTS logo, then two coats of clear, sanded back to remove the "edge" and then one more clear to seal it all. Sanded with 800/1200/1500/2000, then buffed. Done! Labour during this period: 26 hours
Sanding and buffing covers 8 hours Sand blast, then resand and buff (grrrr) 12 hrs Paint, and buff 6 hrs
1 Comment
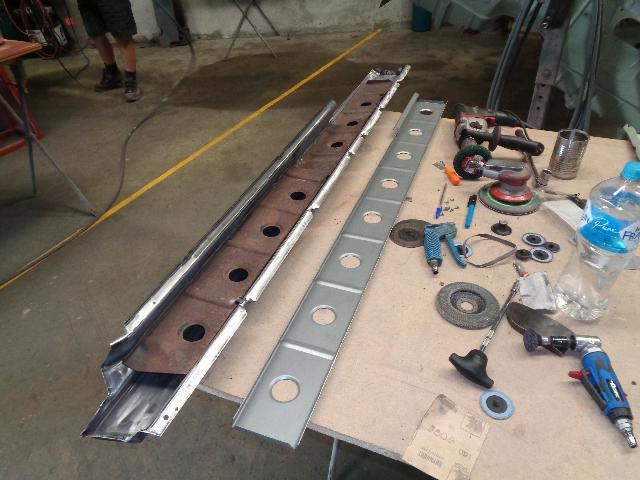
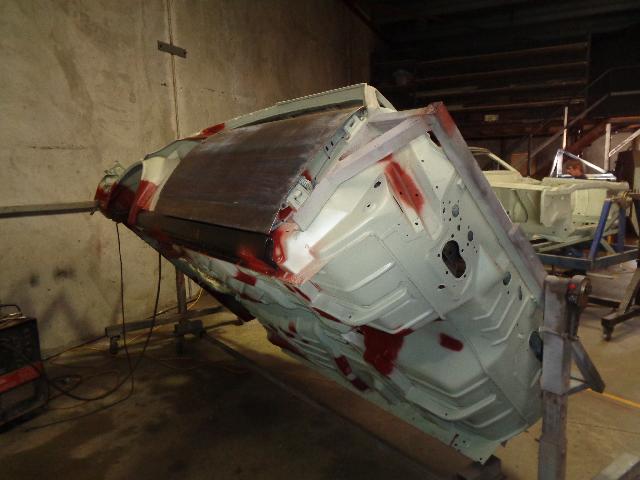
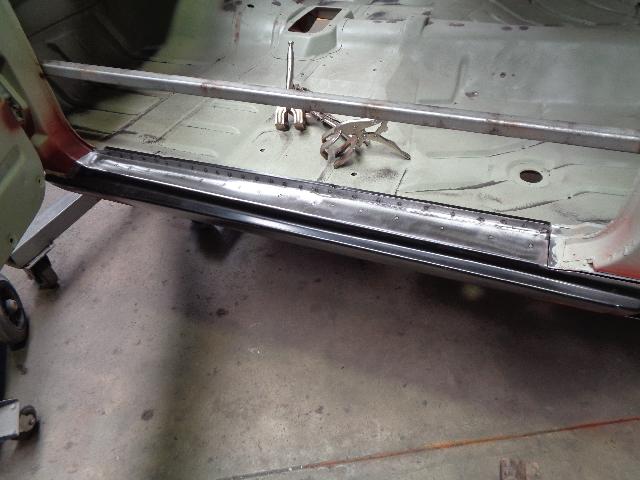
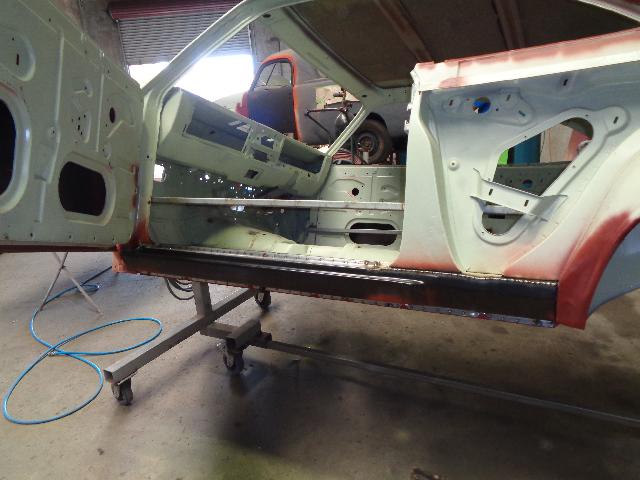
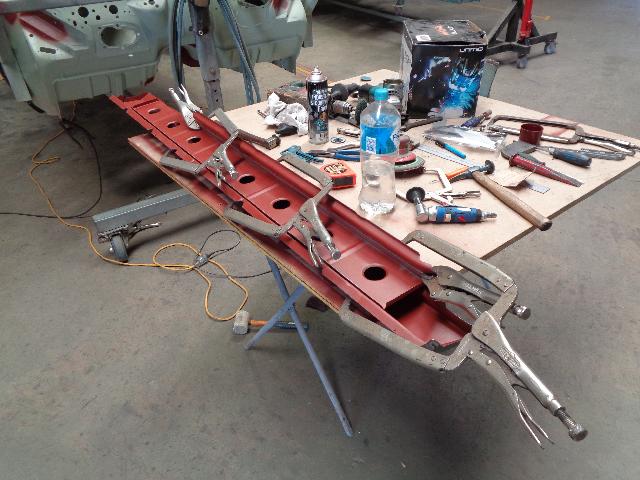
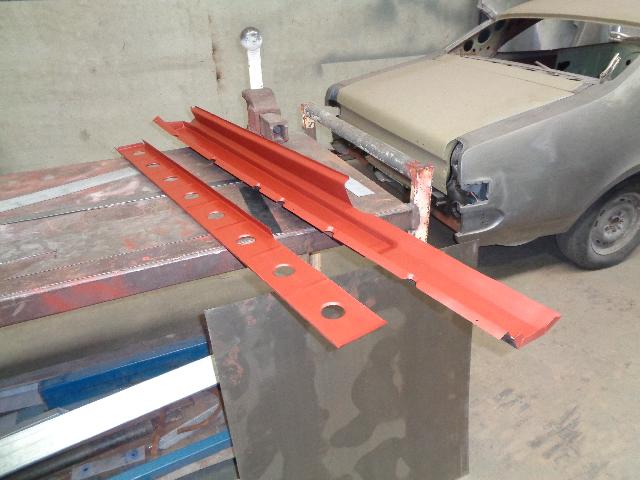
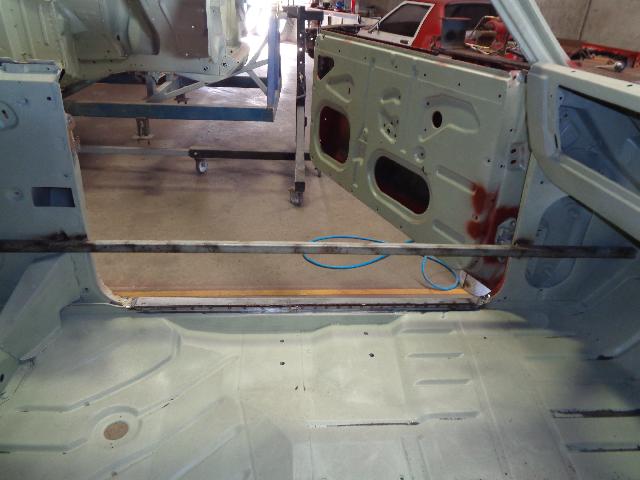
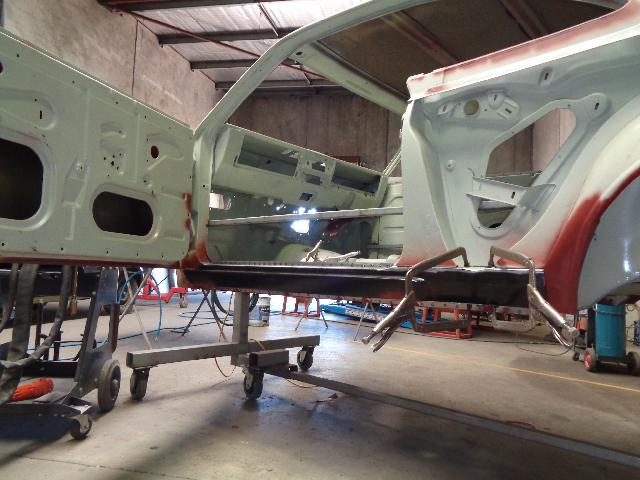
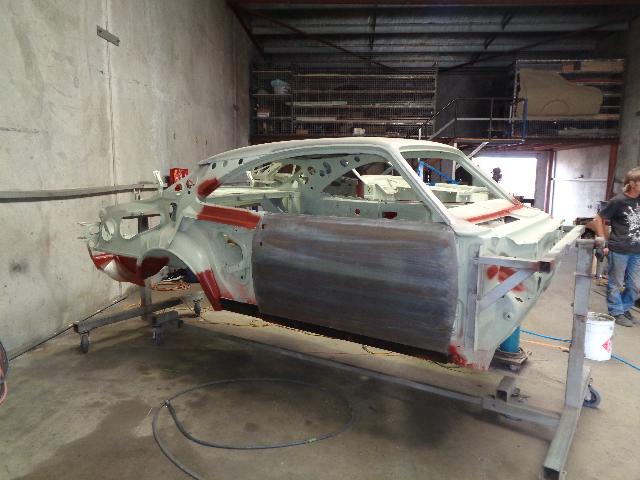
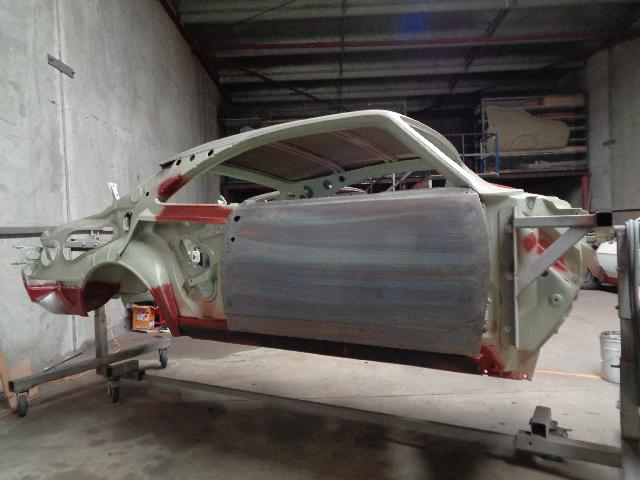
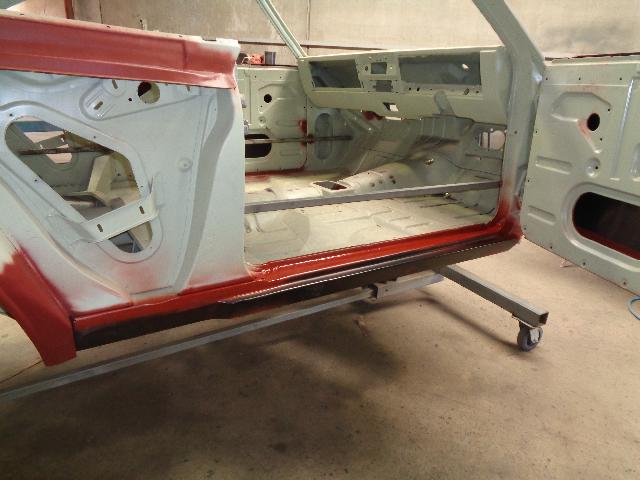
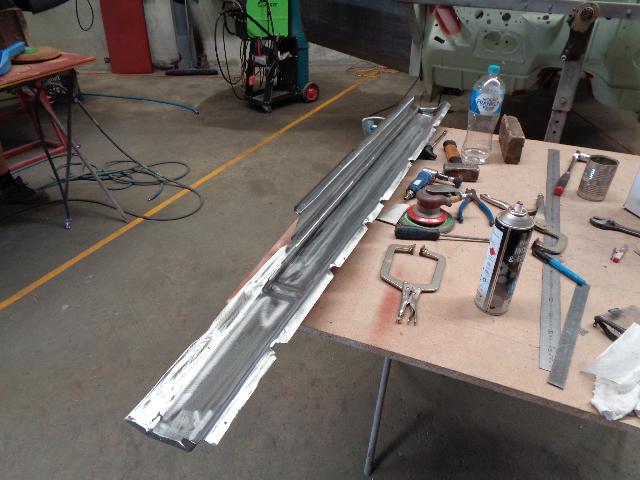
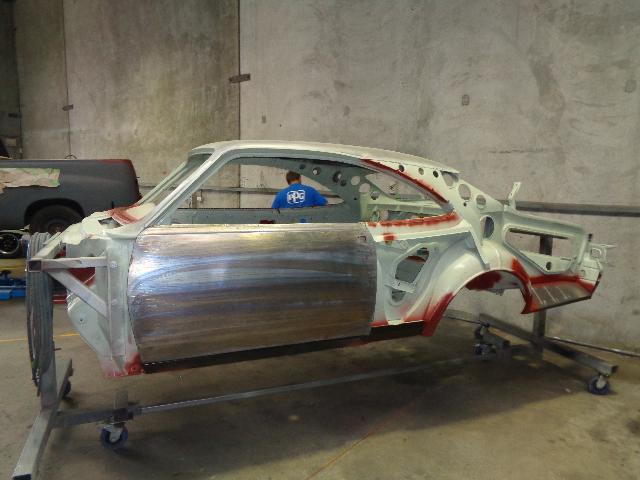
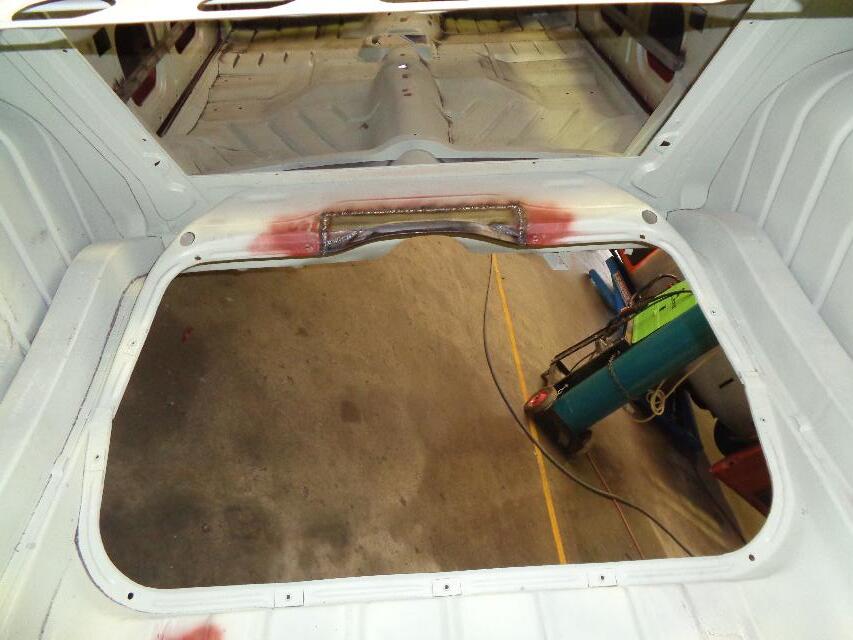
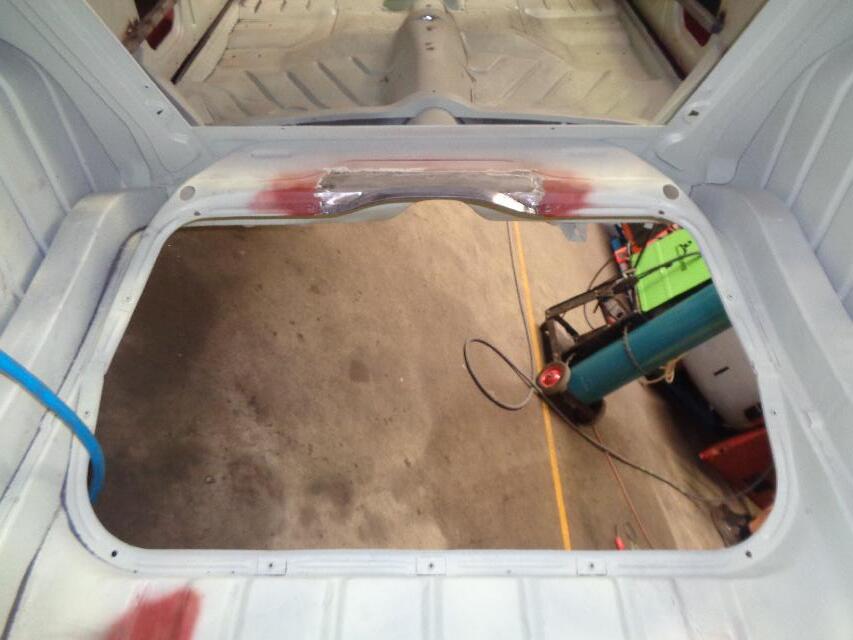
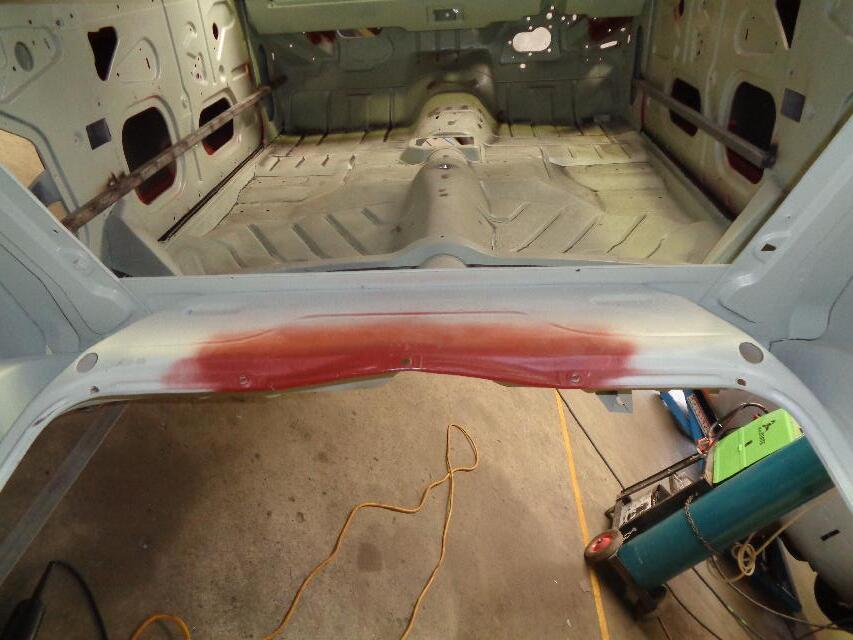
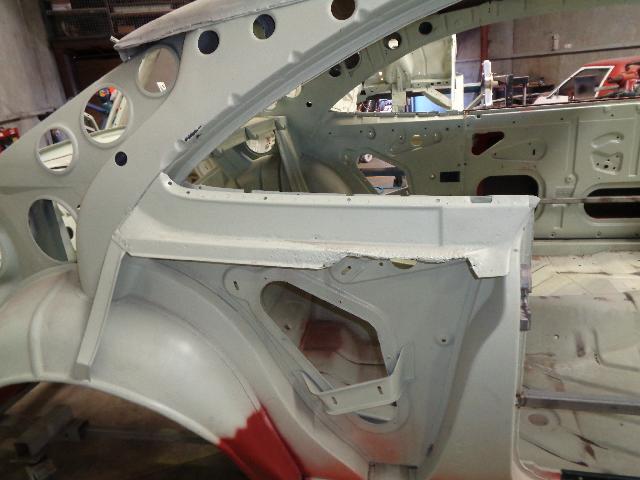
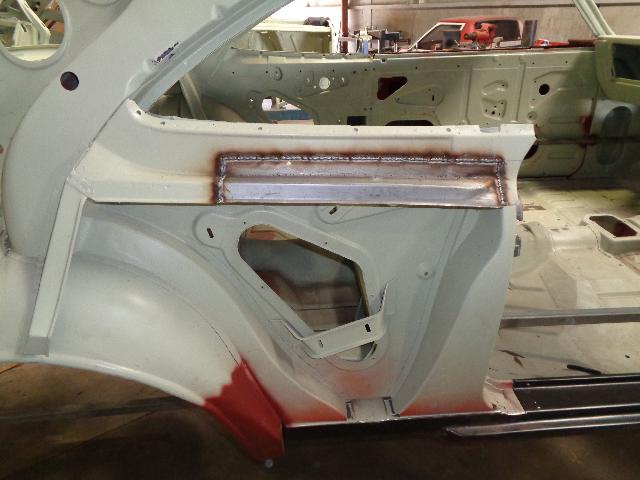
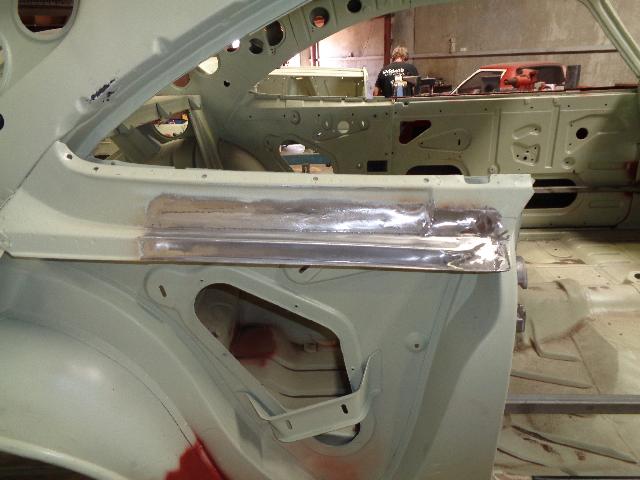
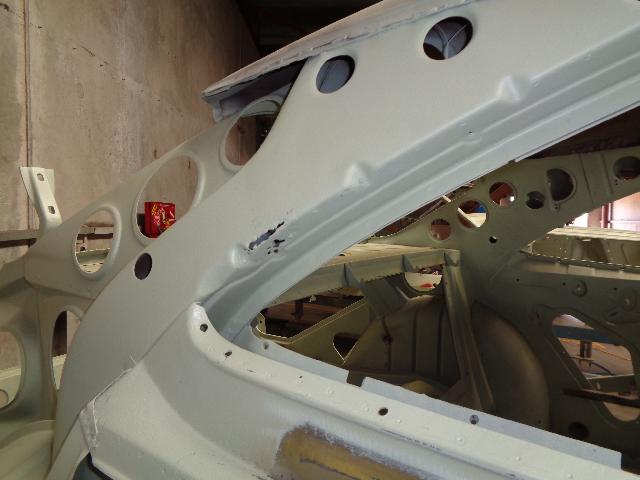
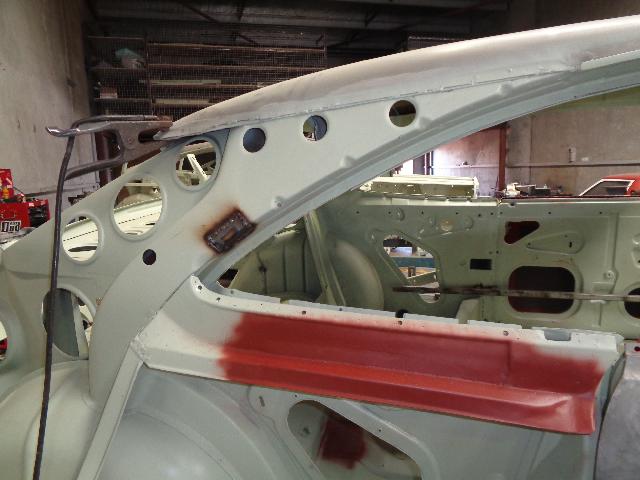
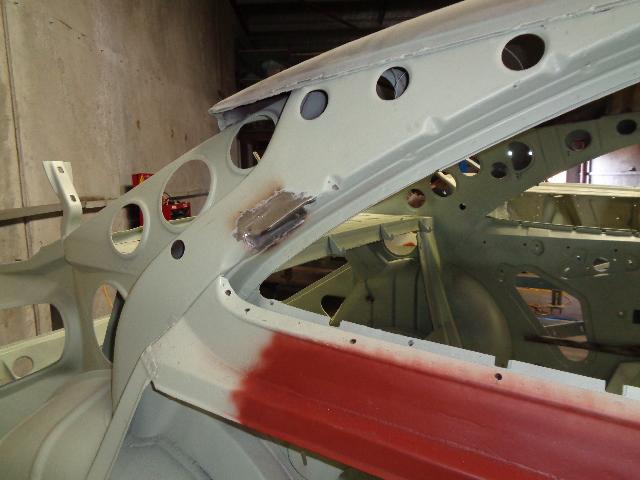
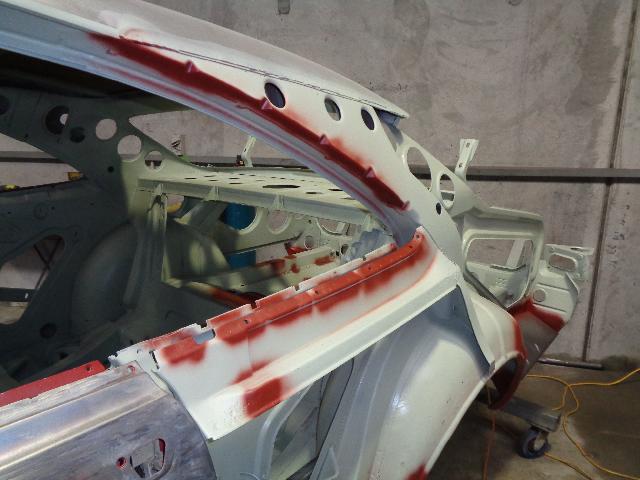
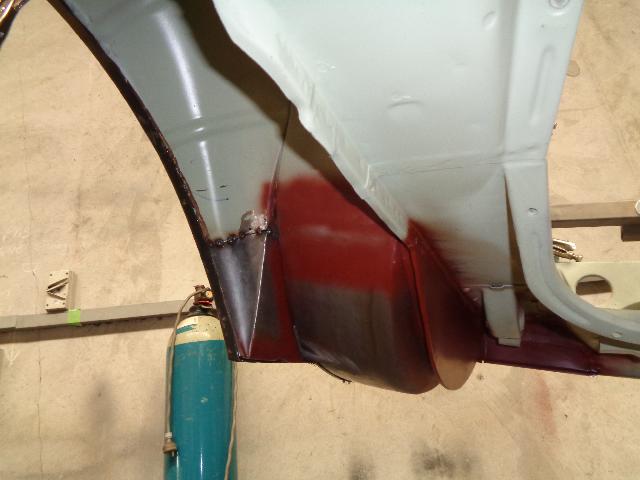
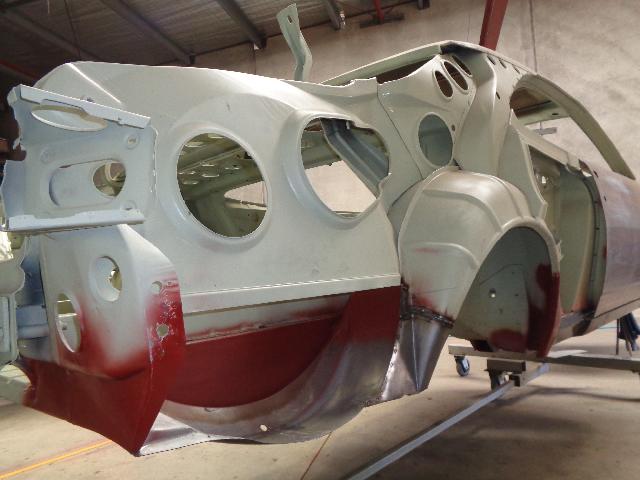
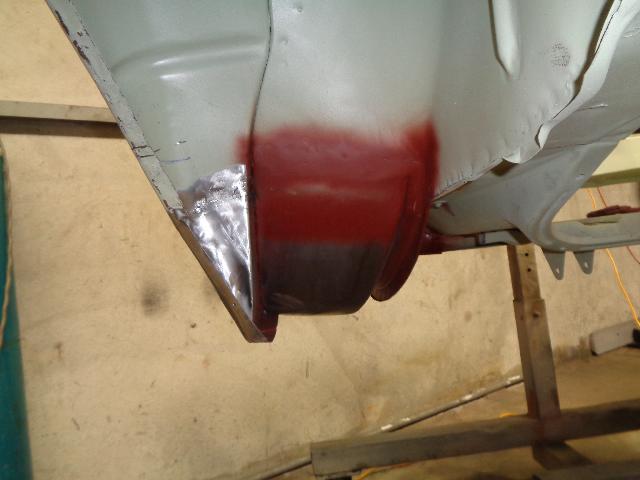
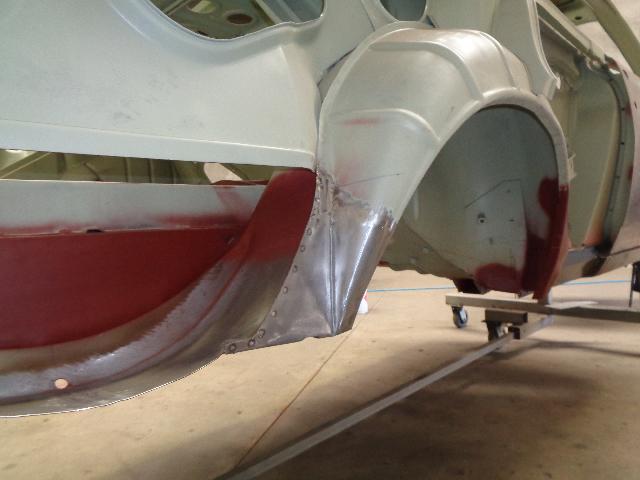
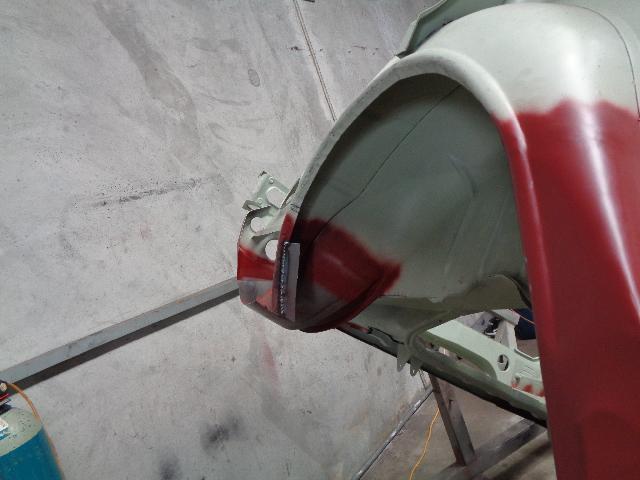
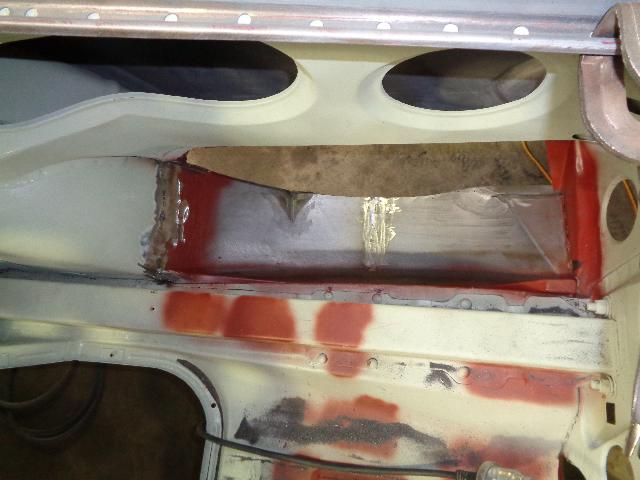
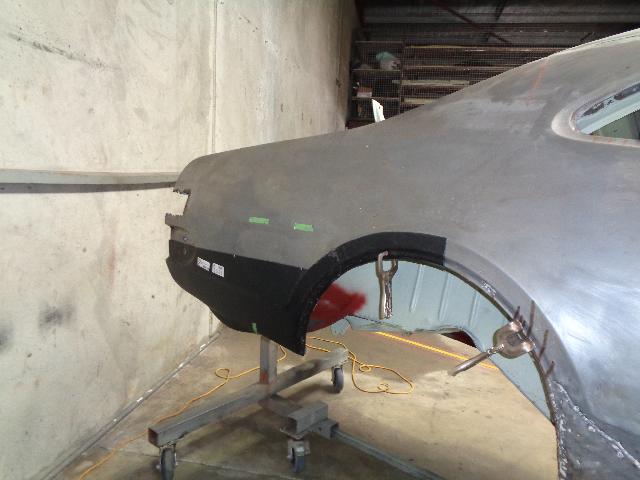
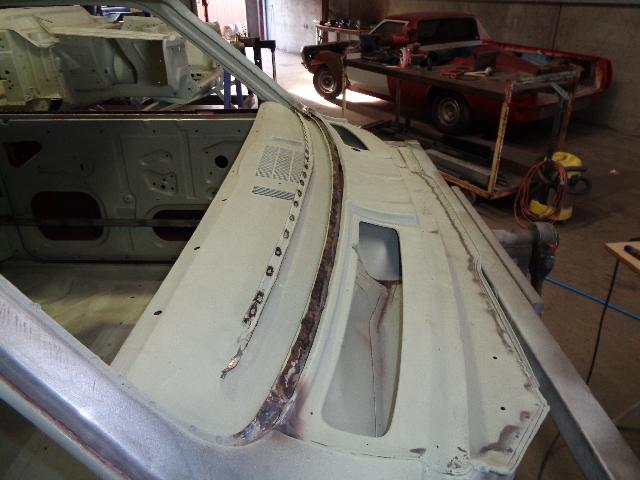
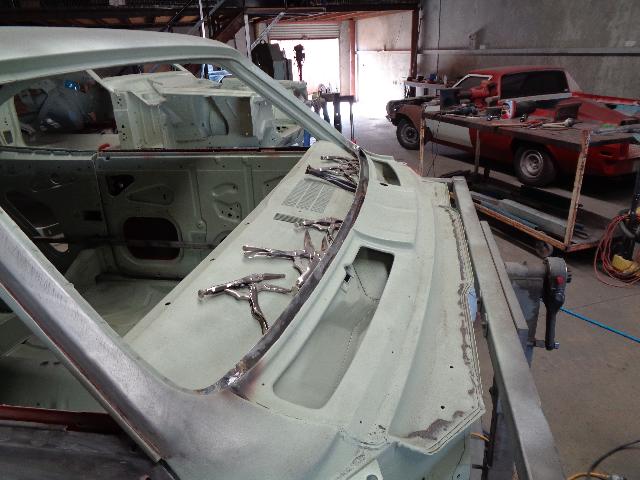
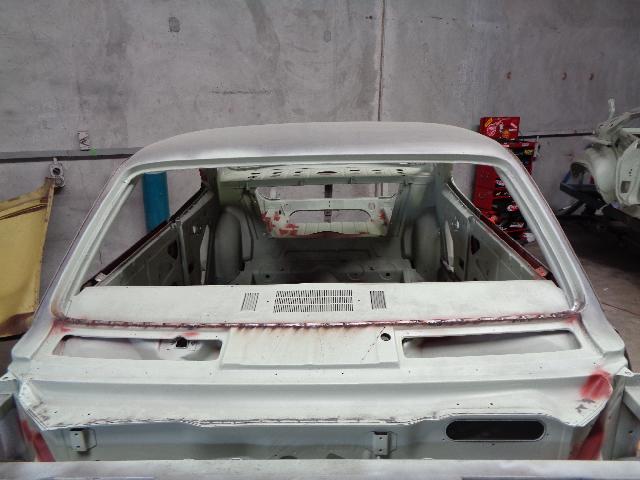
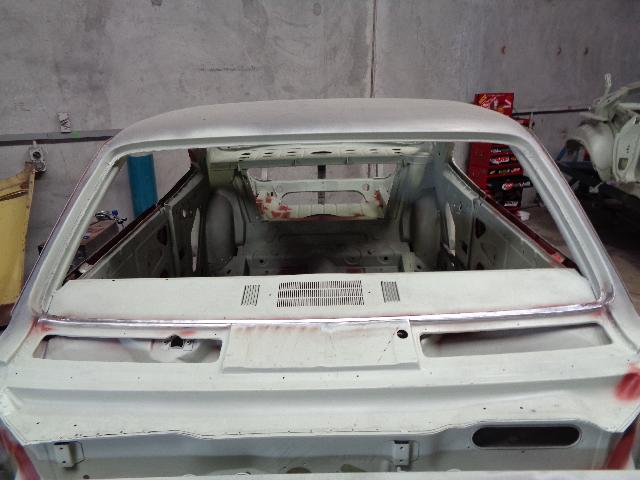
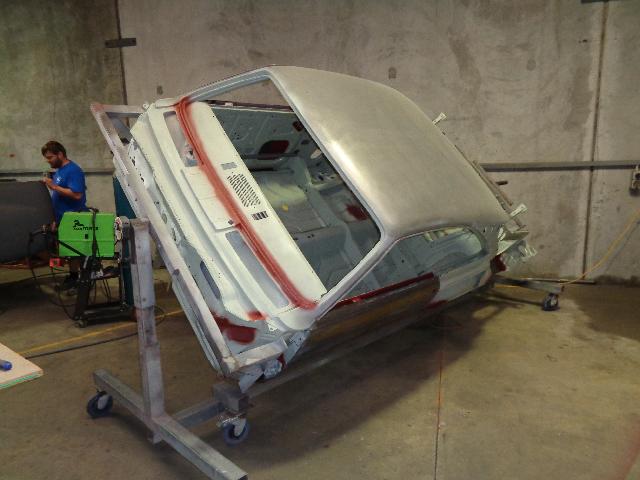
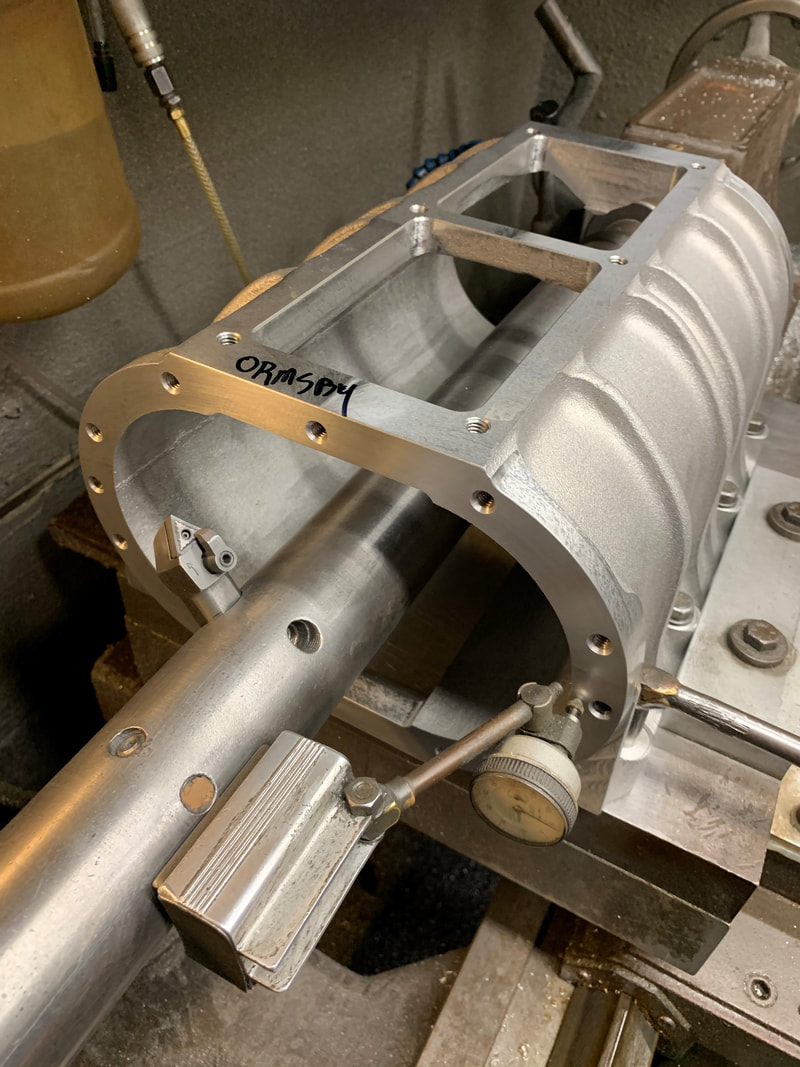
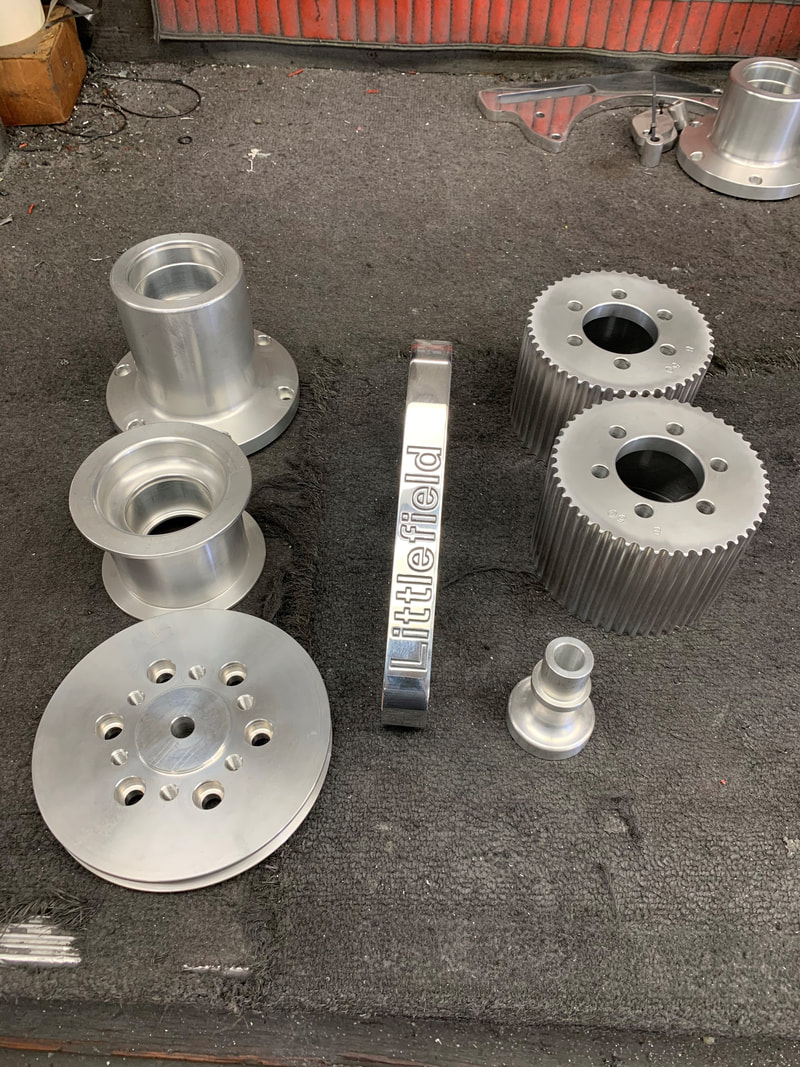
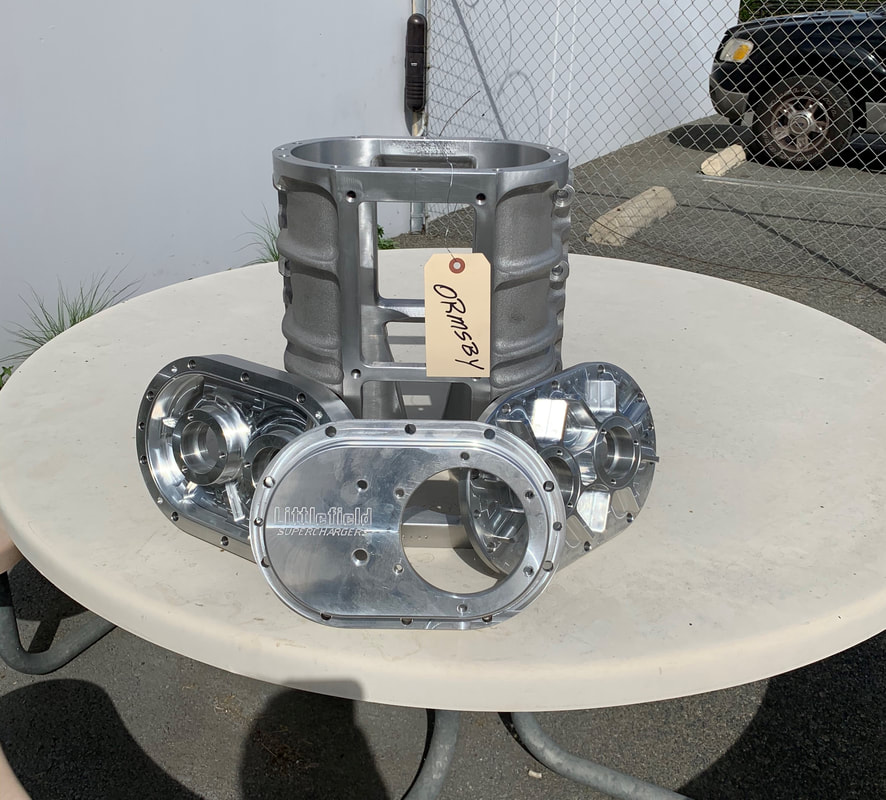
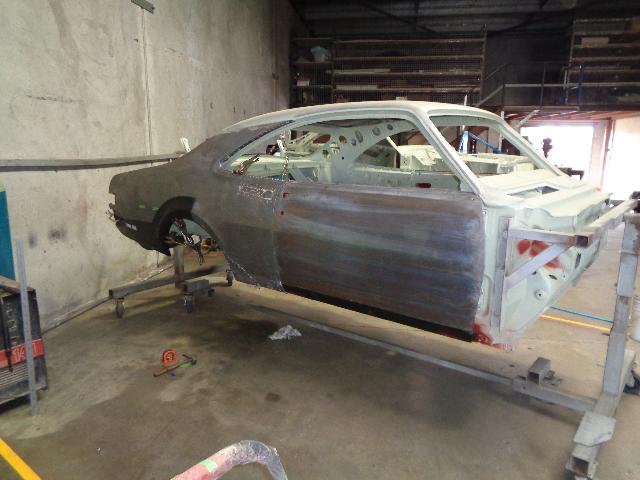
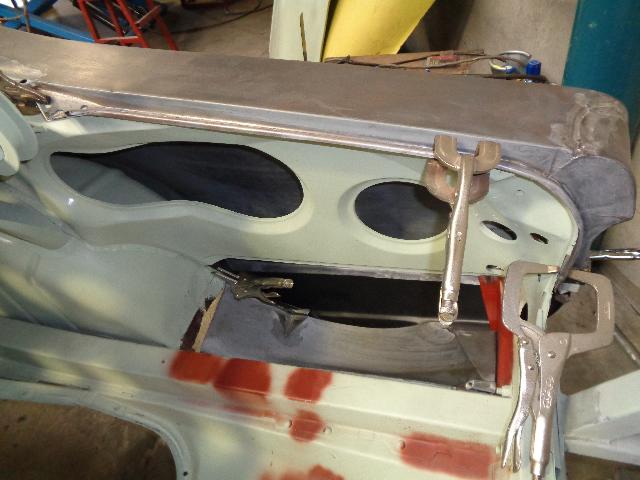
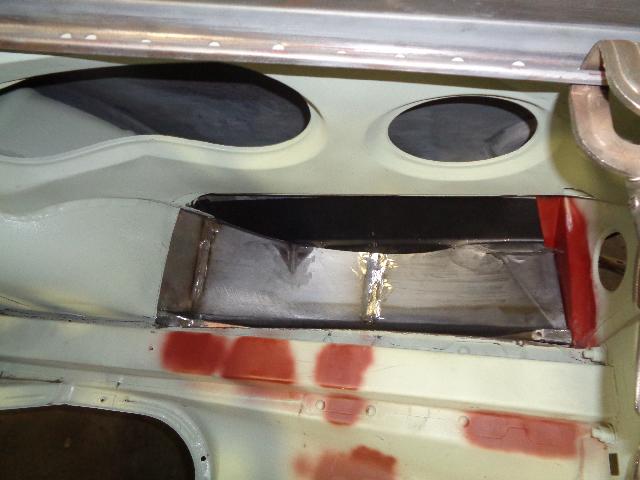
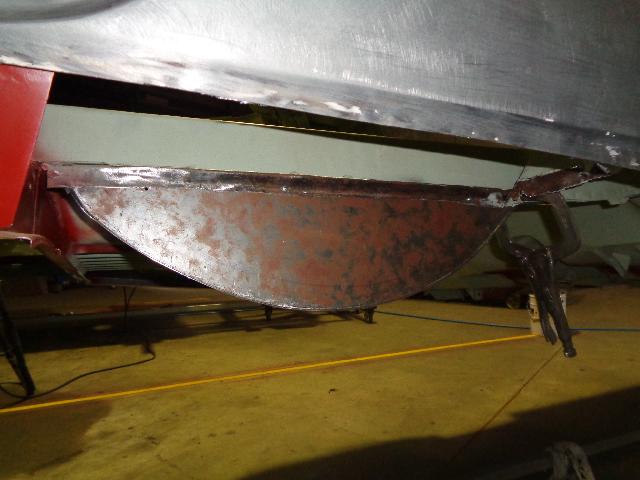
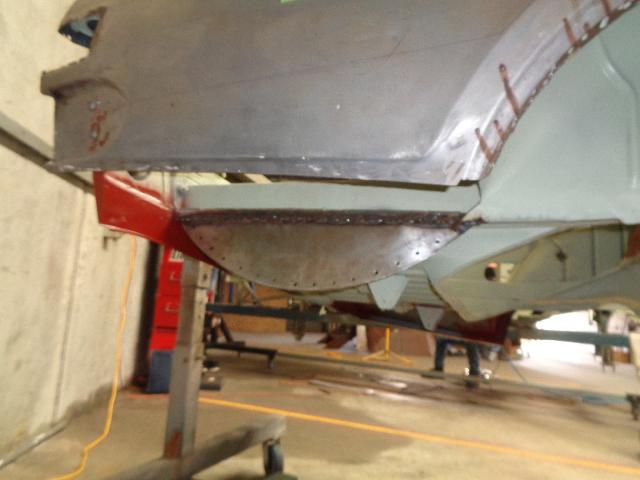
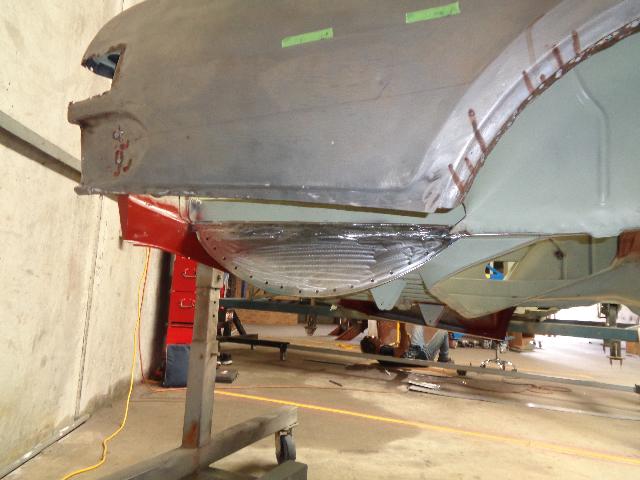
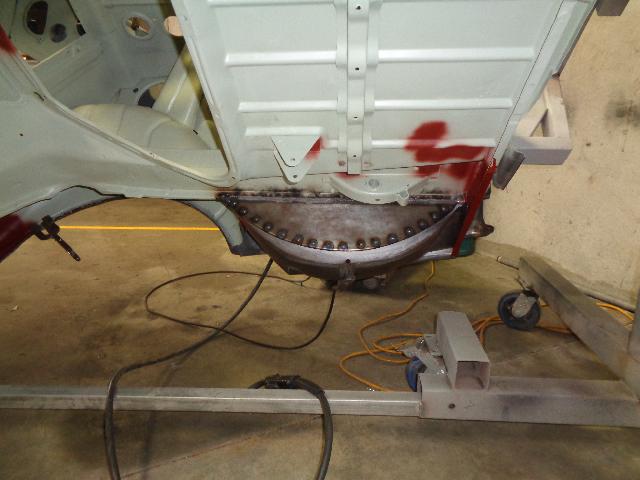
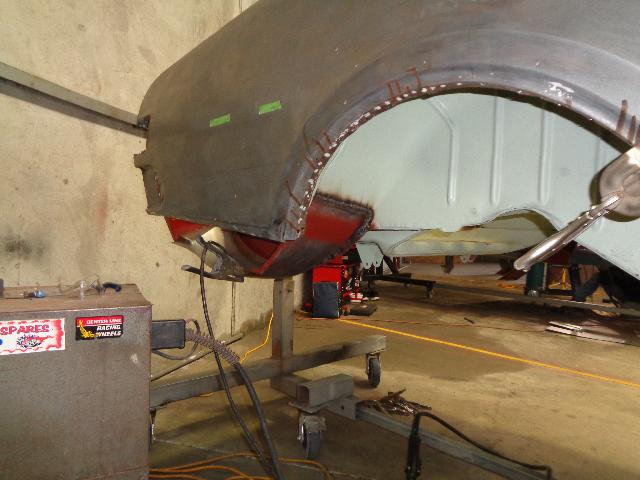
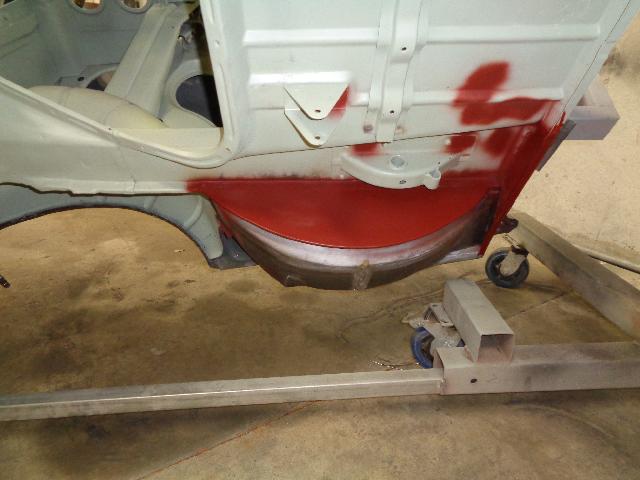
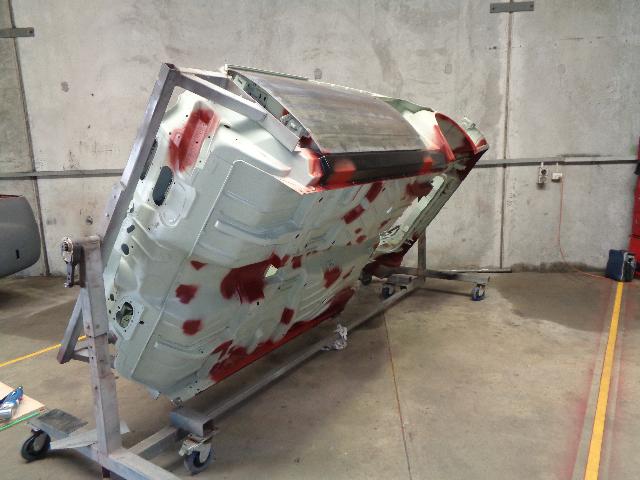
Deano's inners sill replacements arrived, and the boys got straight to work fitting them up. We used the Rare Spares out sills, which needed a small amount of work, mostly to add the drainage holes as per factory. The boot floor had already been modified back in the 80's for the big tank and hump. It was "cleaned up" by the guys, but then cut out and replaced with the Deano's part. The inner quarter support was compaired to the original, and as you can see it's a little different. I believe the early (or all?) HK's had a different design to later models. So we decided to cut the necessary pieces out and fit those rather than replace the entire part. The rear inner wheel arch needed some work, which then tied it all together with the freshly replaced spare wheel area. The front windscreen had some minor caqncer, so this was all cut out and replaced with the Deano's section. Labour during this period: 52 hours Inner quarter, front windscreen and boot floor 31.5 hrs L+R inner and outer sill fitment 20.5 hrs There was no way this car wasn't going to be MY ultimate version of the HK GTS Monaro, and that means it'll be blown :) Back in January, I was attending a trade show in Anaheim, USA, and the AirBNB just happened to be 7 miles from Littlefield Blowers. So after we finished up with everything to do with work, we made the trip out to see the guys, and place the order in person. It's so cool to see a small family run business making world-class products. No big corporate office spaces. No international mega budgets for advertising. Just old school hard work, and a great reputation. After about an hour of checking out all the stuff they were working on, and a factory tour of the process, I ordered a 6/71 blower, in anodised black. Rotors are high-grade 7075 alloy, which is actually the strongest aluminium on the market. The pulleys selected should see around 12psi. The spare wheel well wasnt fitting up perfectly, so it's been cut out and modified to suit. Labour during this period: 14.5 hours Modify spare wheel well and weld in 14.5 hrs |
HK GTS MonaroFollow the rebuild! Archives
March 2020
Categories |


 RSS Feed