|
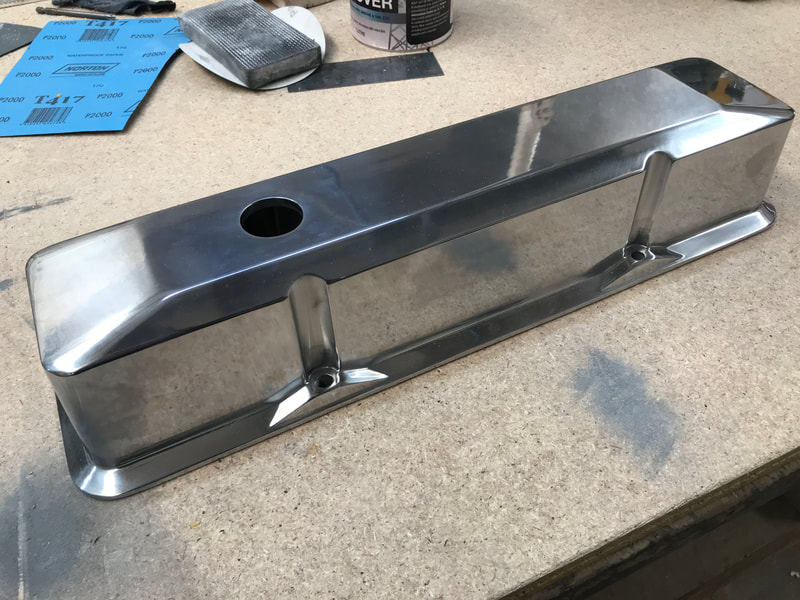
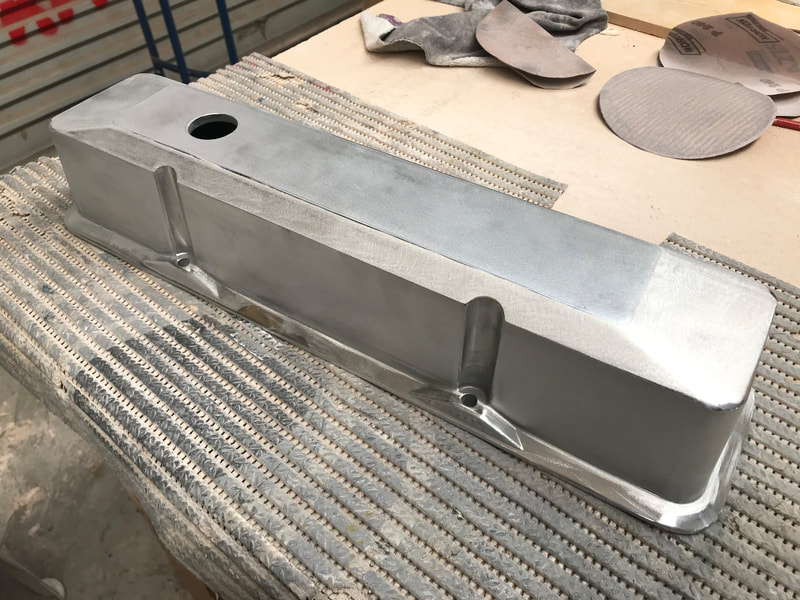
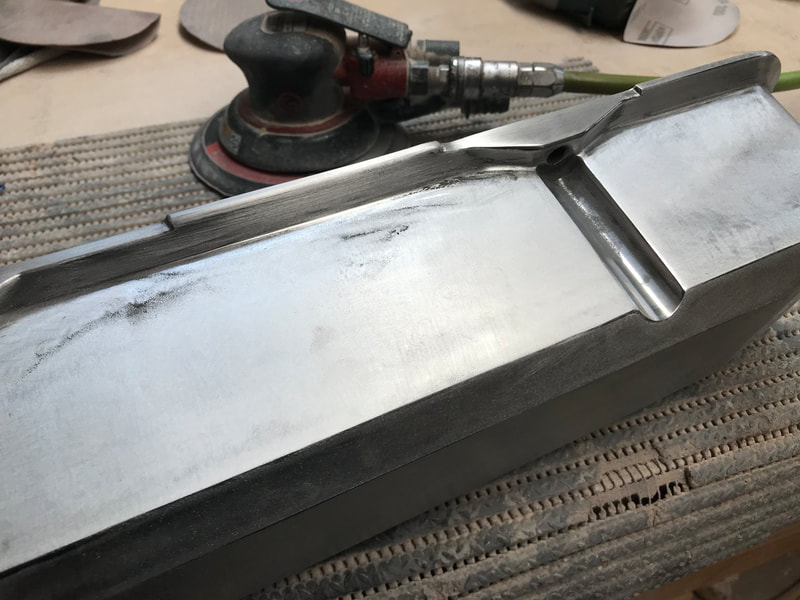
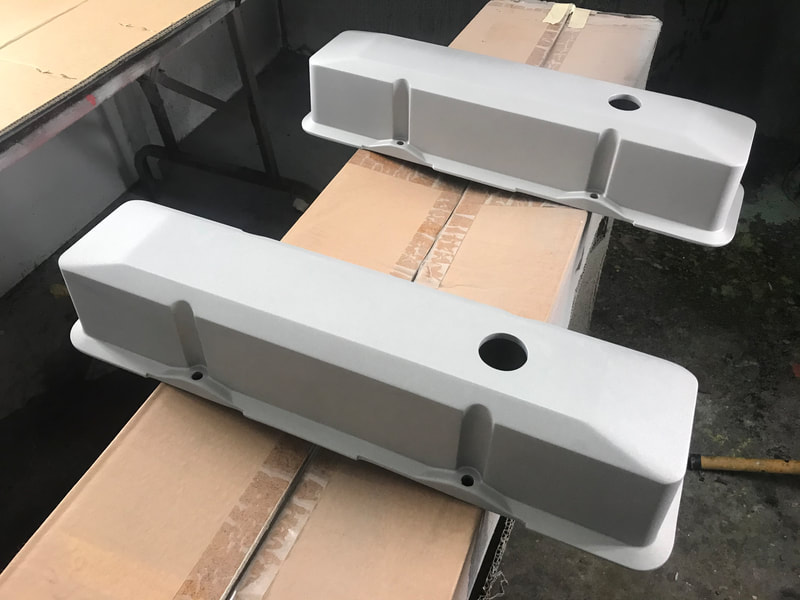
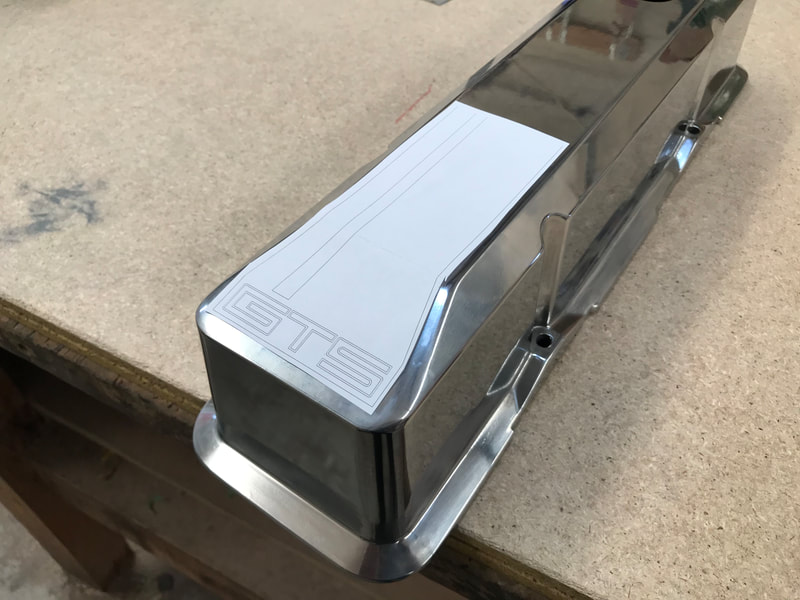
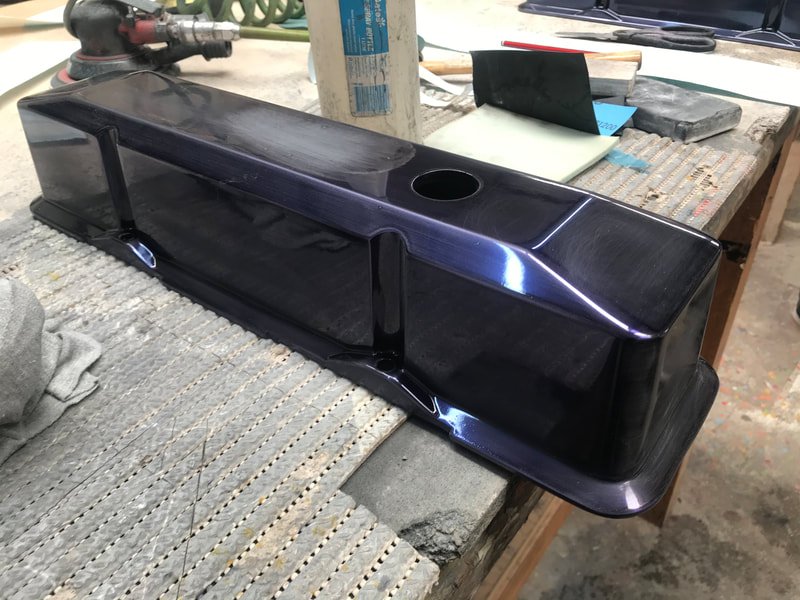
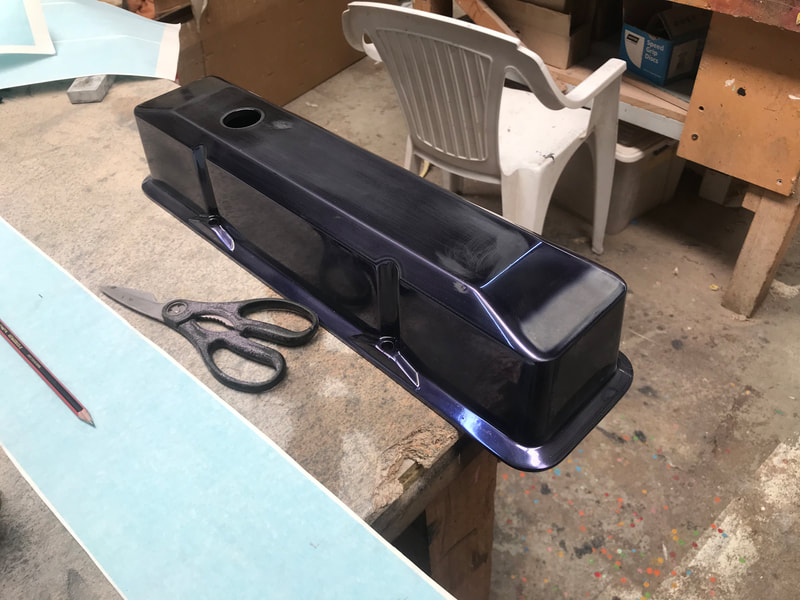
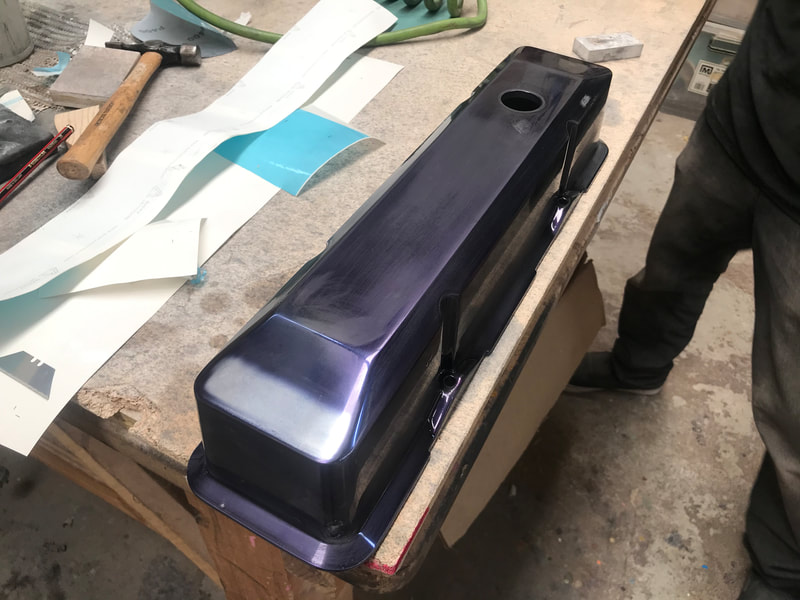
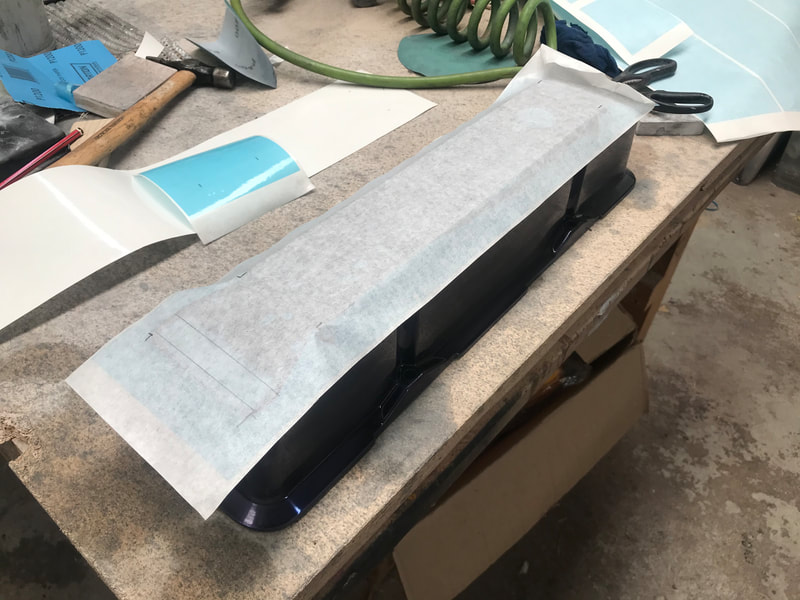
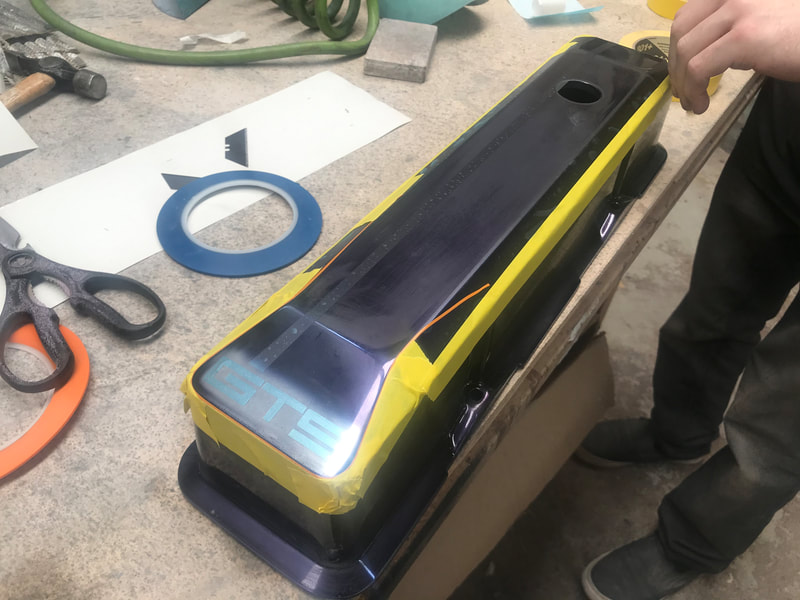
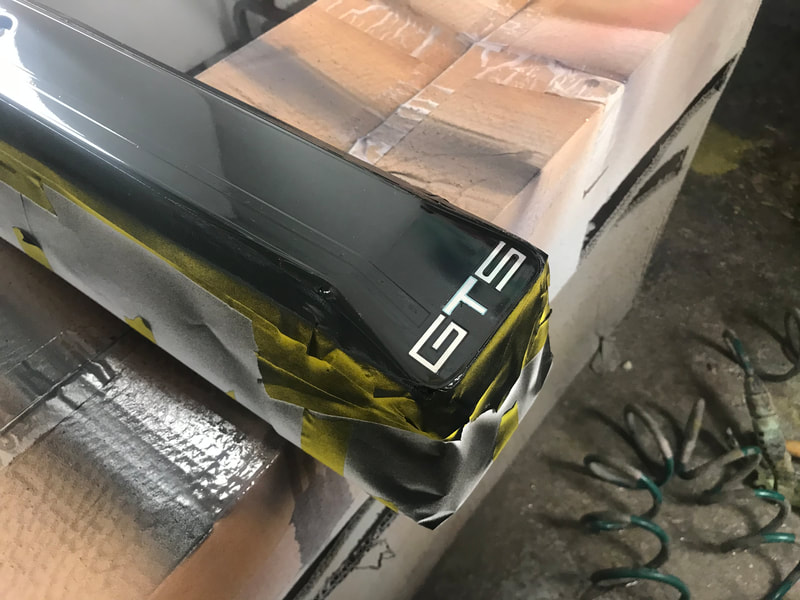
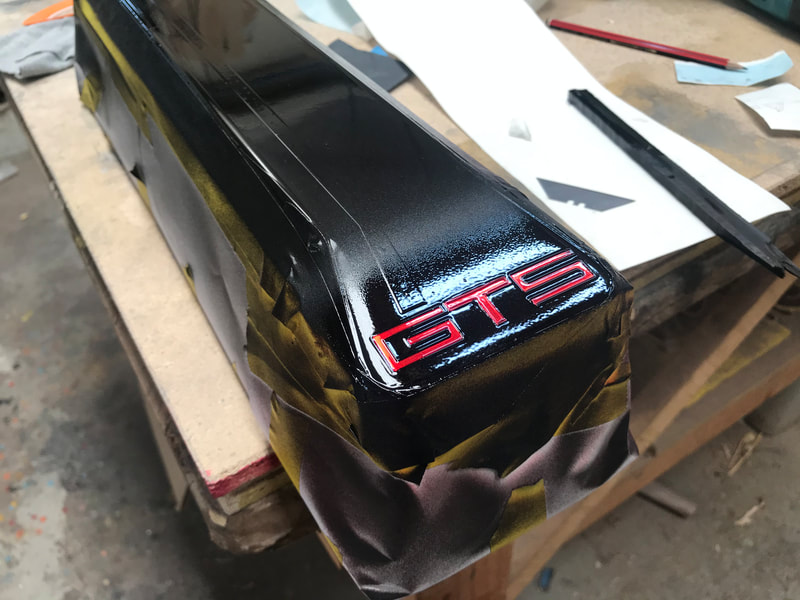
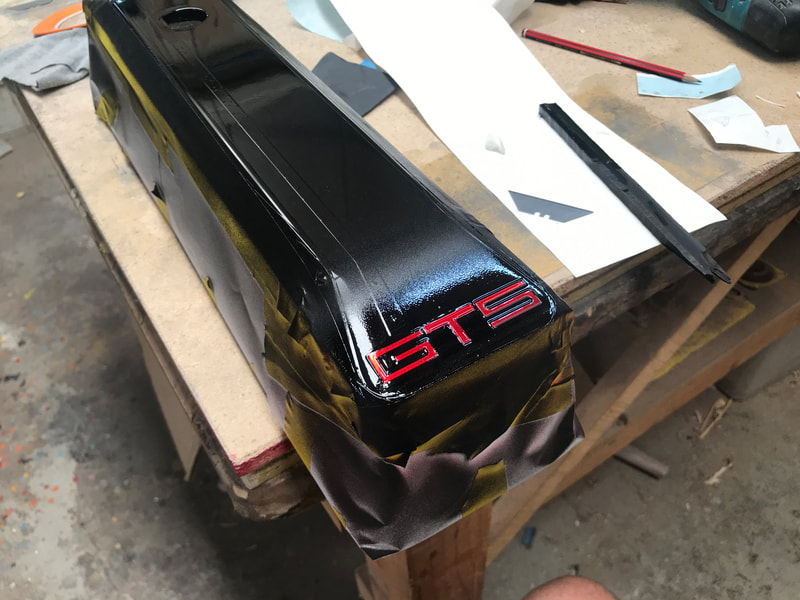
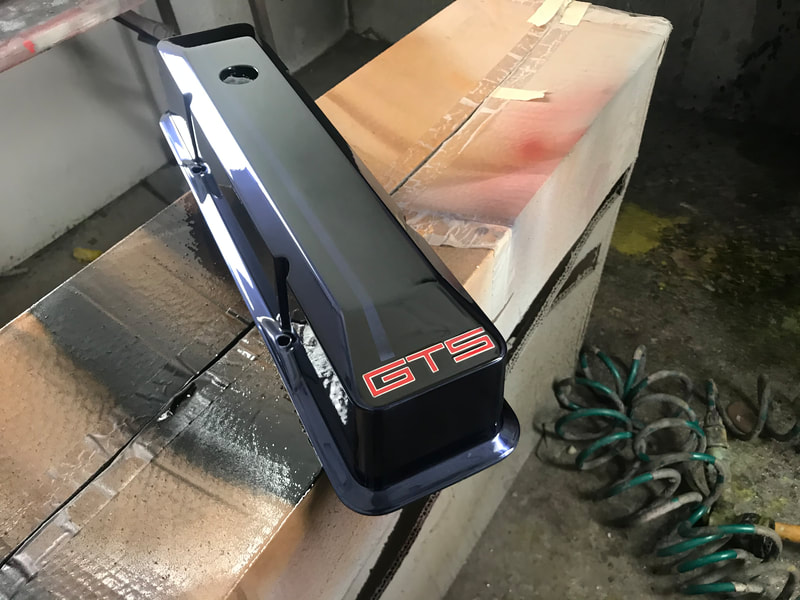
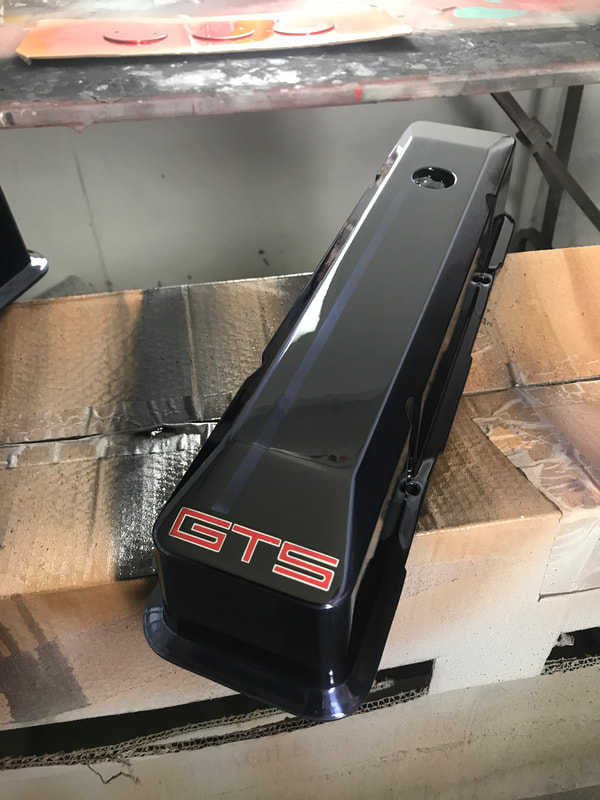
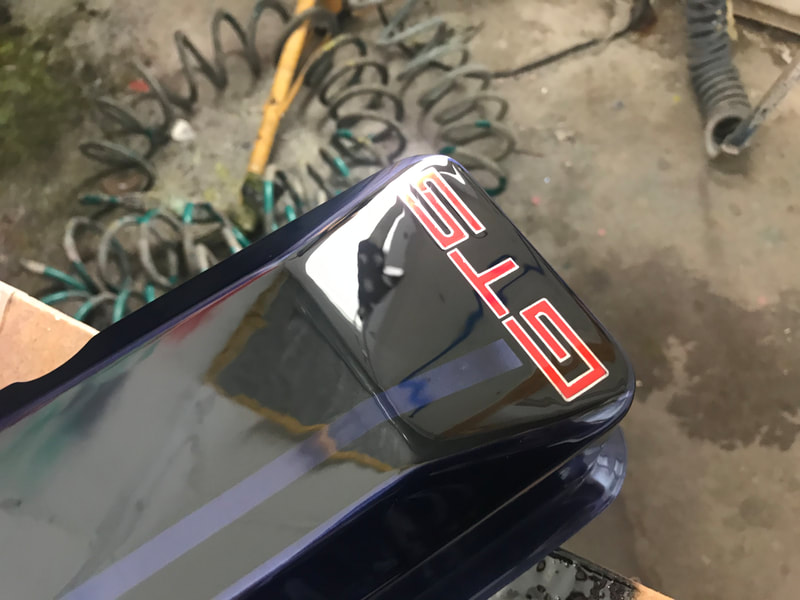
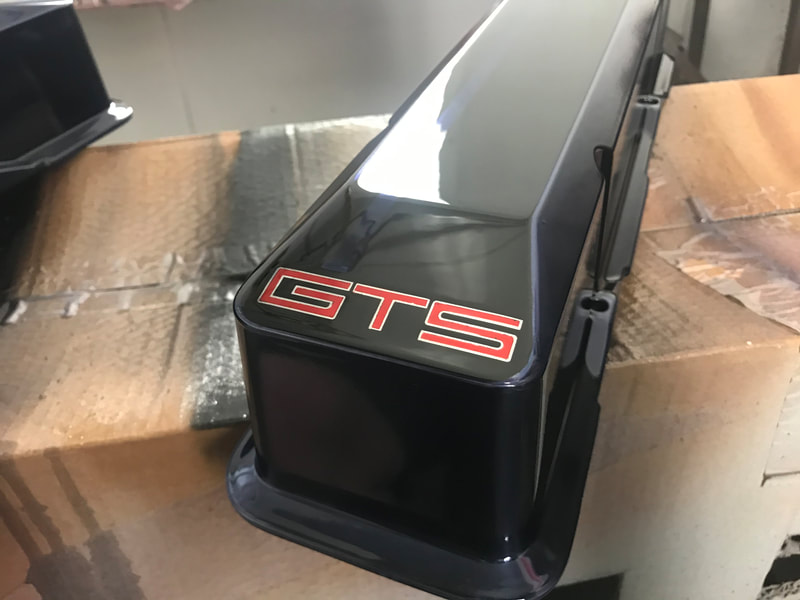
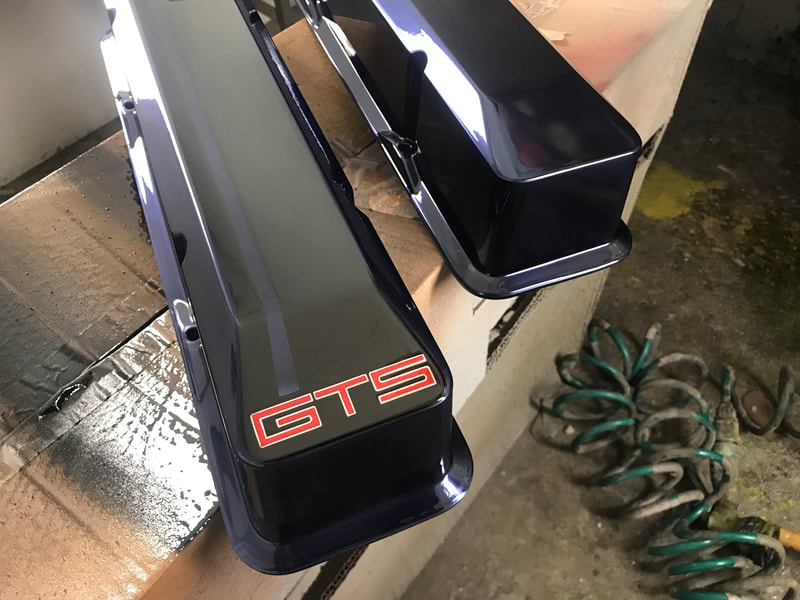
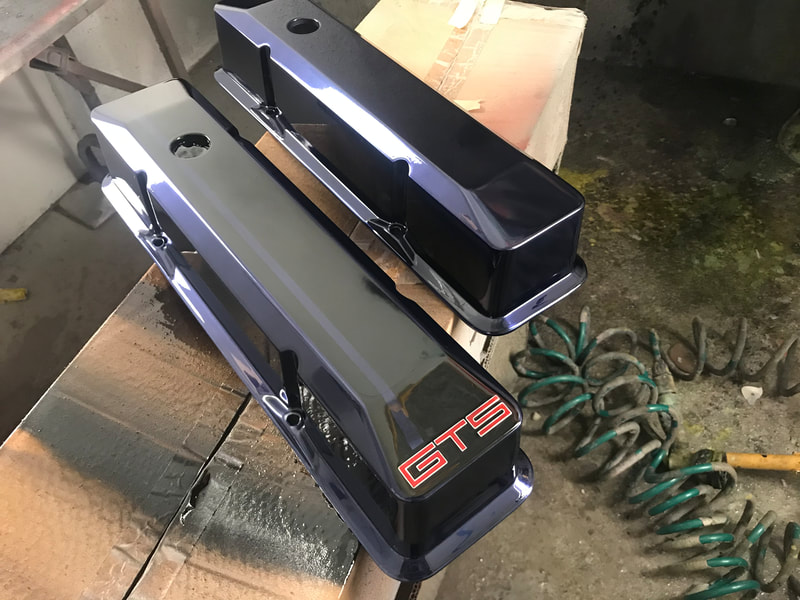
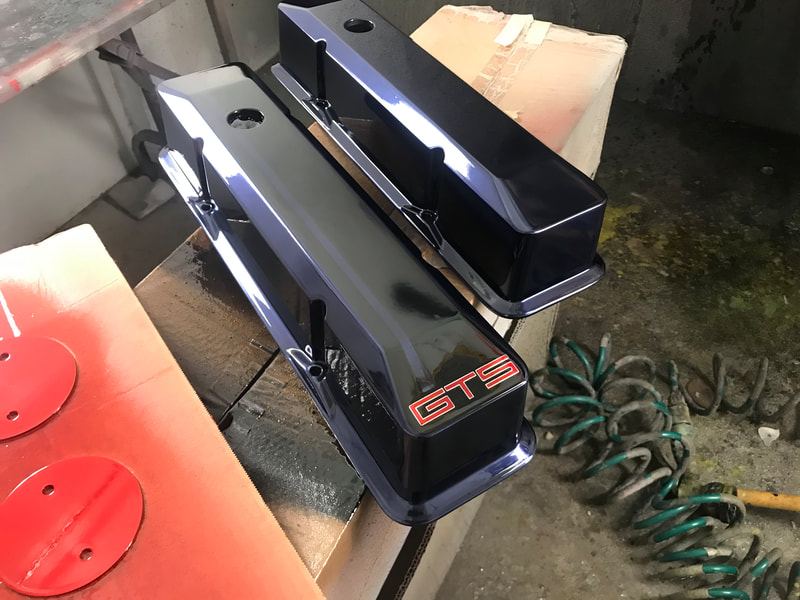
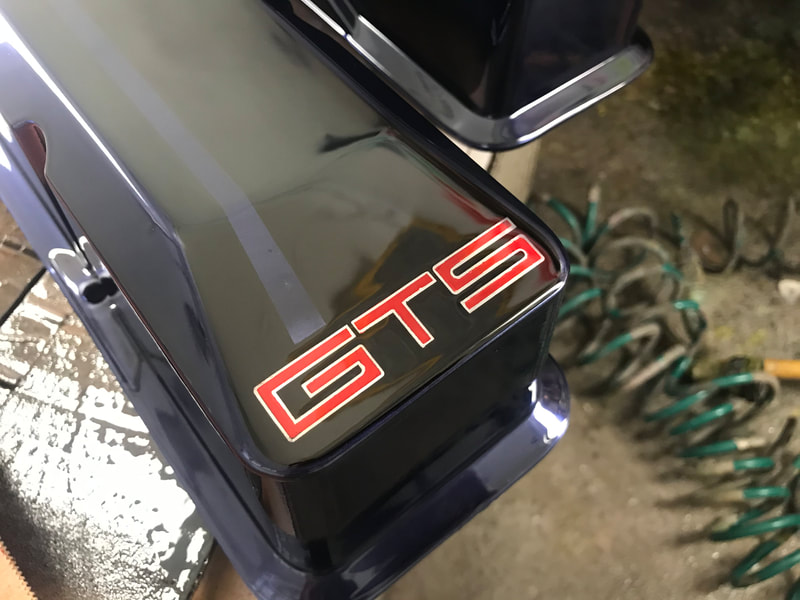
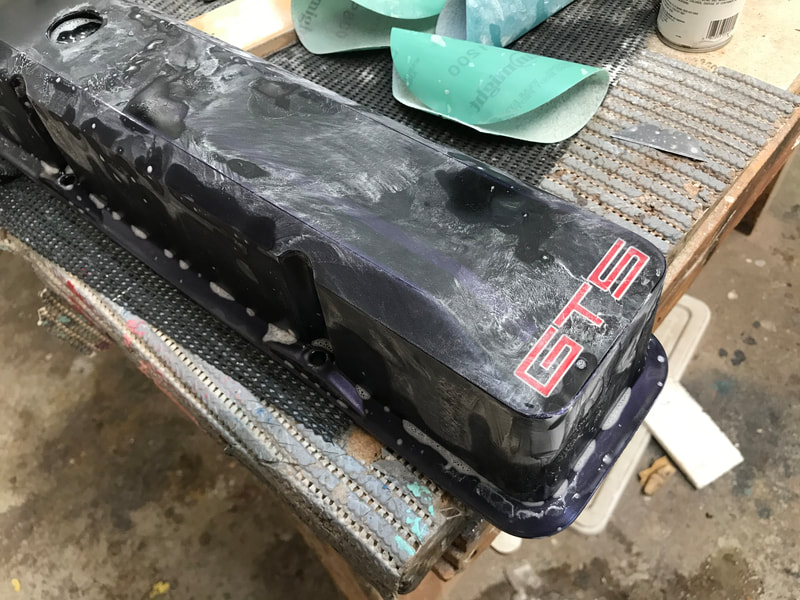
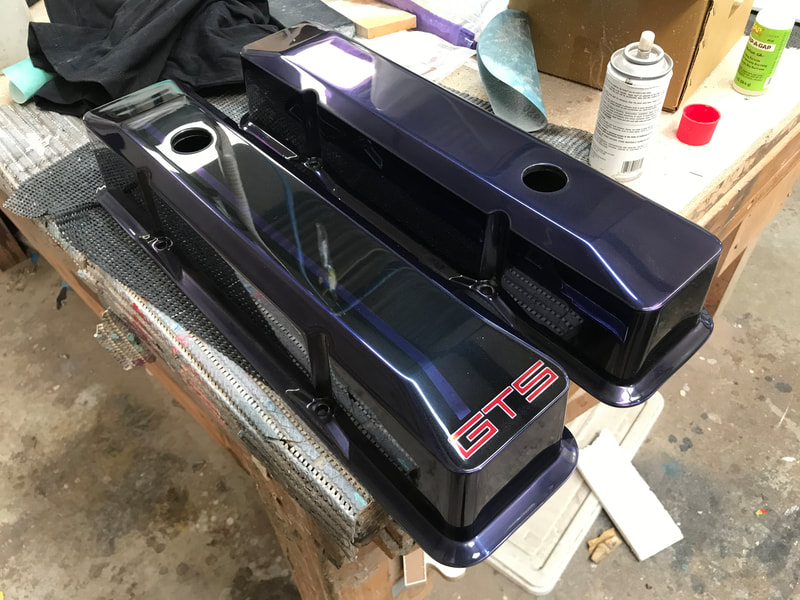
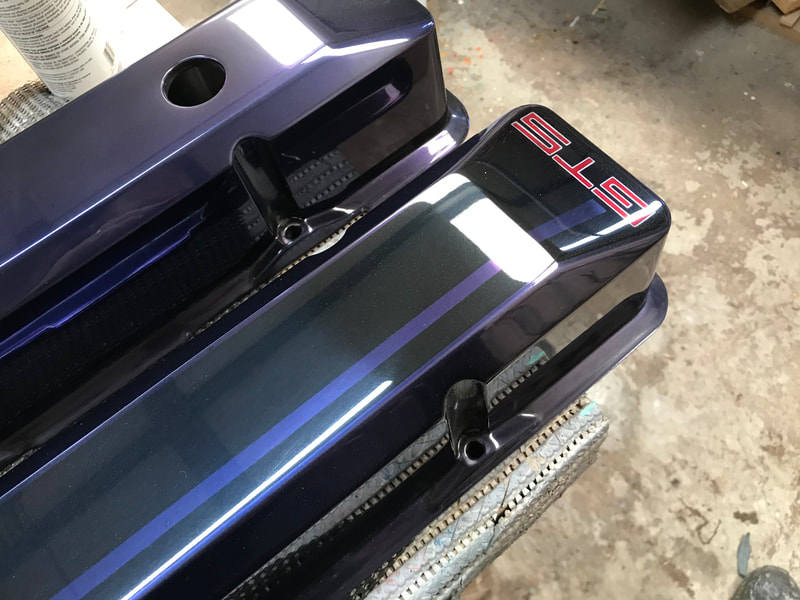
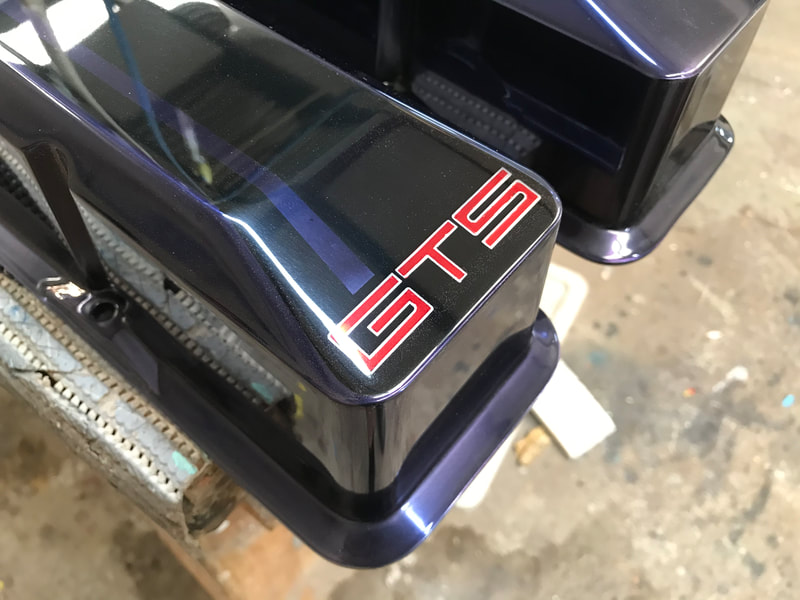
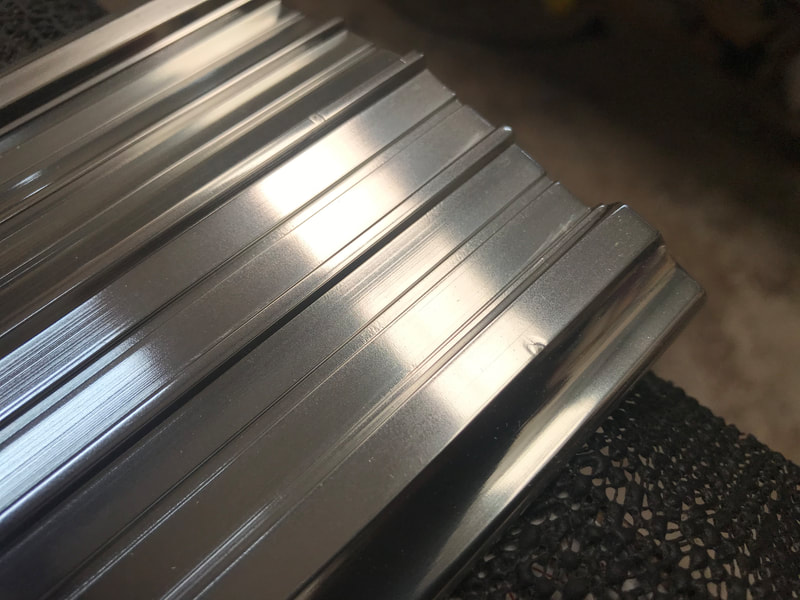
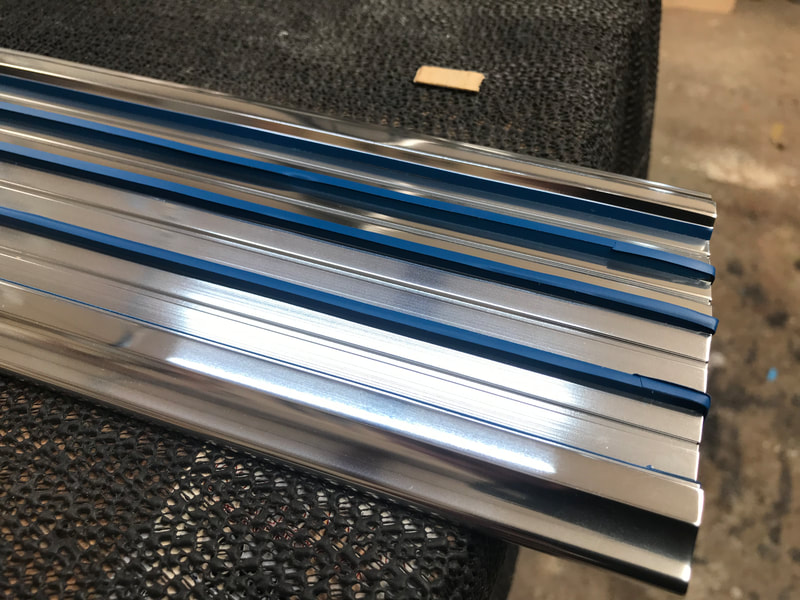
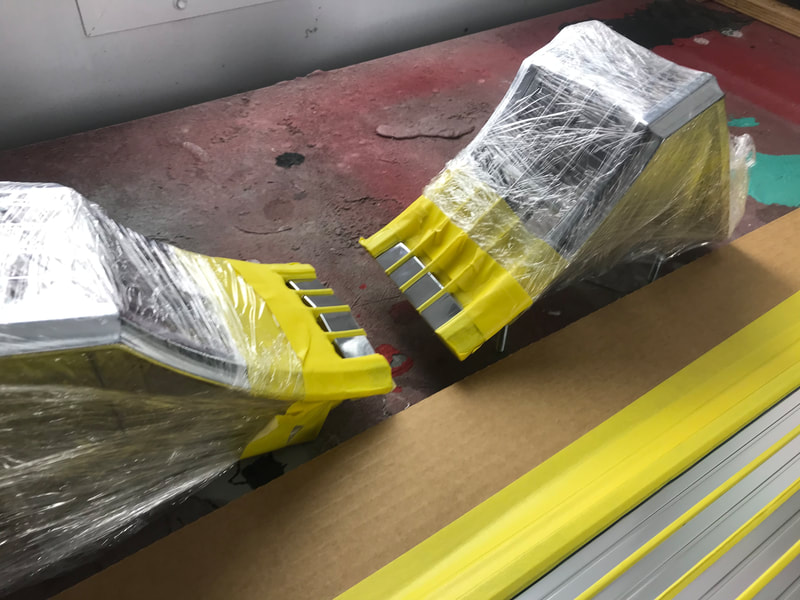
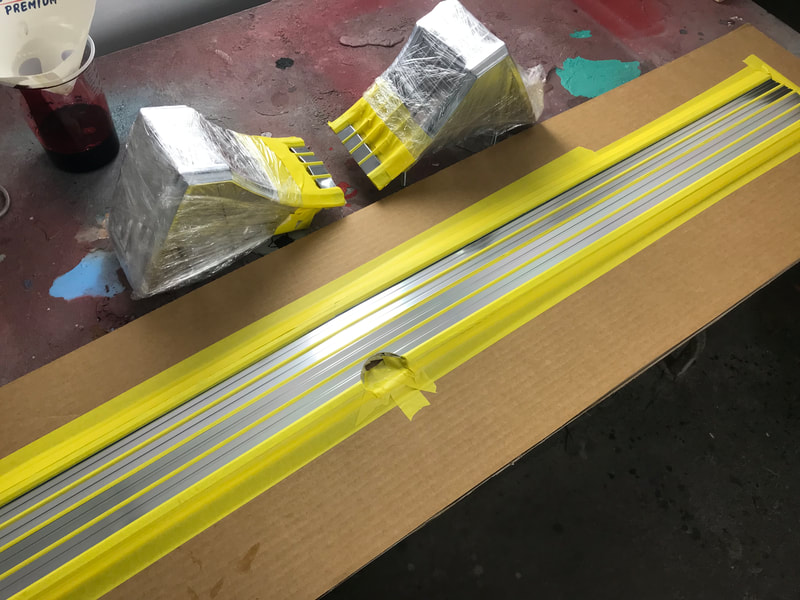
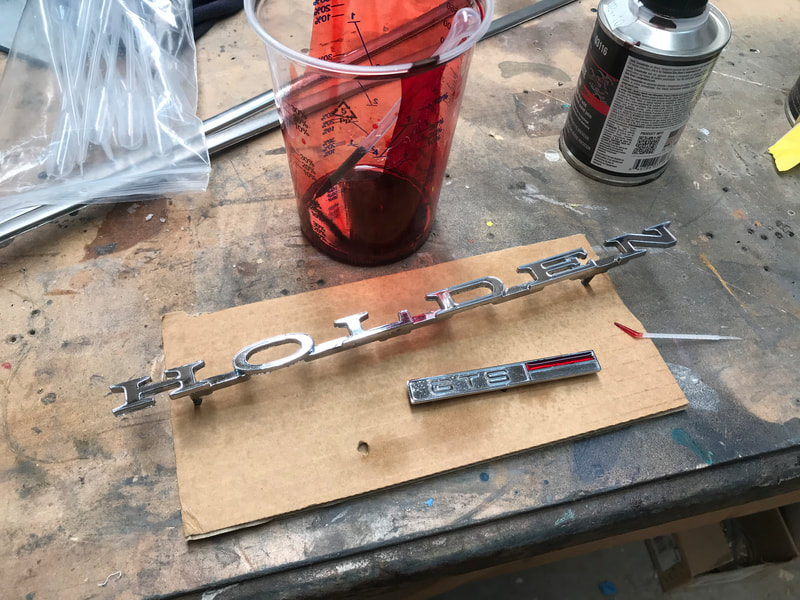
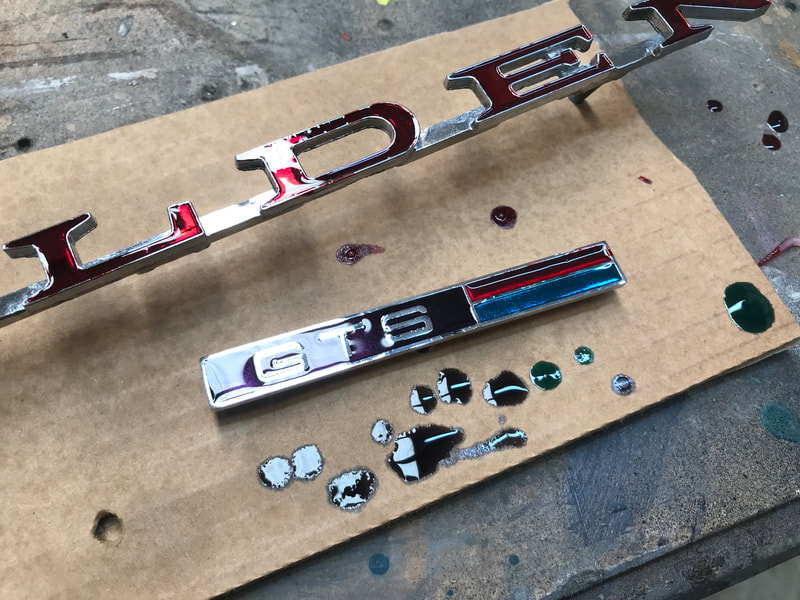
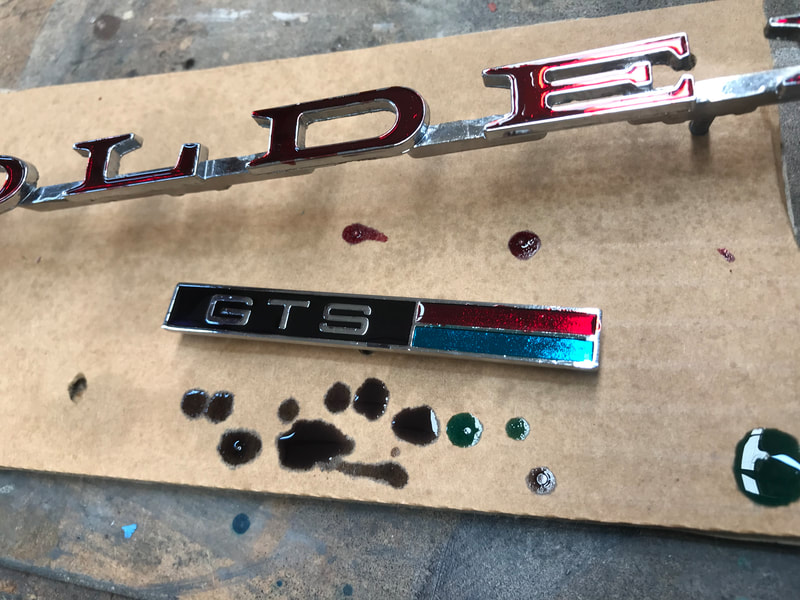
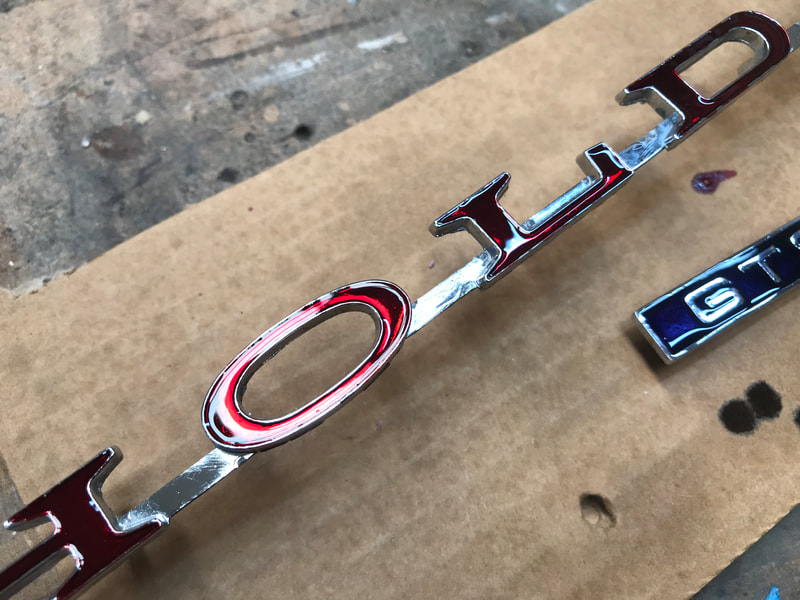
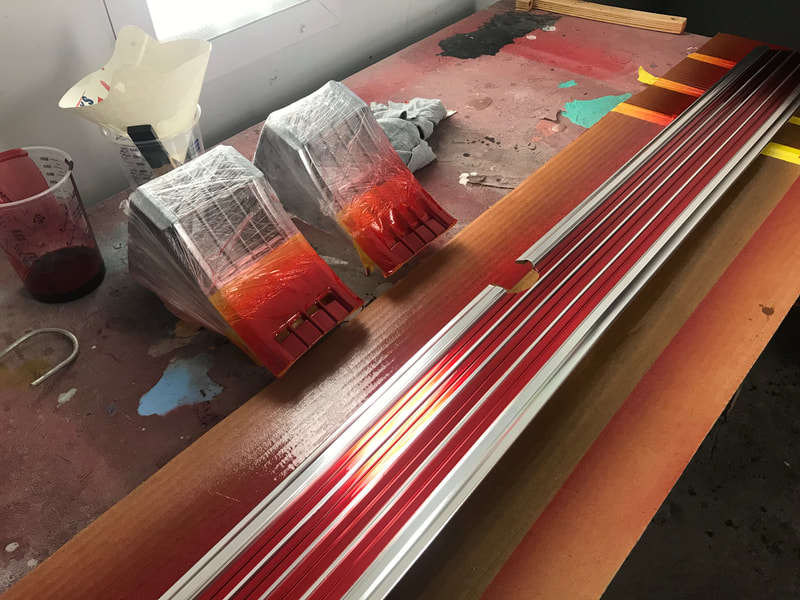
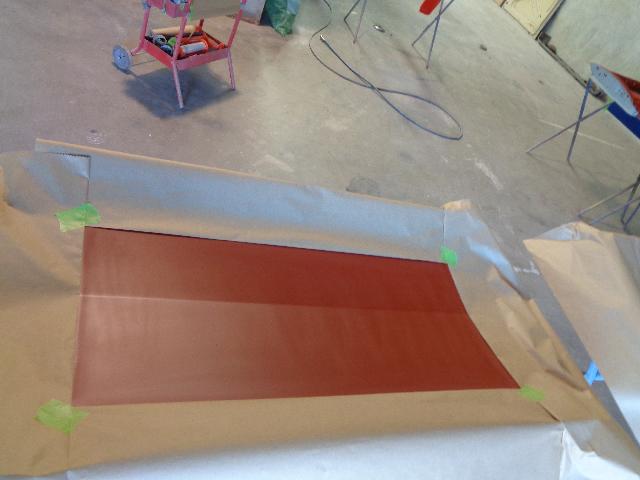
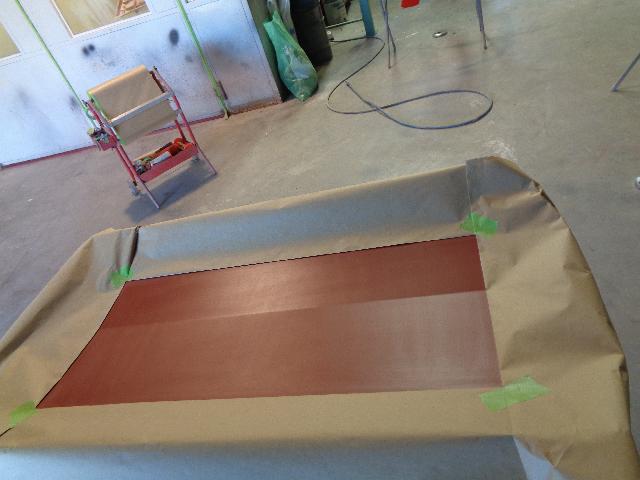
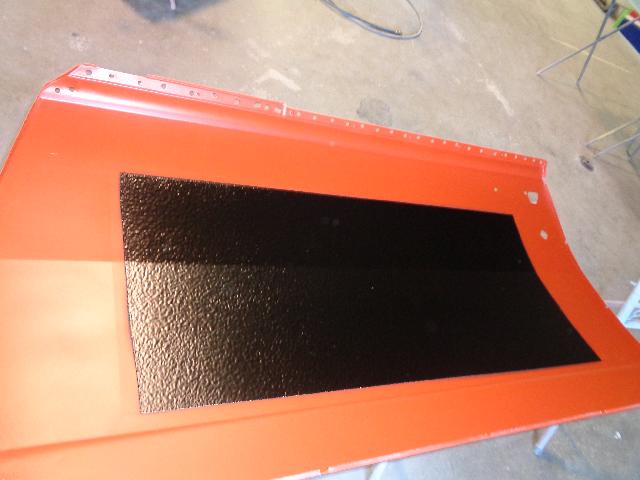
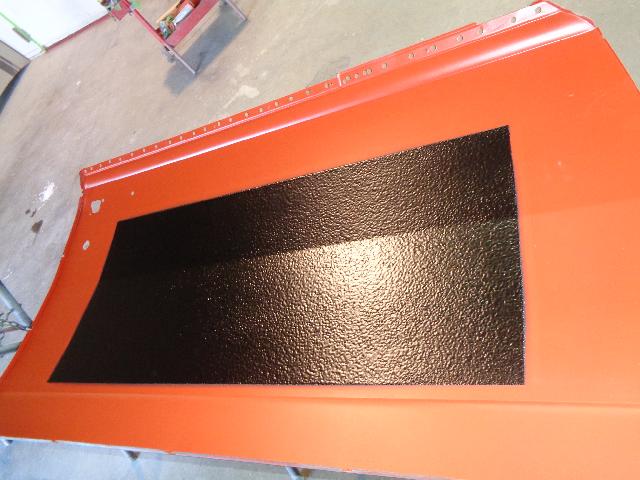
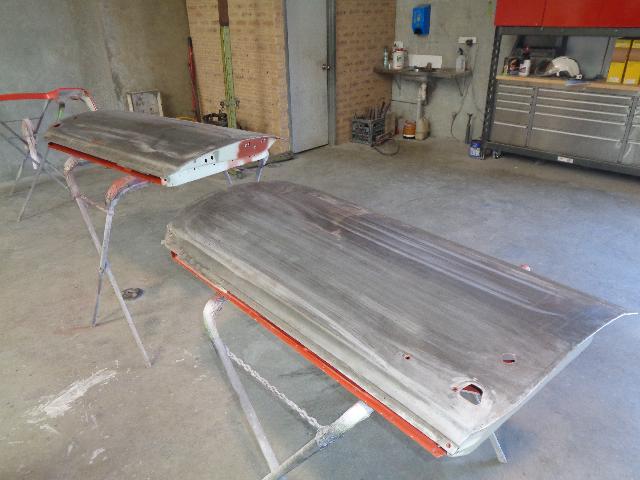
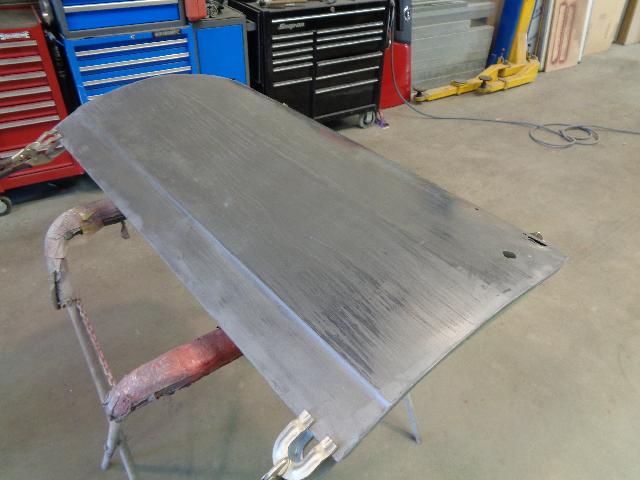
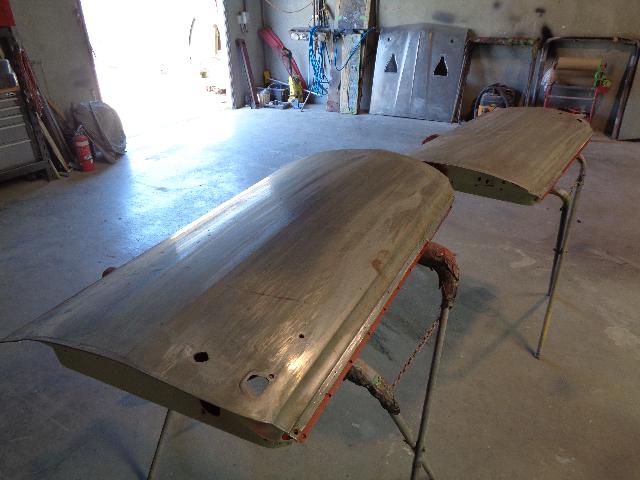
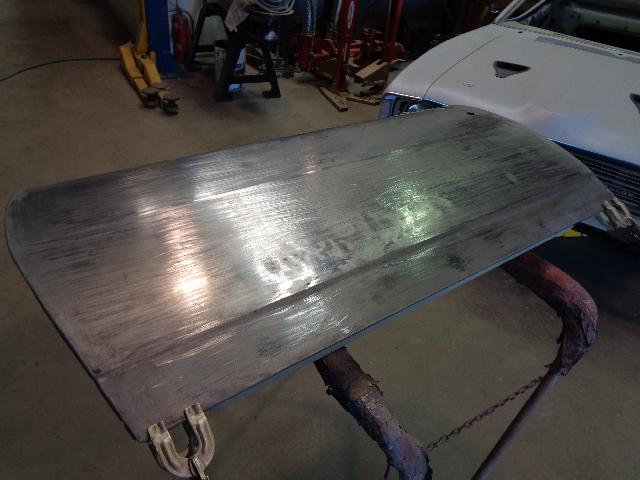
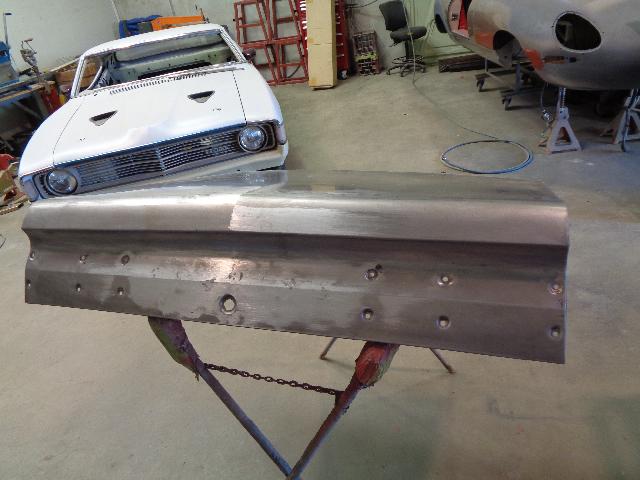
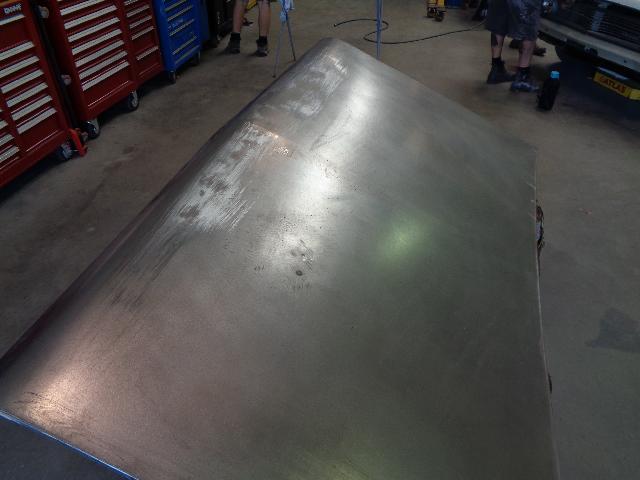
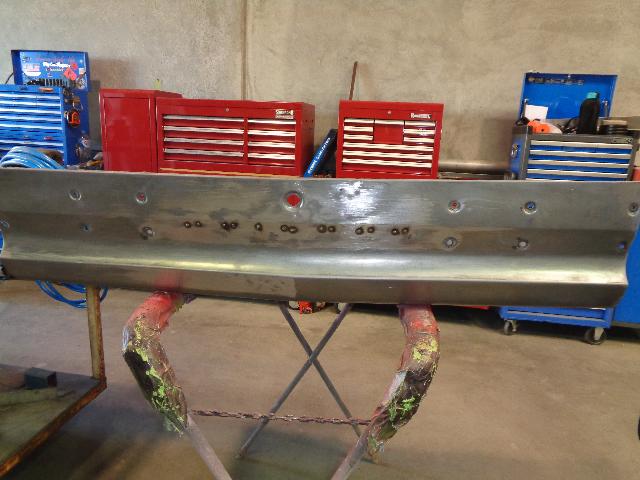
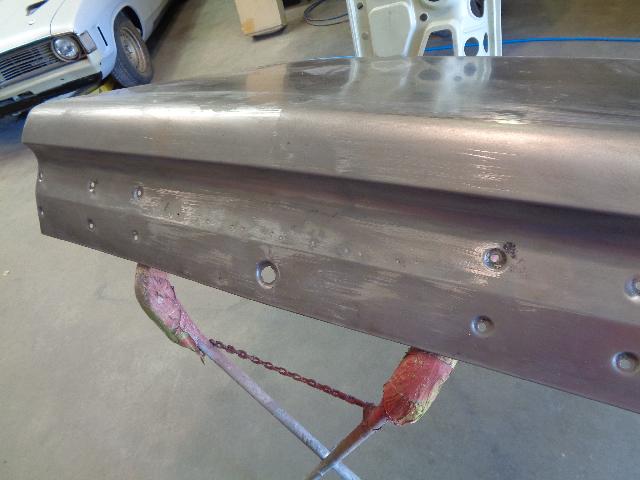
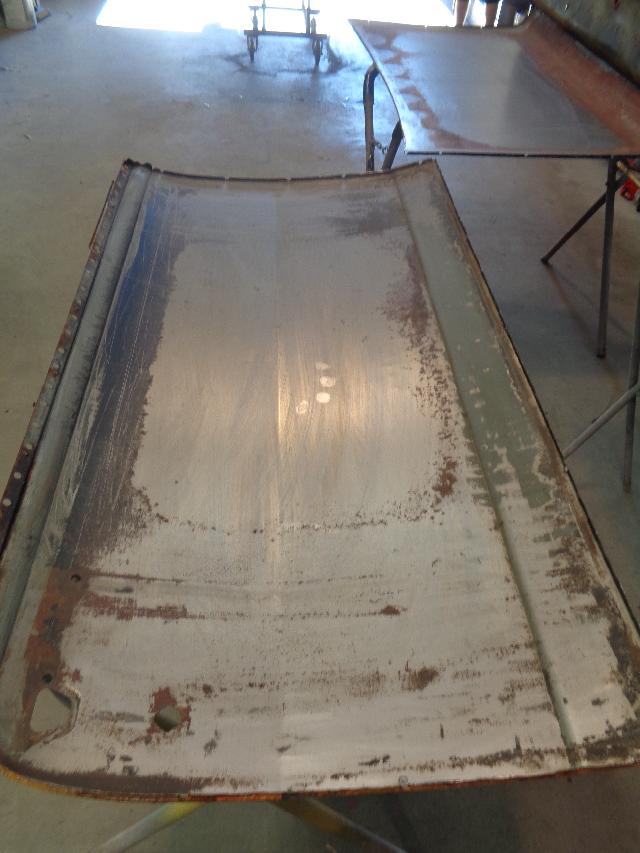
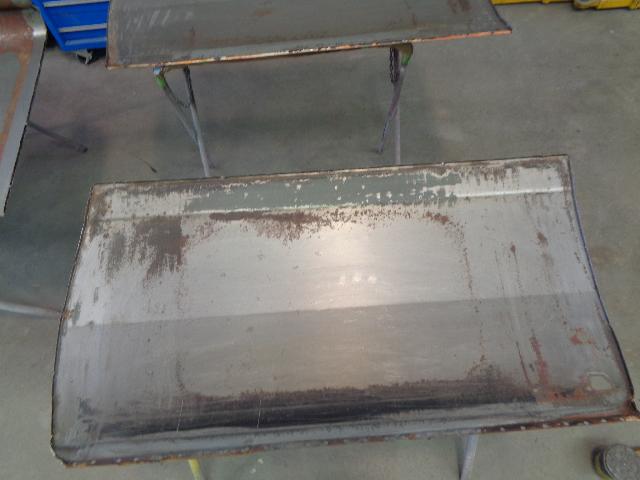
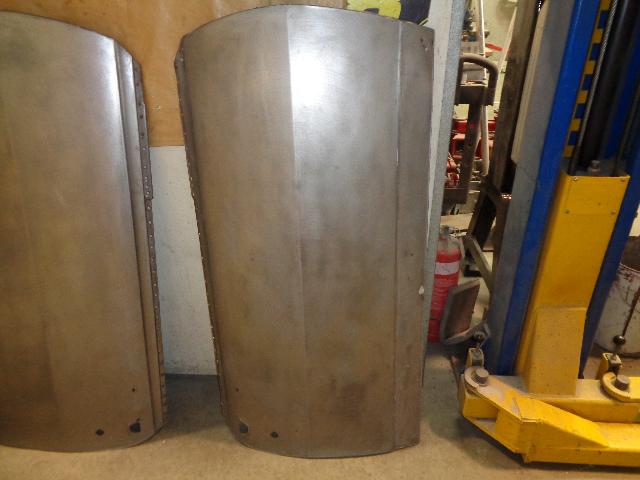
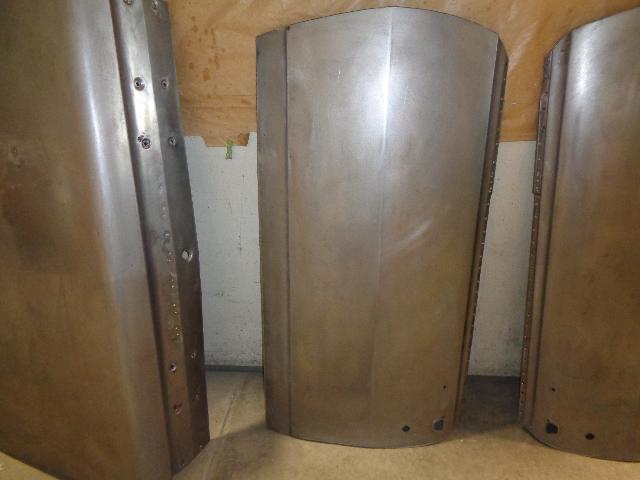
Started off with a set of alloy rocker covers, but we noticed there was some minor imperfections on the top and sides. Mostly just ripples, not a perfectly flat finish, which was noticeable when the light reflected off them. The polishing in the corners could have been better too. So I got a block, some 120 grit sand paper, and started flattening them out. Sanding through to 2000 grit, then polishing on a buffer, gave them a nice, perfectly flat, highly polished finish. Then, in a moment of brilliance, i decided to sand blast them, to match the blower finish (anodised back as cast). Applied a coat of clear, but then lost all their nice look. Instant regret! So back to the 120 grit, through to 2000 again, buffed, and then cleaned to suit the lacquer coating I was planning to do originally. I drew up some GTS logos in CAD, and had the local sign shop cut them out in masking film. I used a 4:1 clear suitable for aluminium, by Spray Chief, with black candy mixed in. Then an extra coat of clear just to protect the surface, and let it dry before sanding back and buffing the front section. I applied the GTS logo (two part), and taped off a set of "stripes", before adding solid black. Then pulled the centre section of the GTS logo, taped off the black, and sprayed the same candy red I used on the boot strip, badges and wheel arch moulds. I sprayed the bug catcher butterflies while i was at it for consistency. Once that has all cured off, I grabbed a scalpel, and trimmed the furry edges of the GTS logo, then two coats of clear, sanded back to remove the "edge" and then one more clear to seal it all. Sanded with 800/1200/1500/2000, then buffed. Done! Labour during this period: 26 hours
Sanding and buffing covers 8 hours Sand blast, then resand and buff (grrrr) 12 hrs Paint, and buff 6 hrs
1 Comment
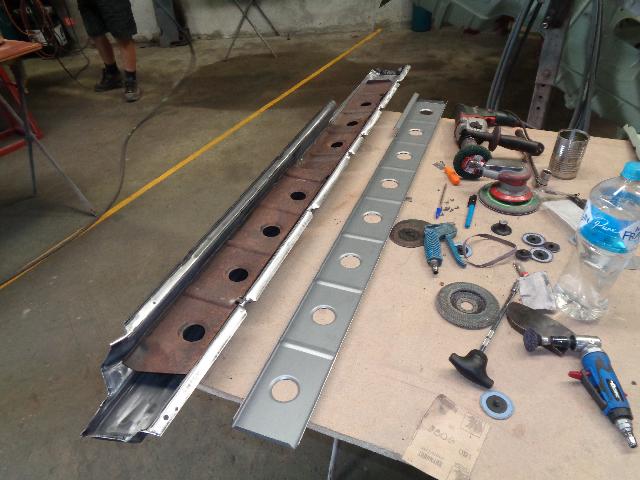
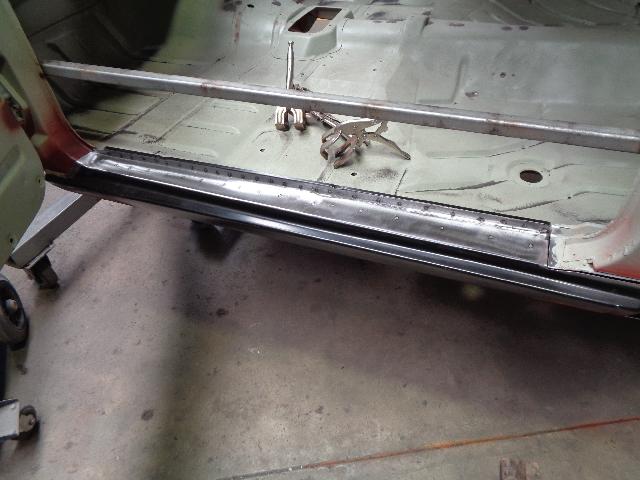
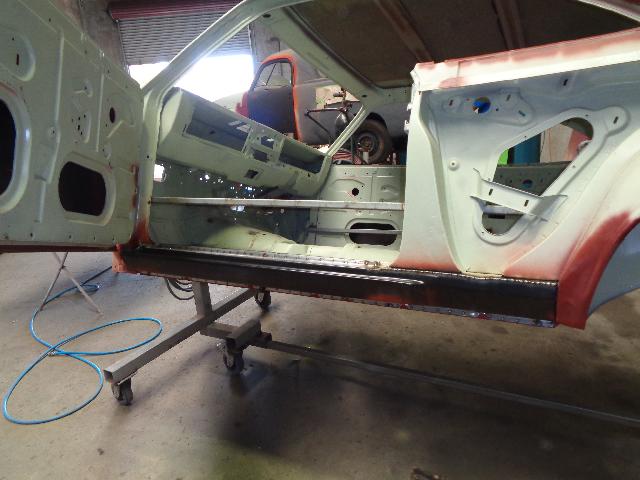
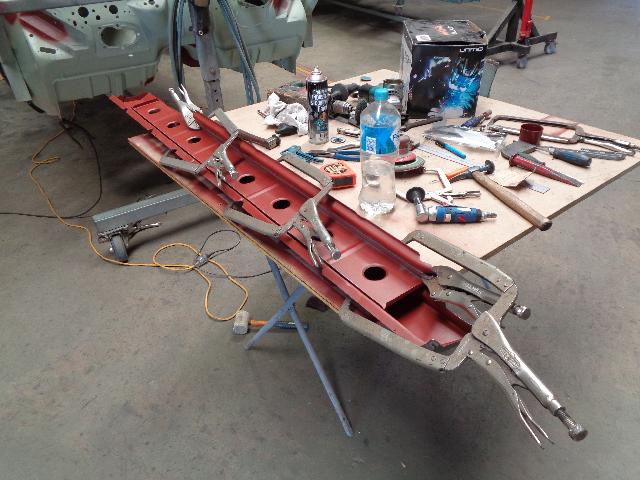
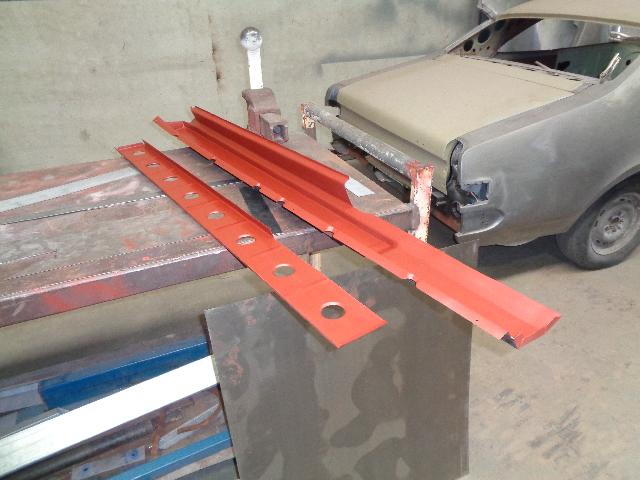
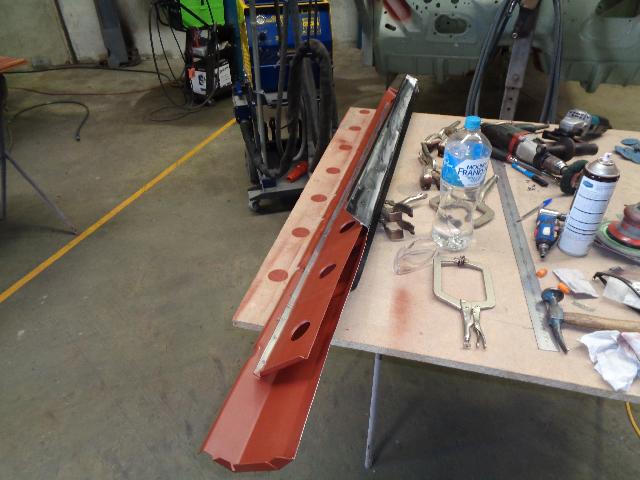
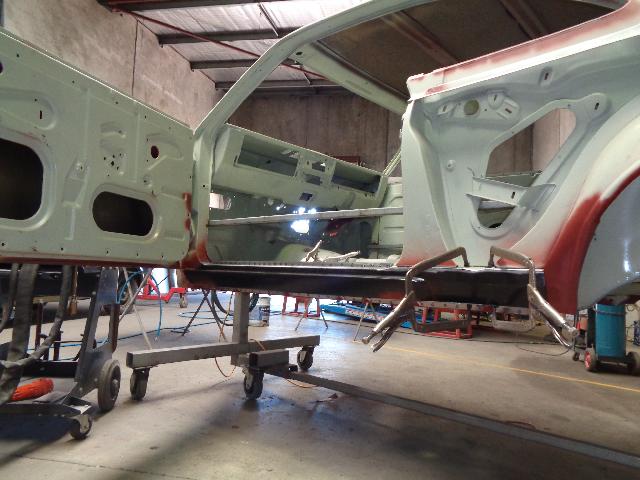
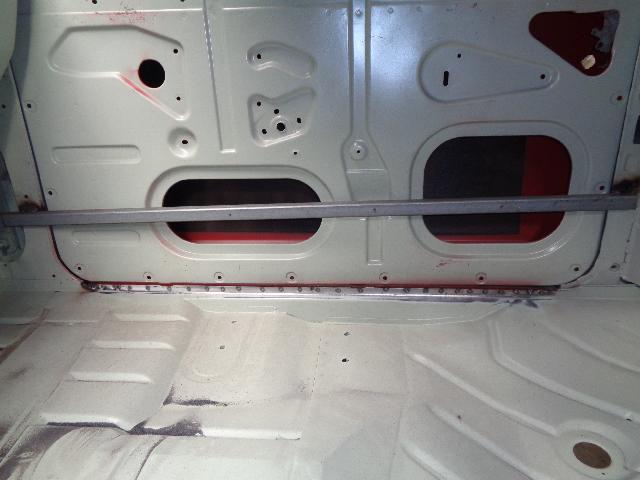
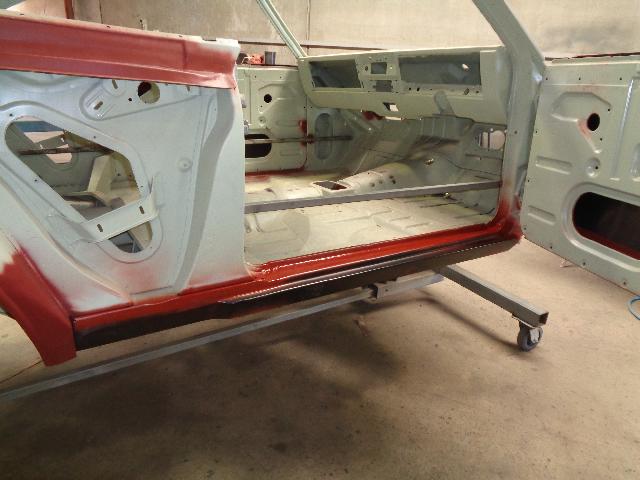
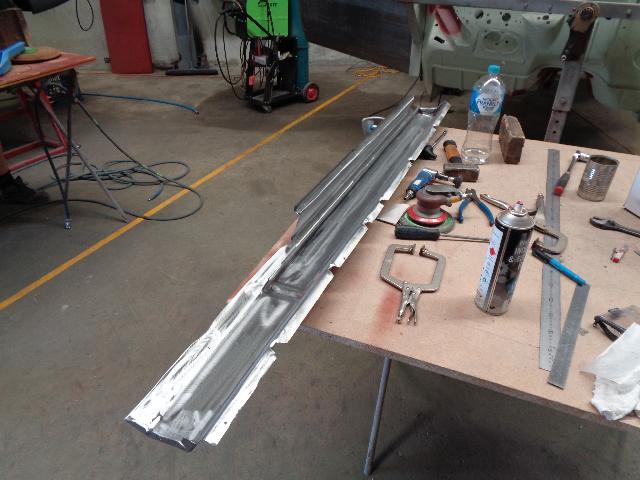
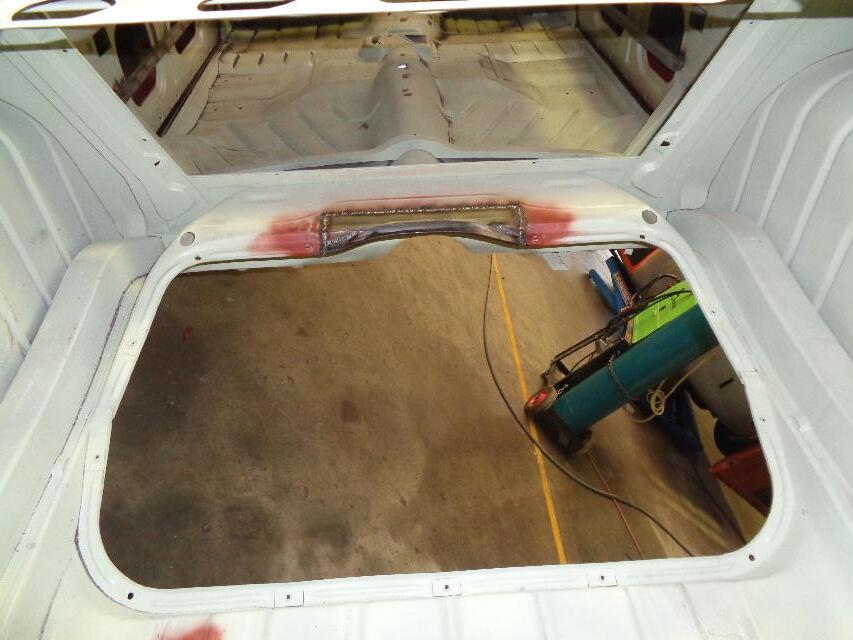
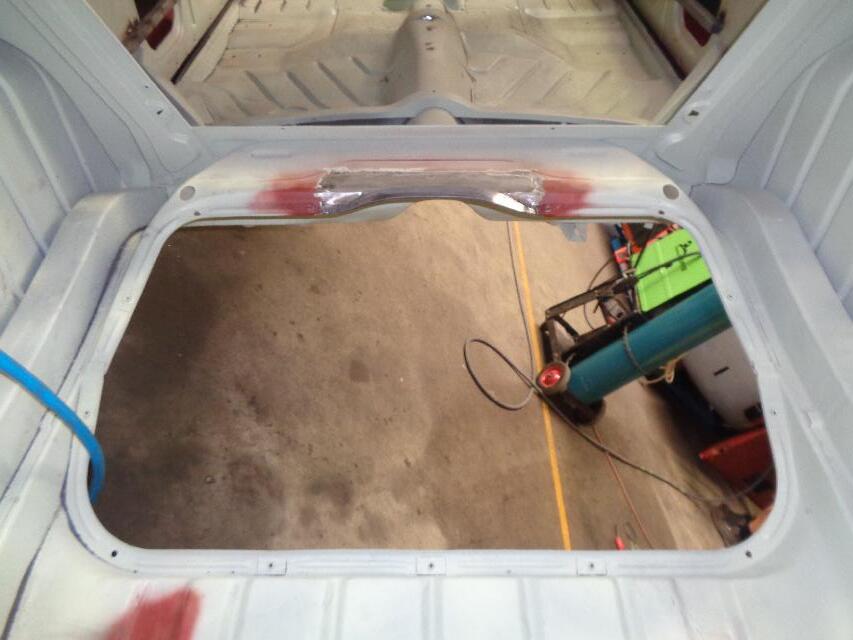
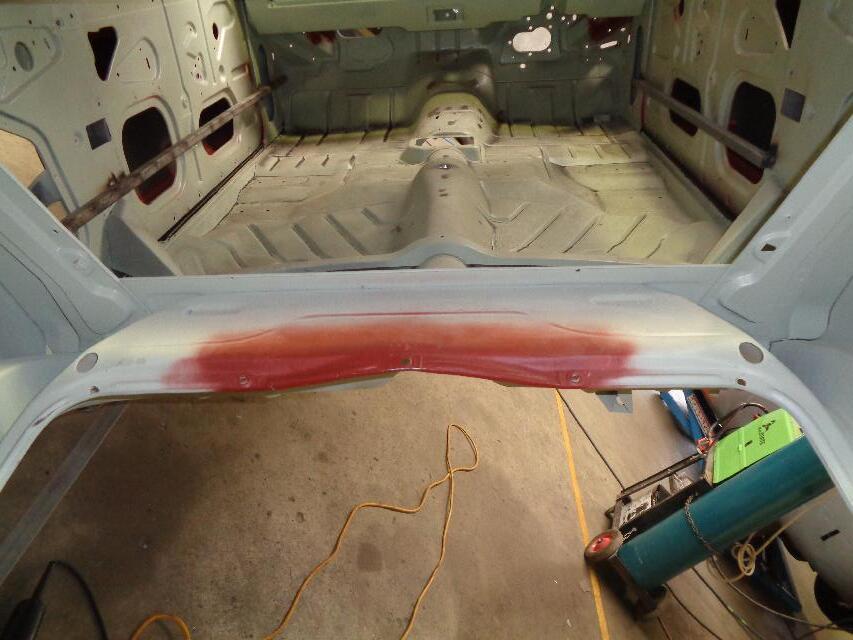
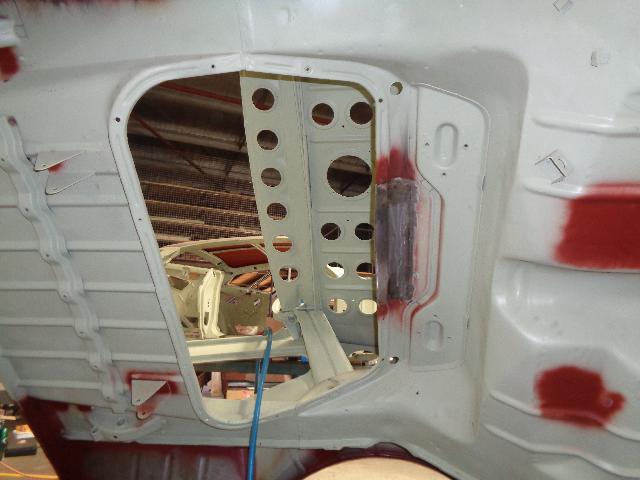
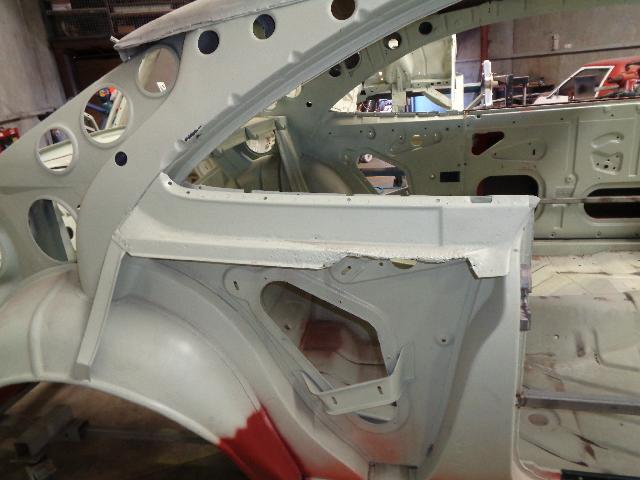
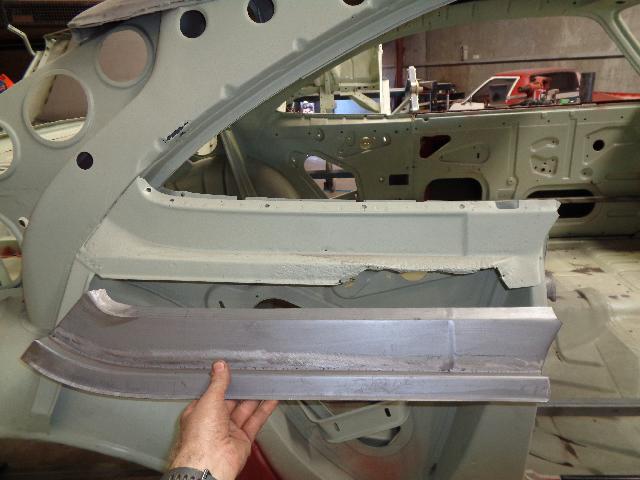
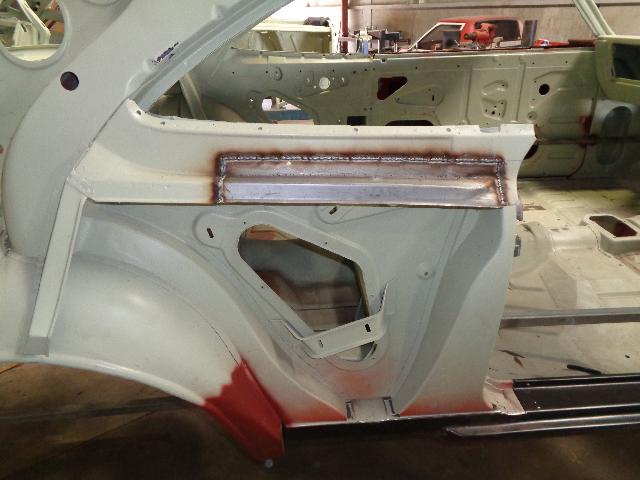
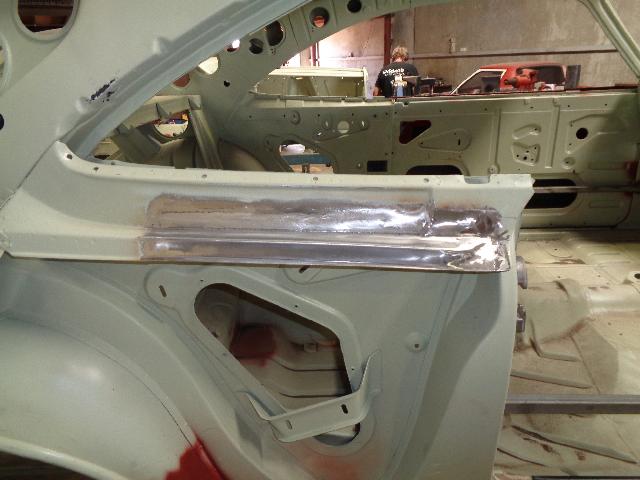
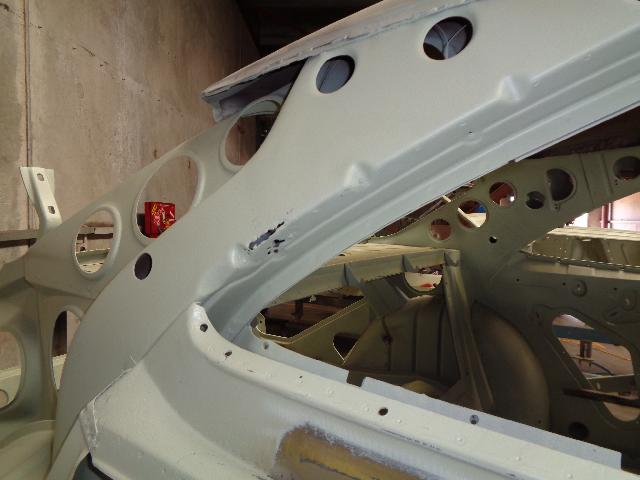
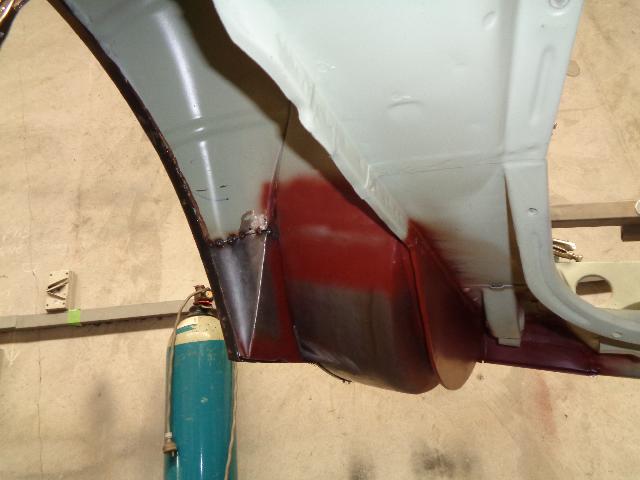
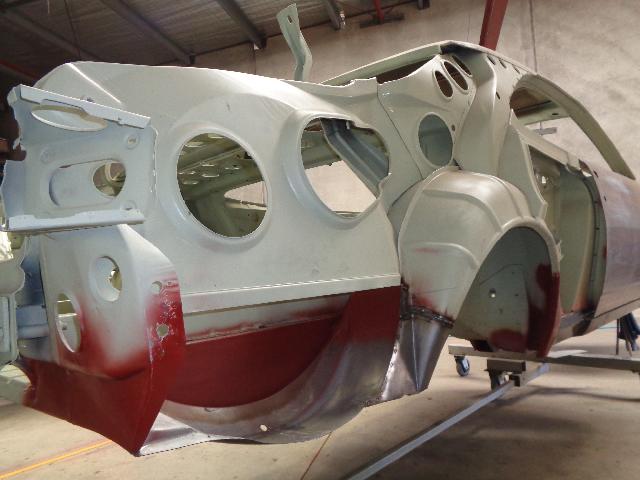
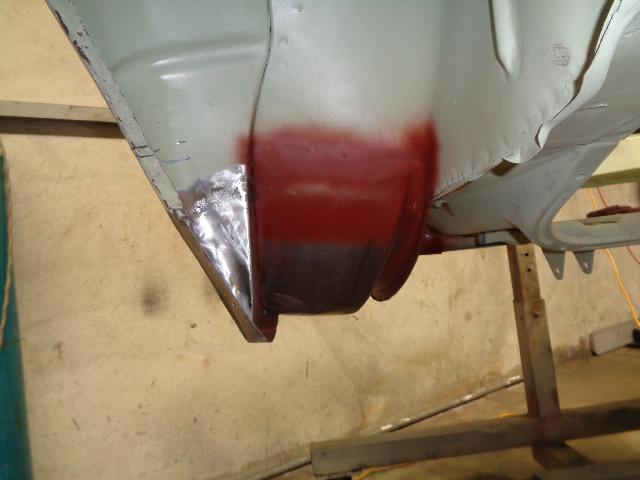
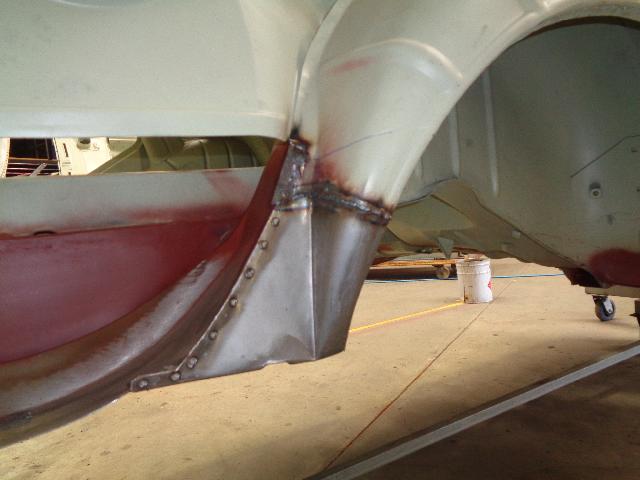
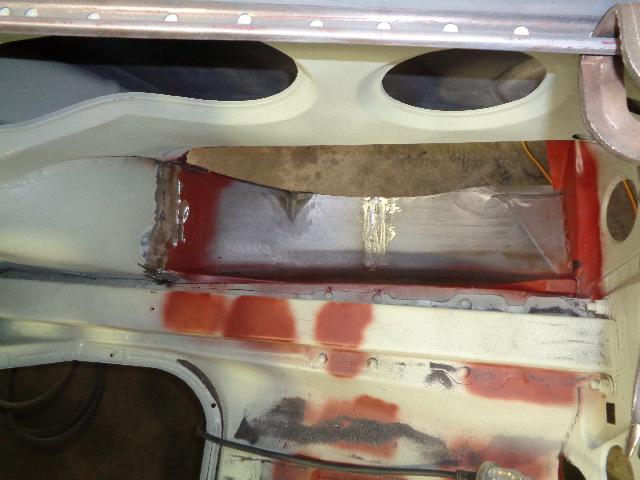
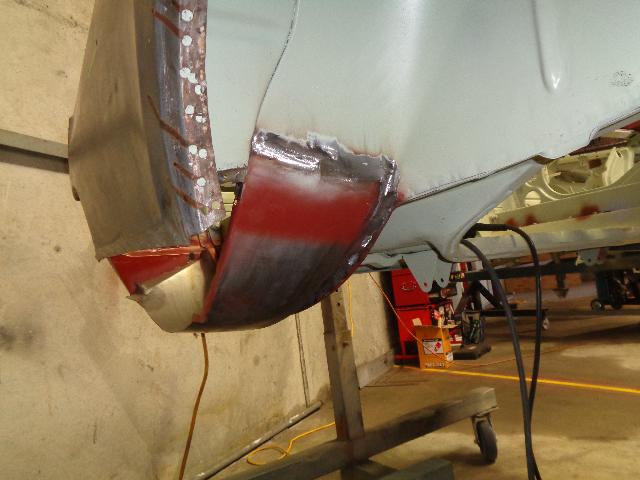
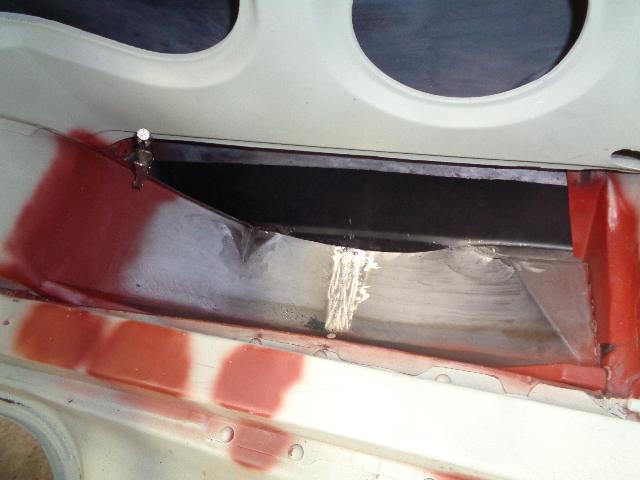
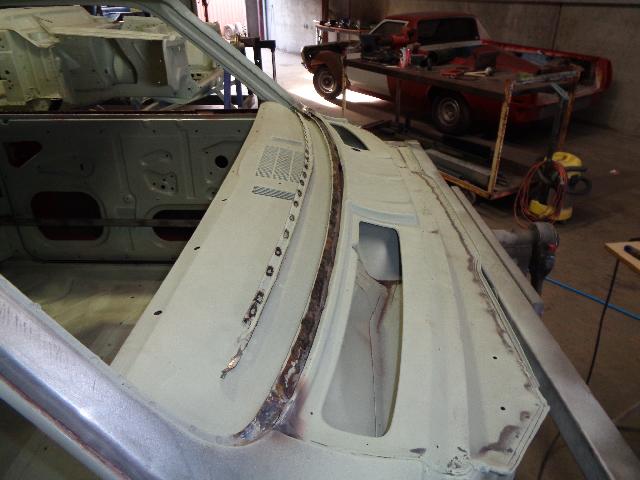
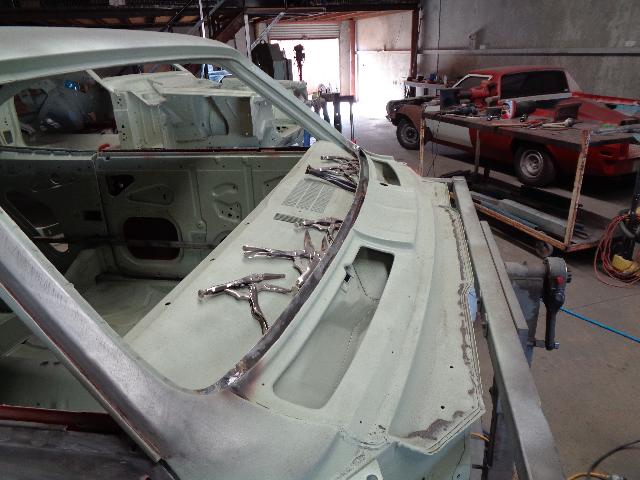
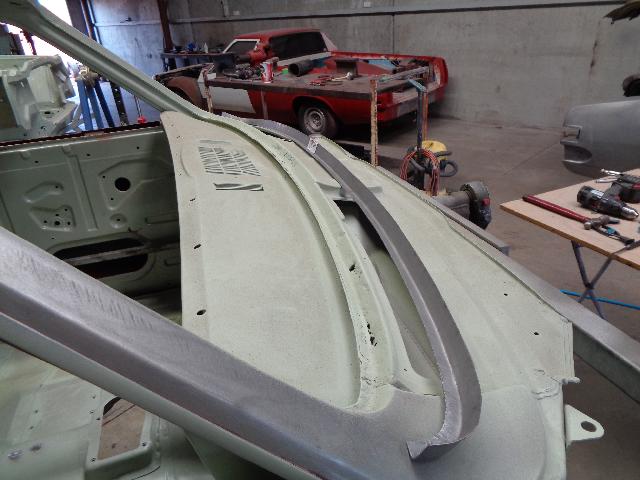
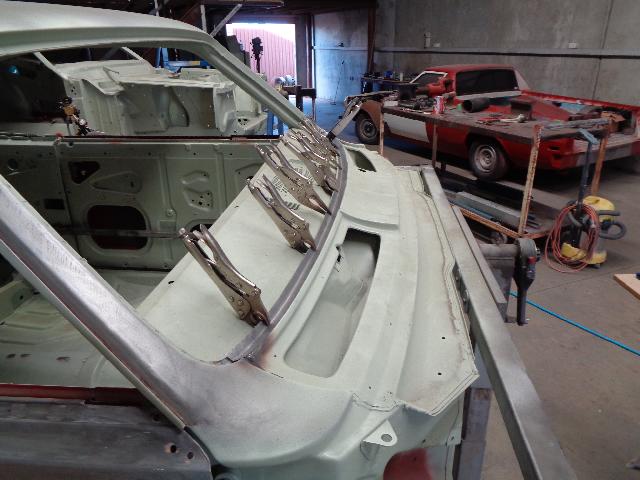
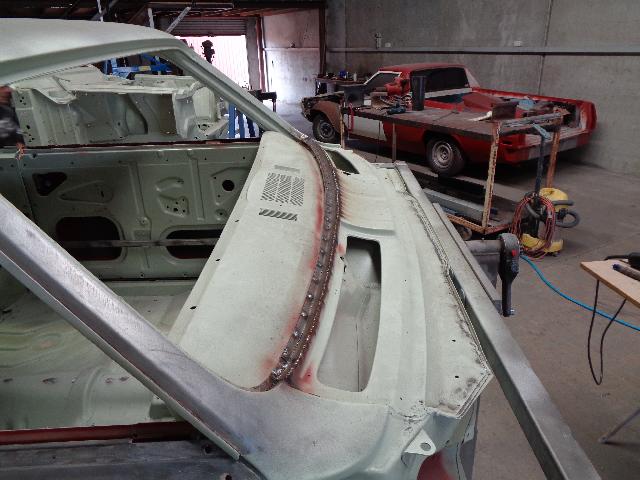
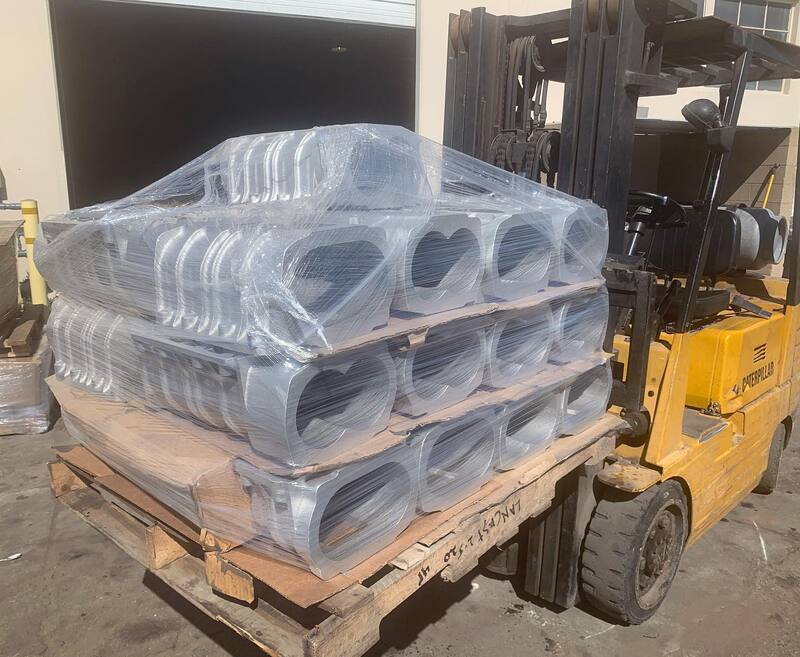
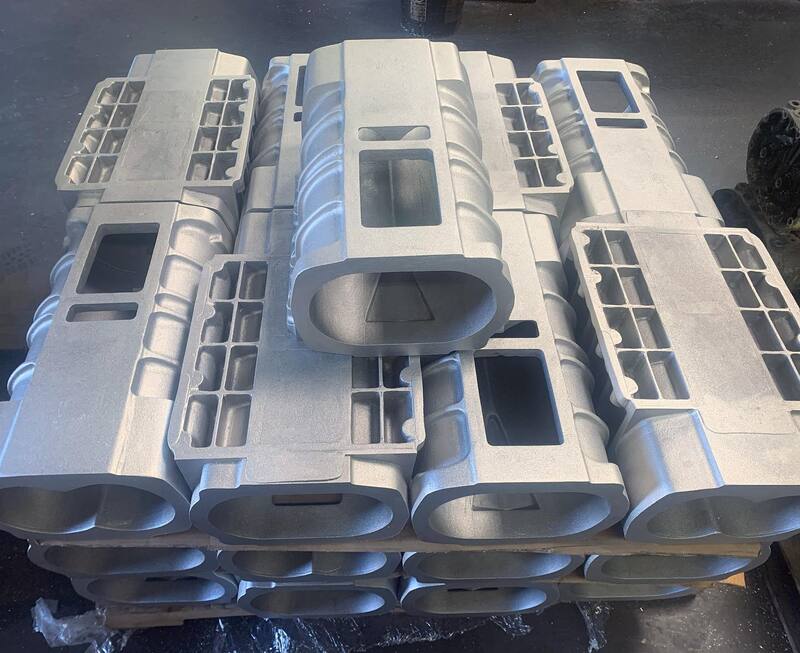
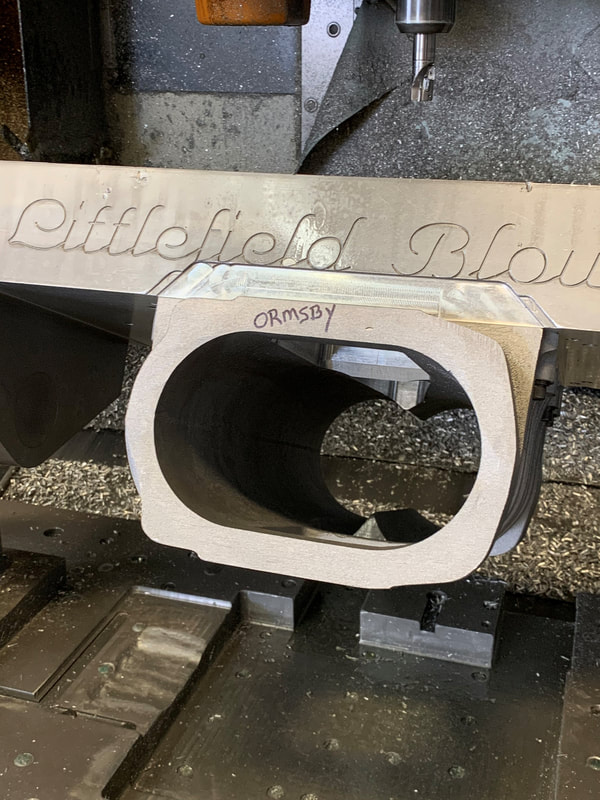
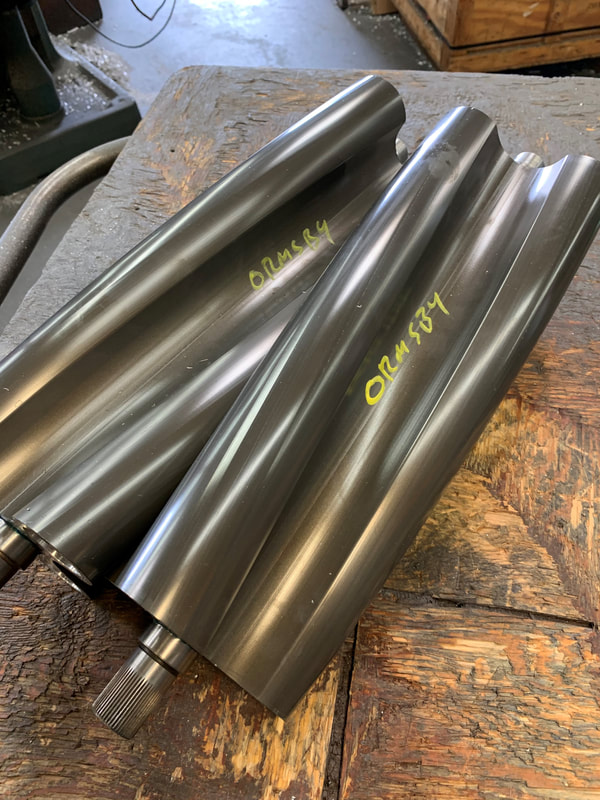
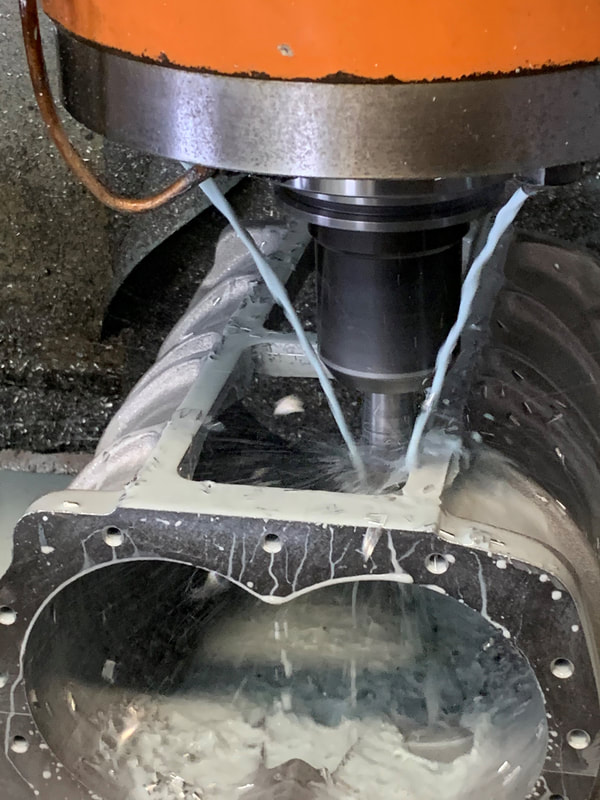
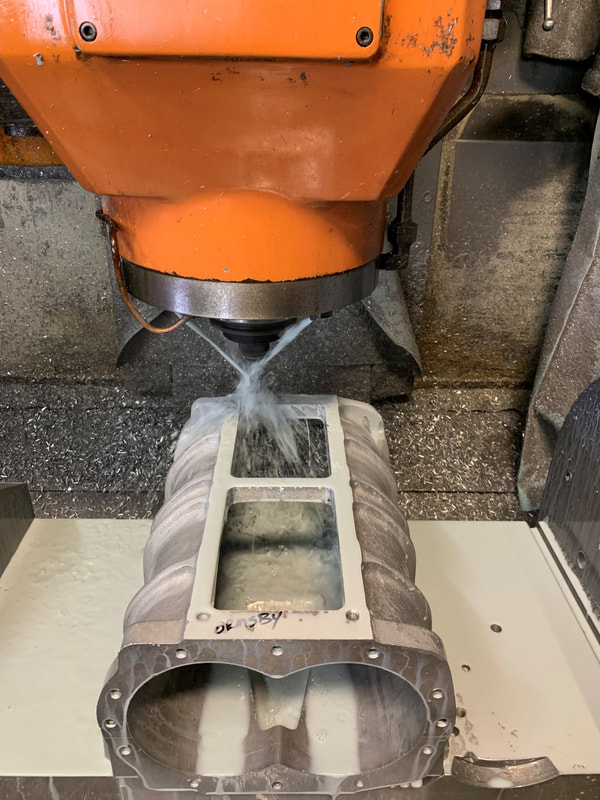
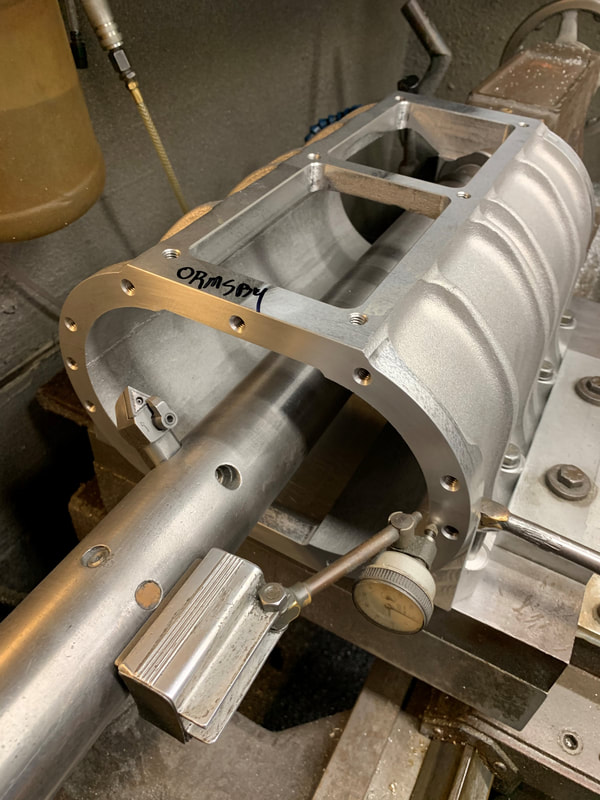
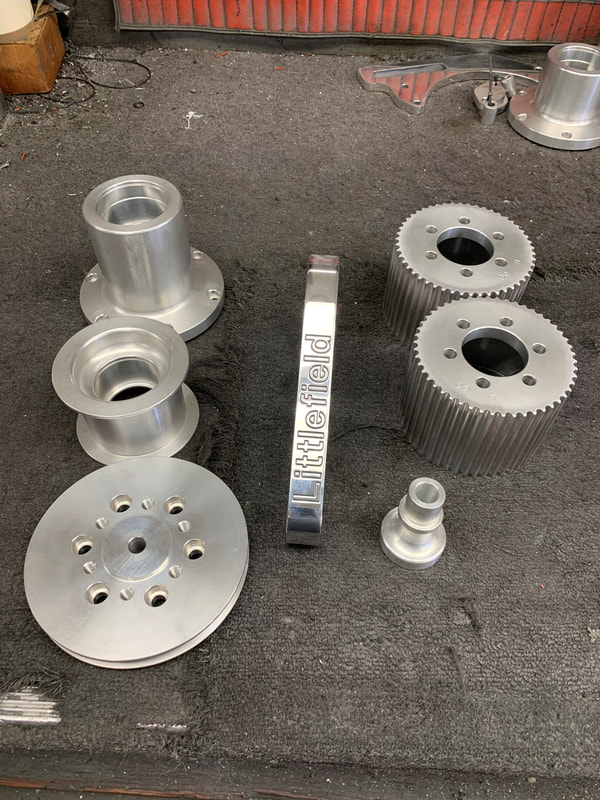
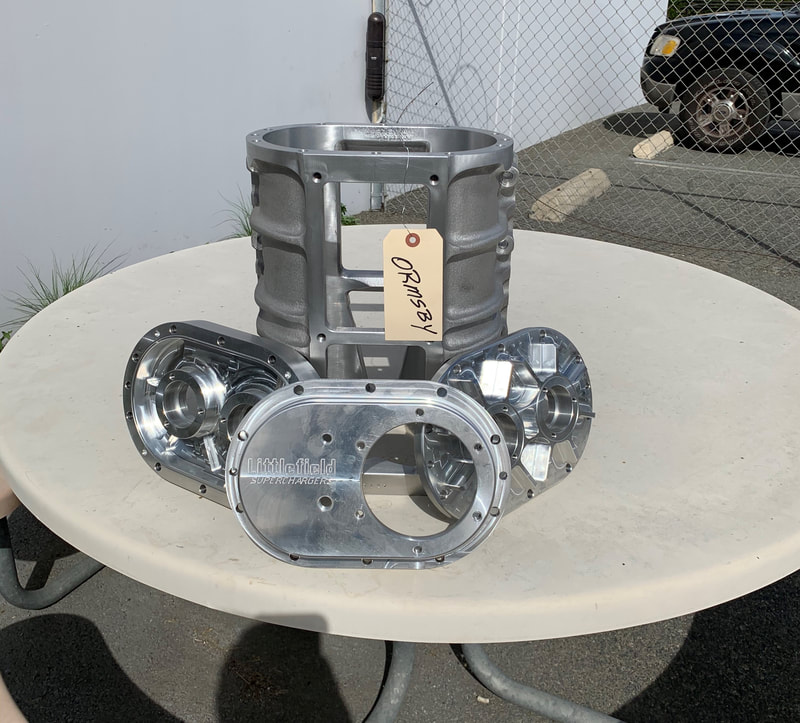
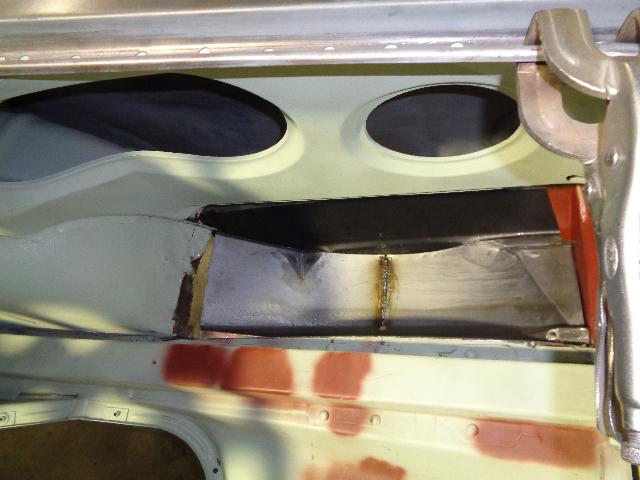
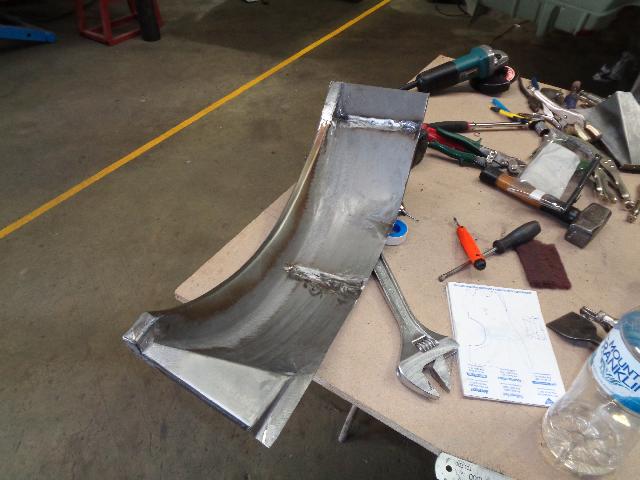
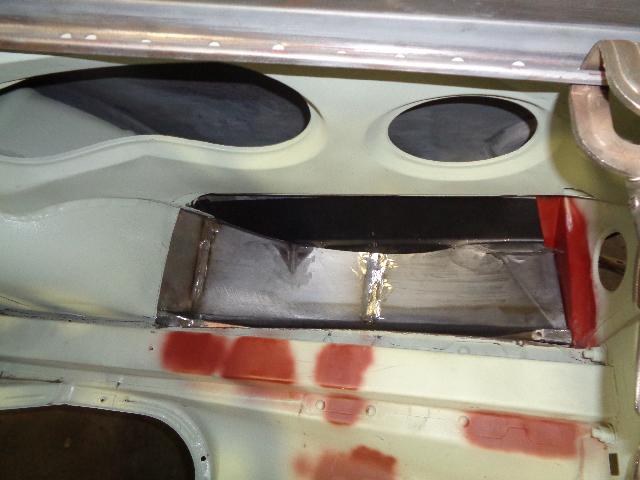
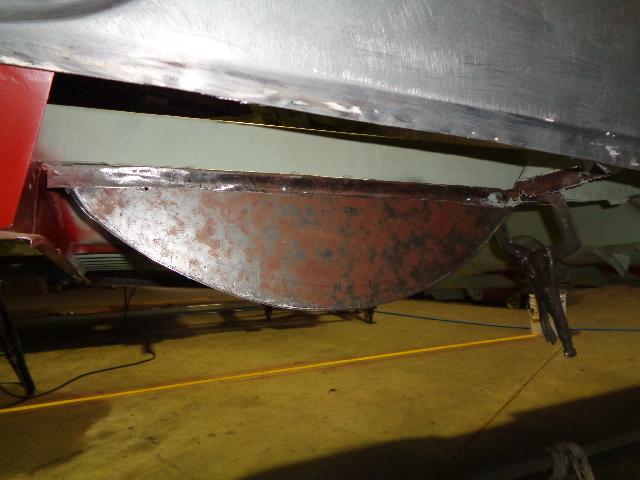
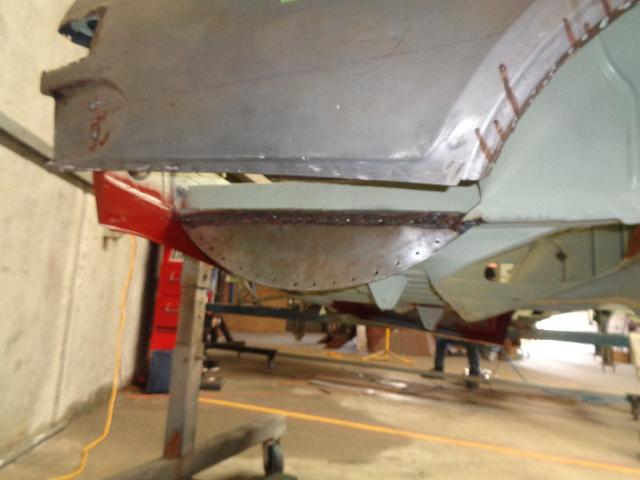
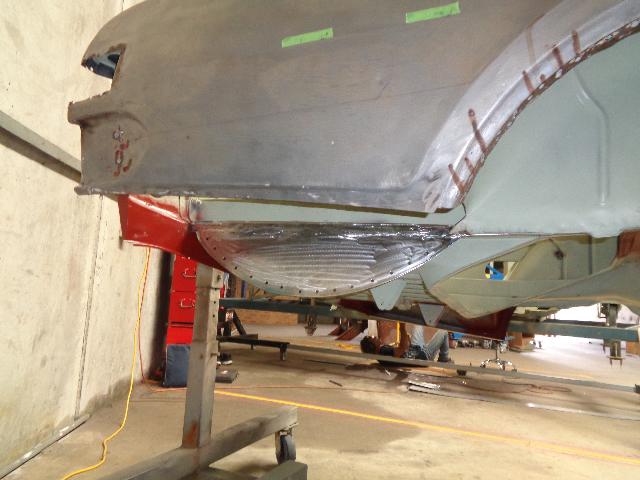
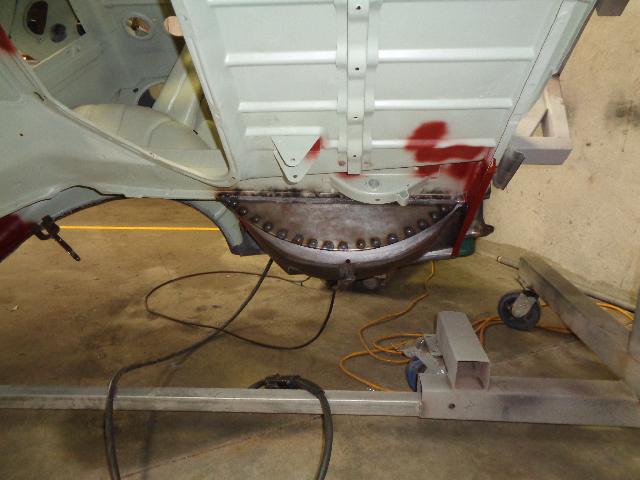
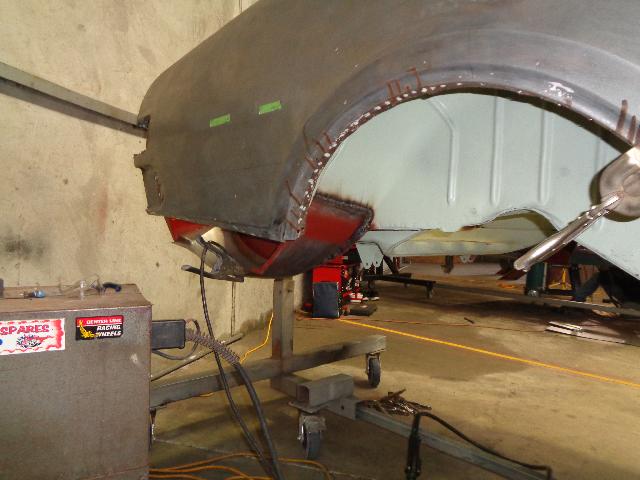
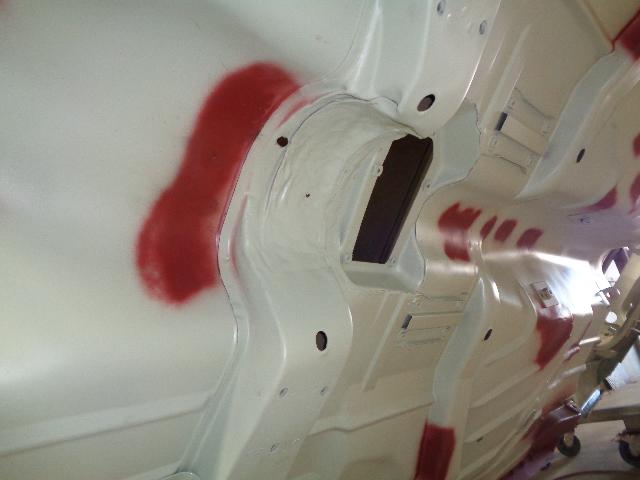
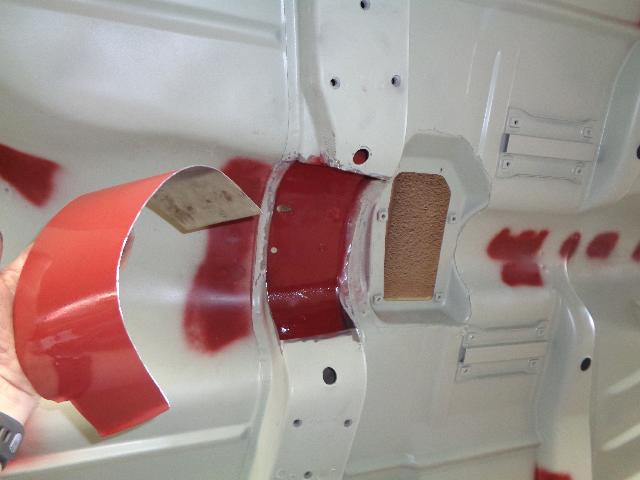
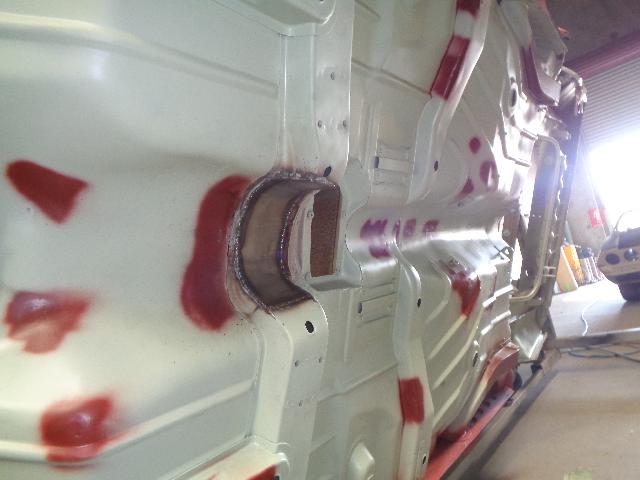
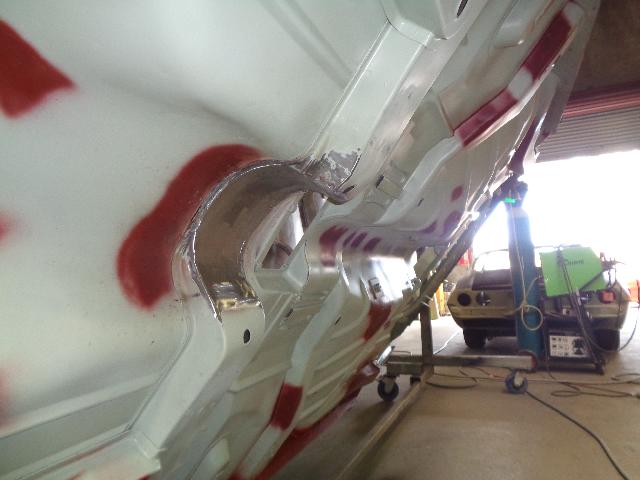
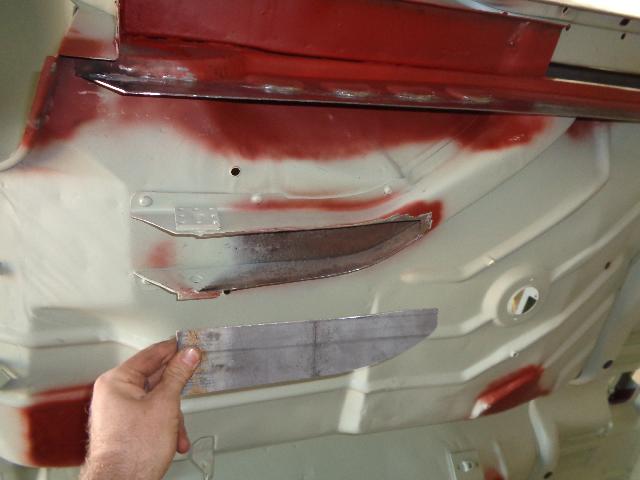
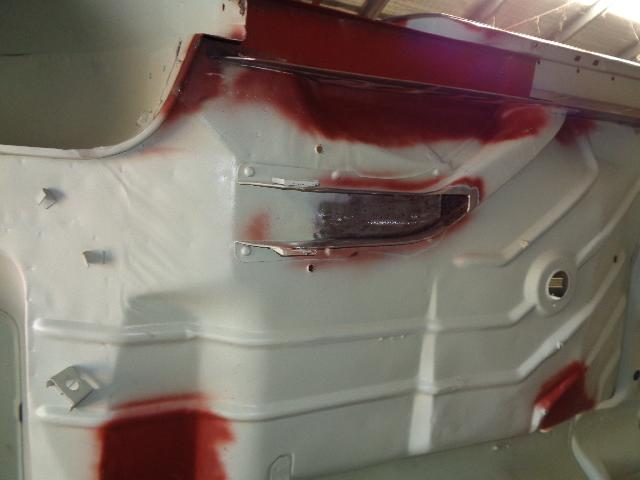
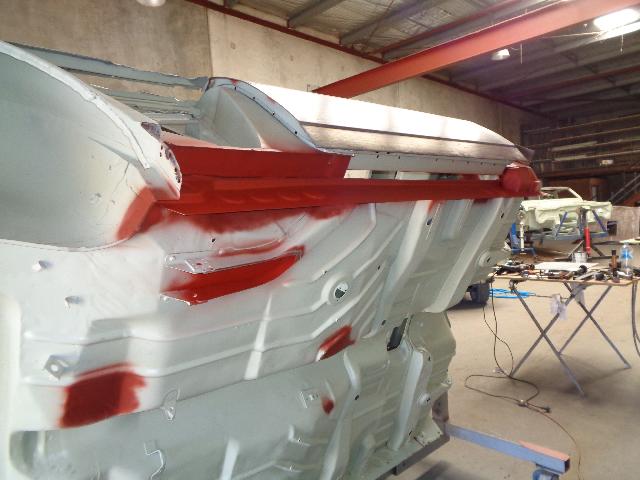
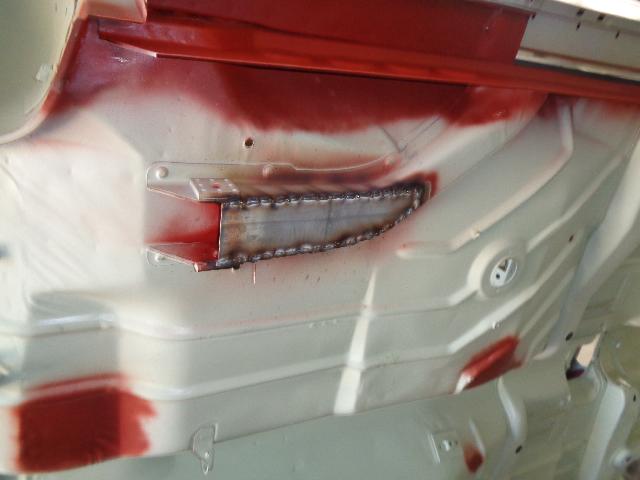
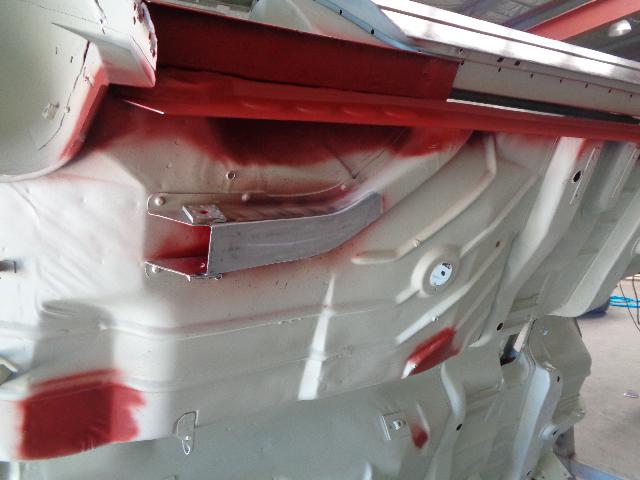
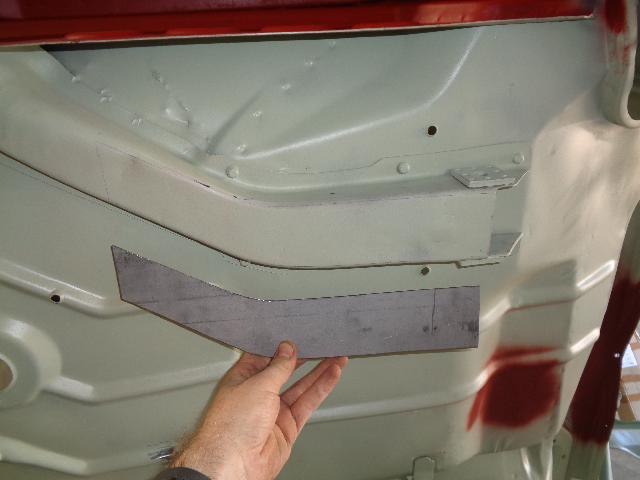
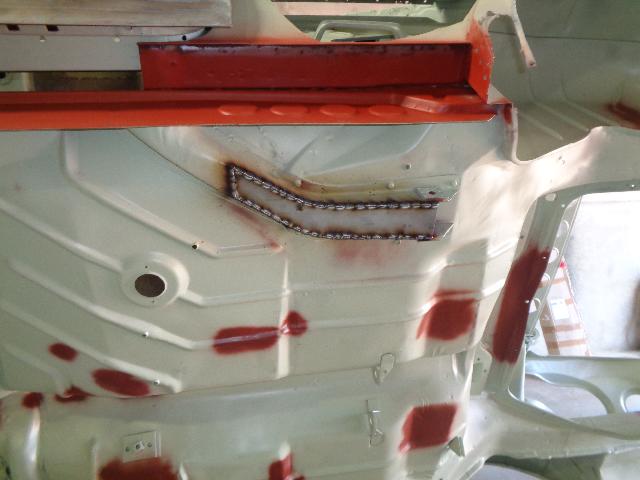
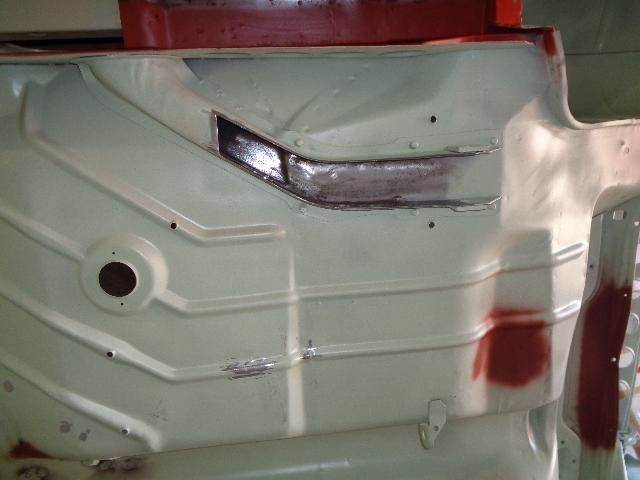
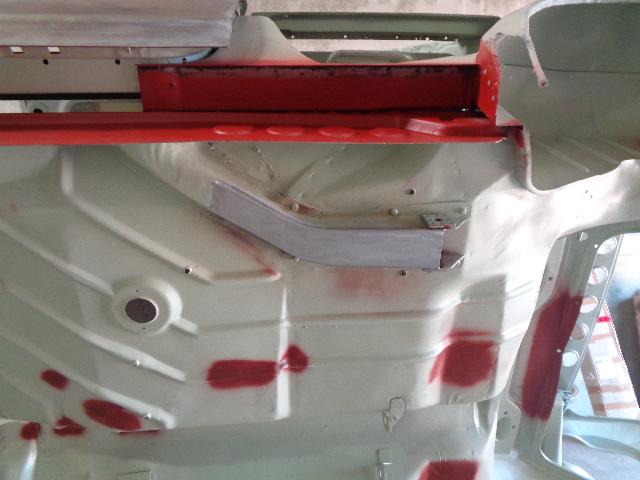
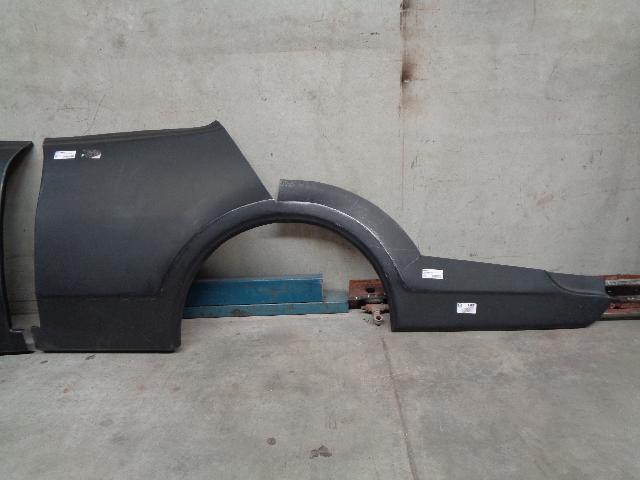
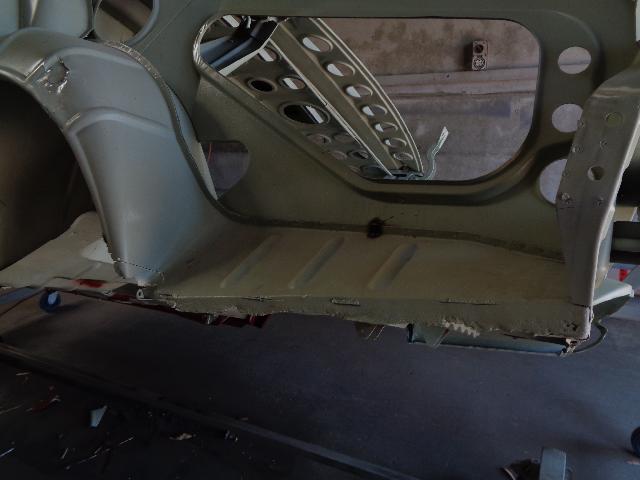
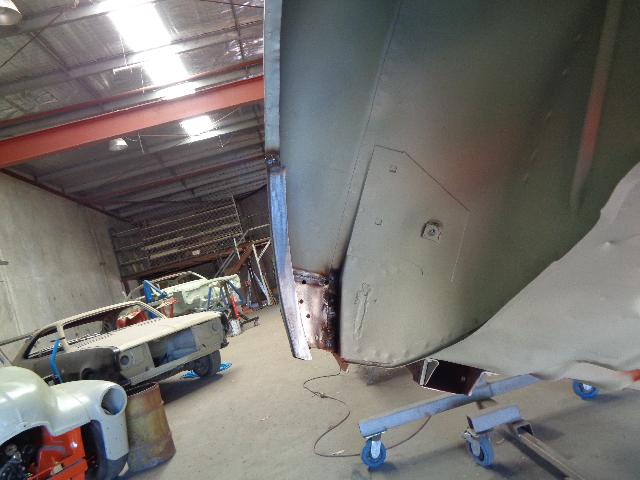
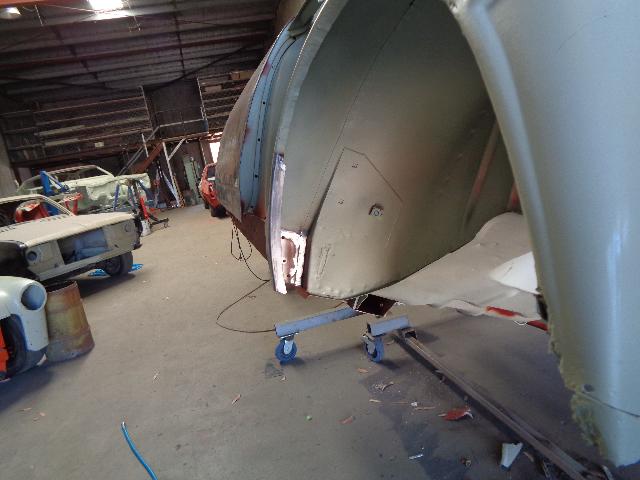
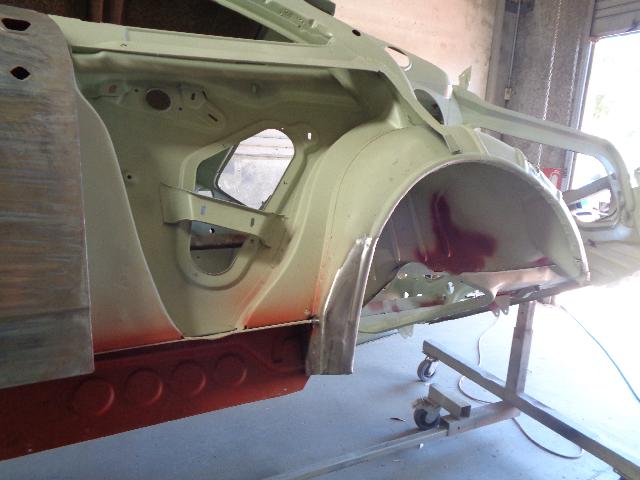
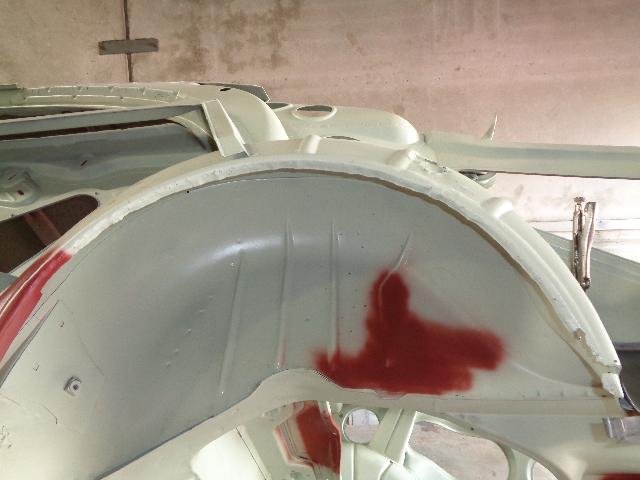
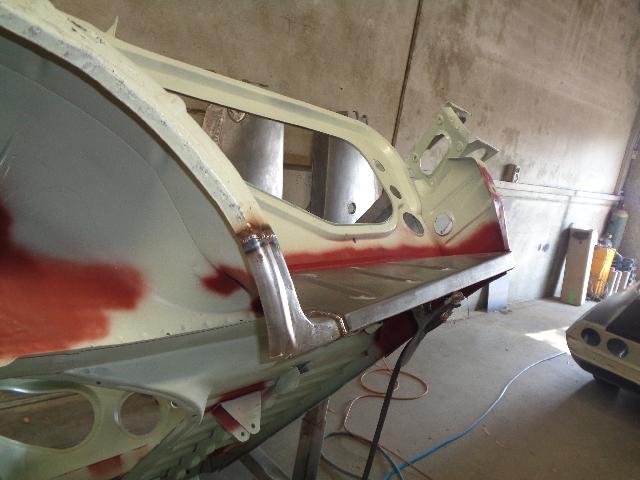
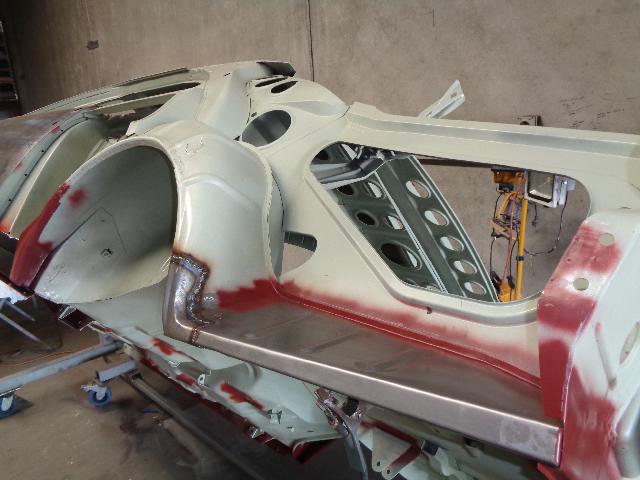
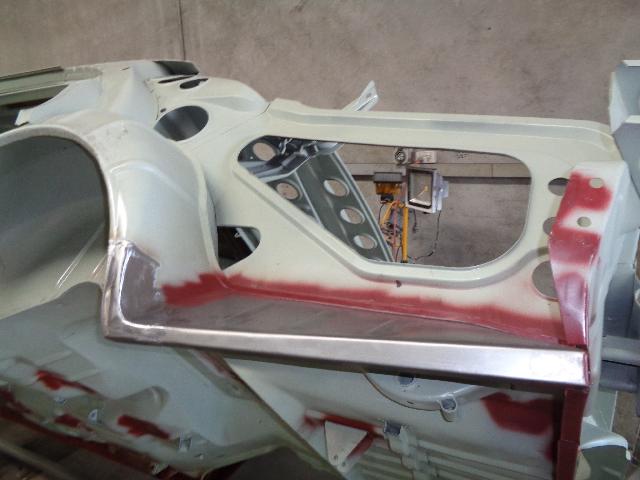
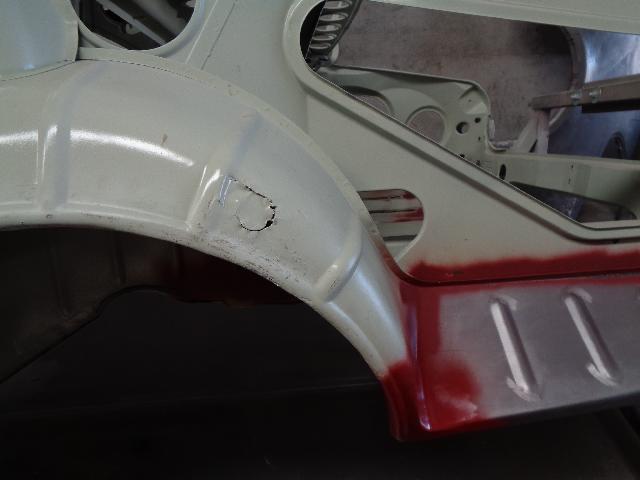
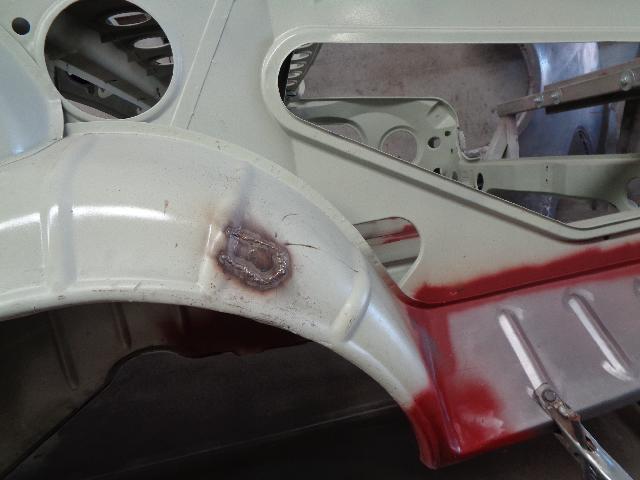
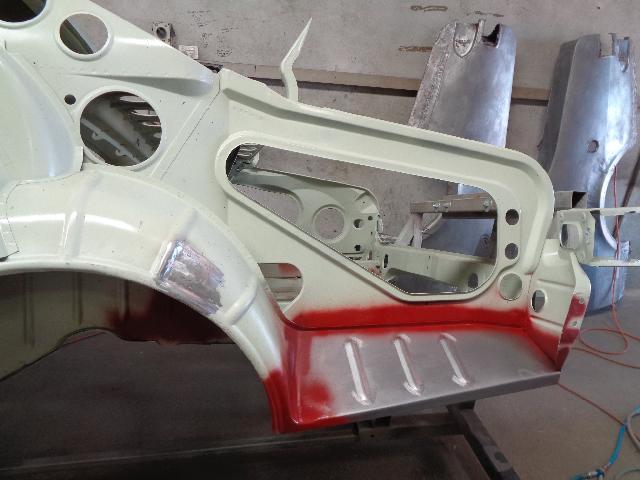
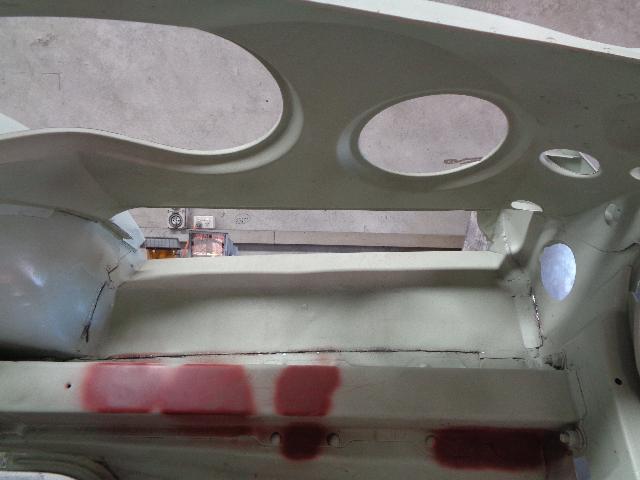
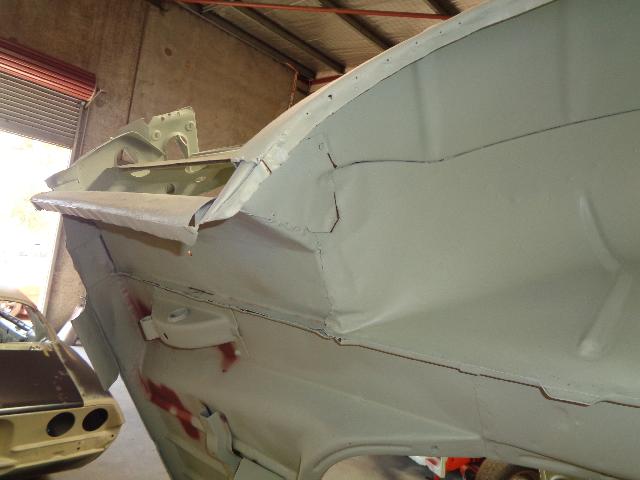
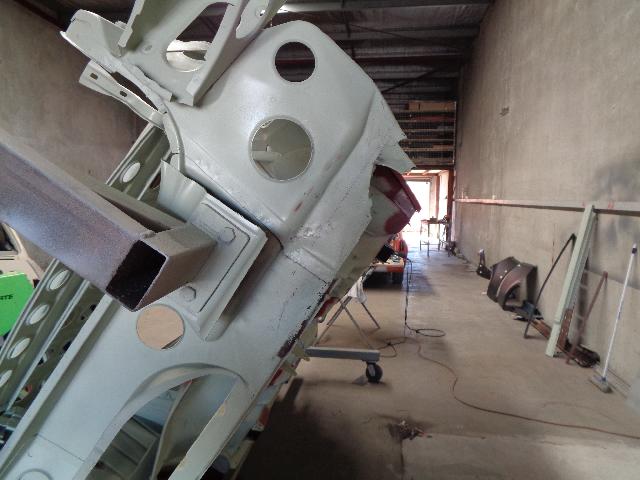
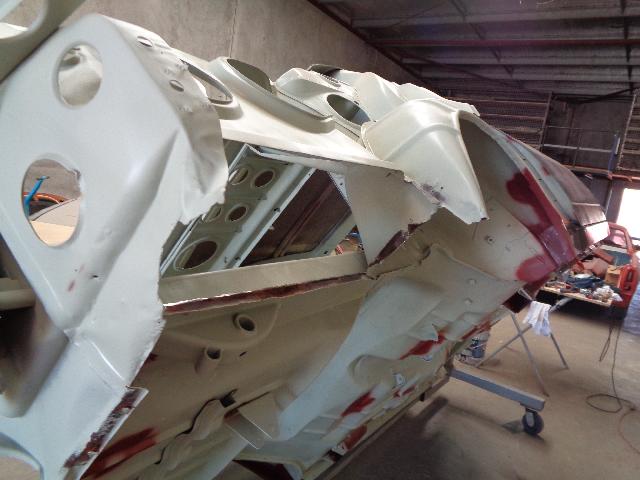
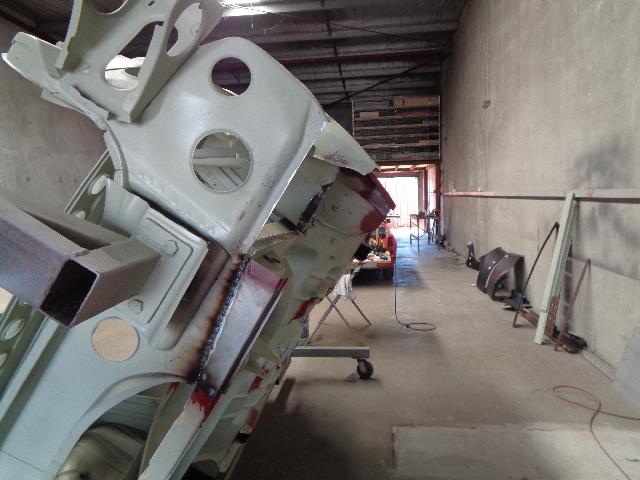
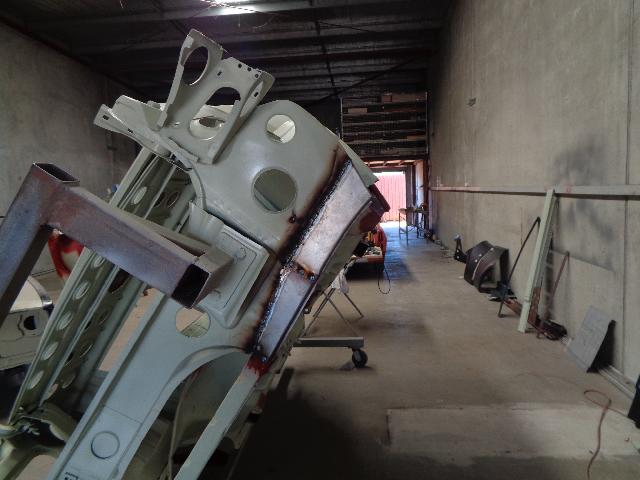
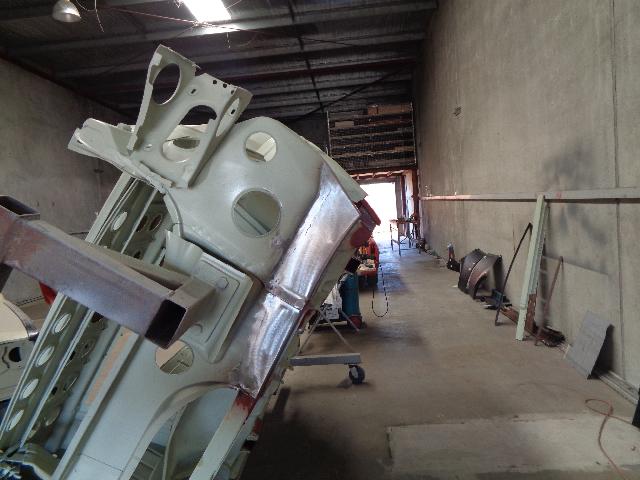
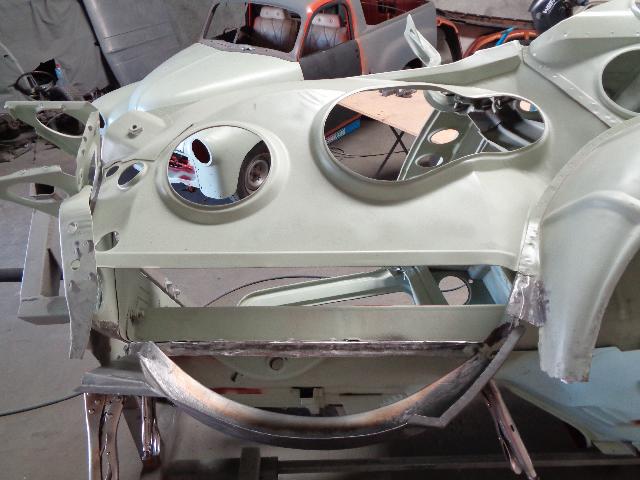
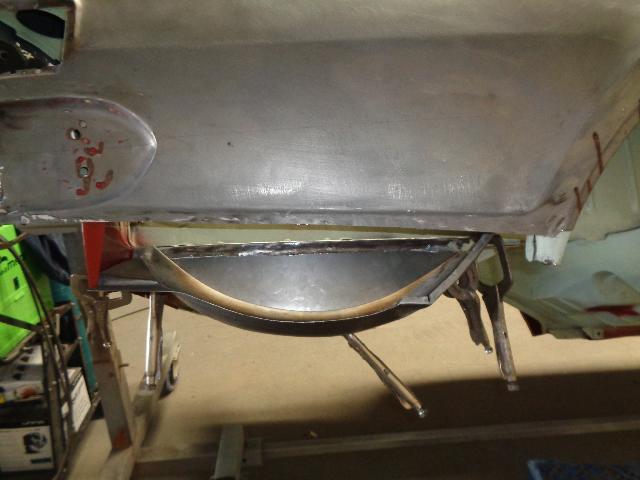
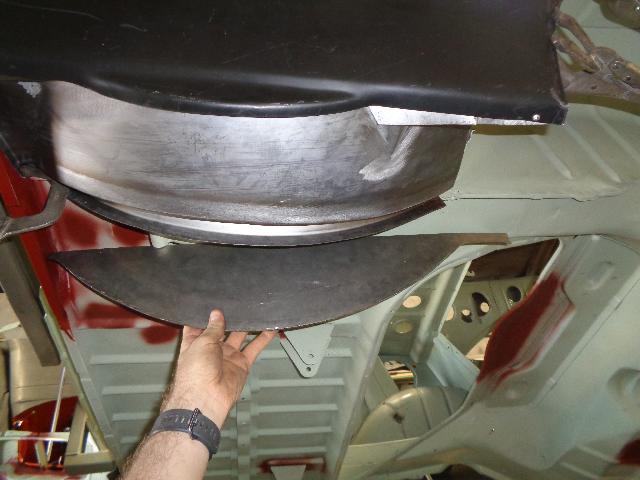
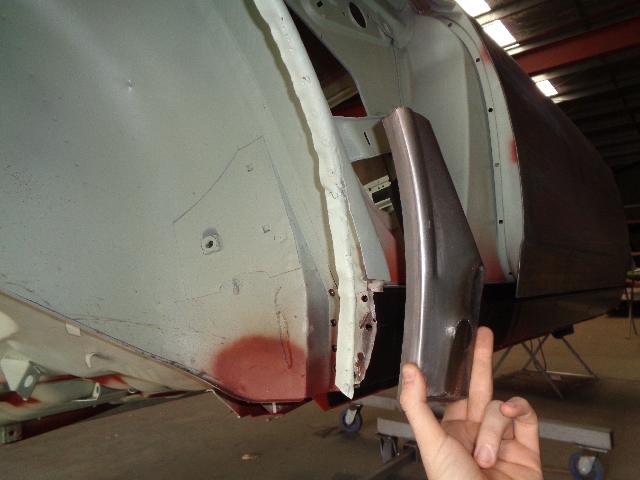
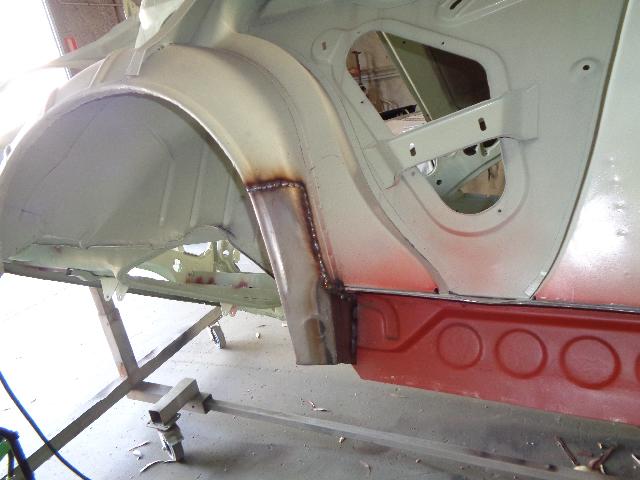
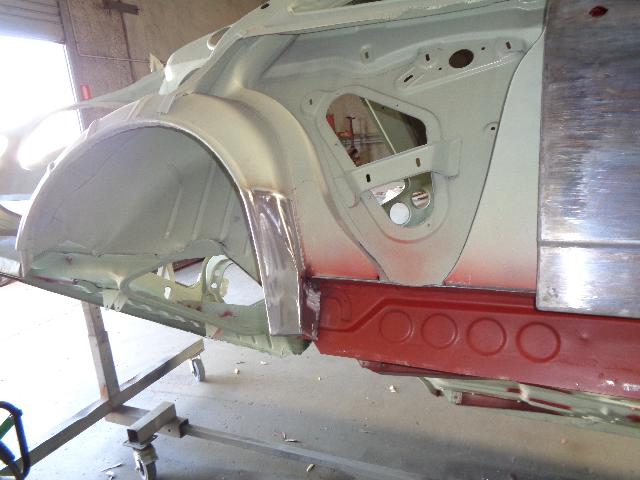
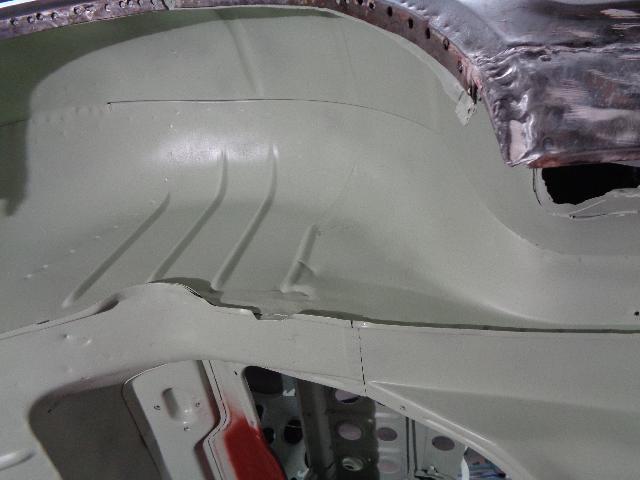
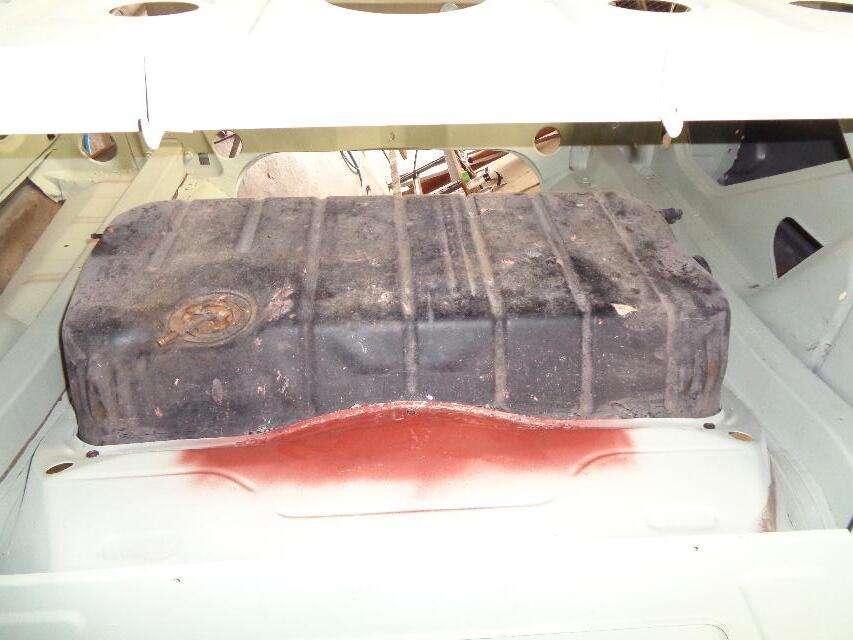
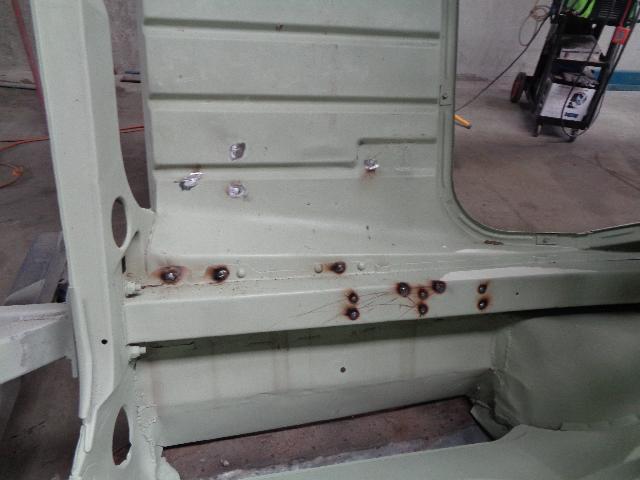
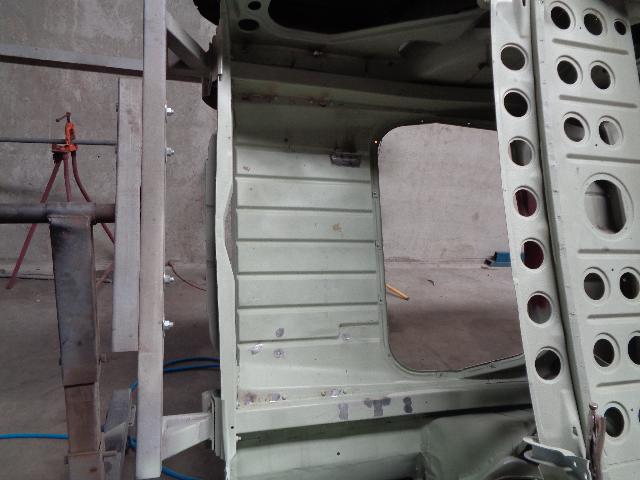
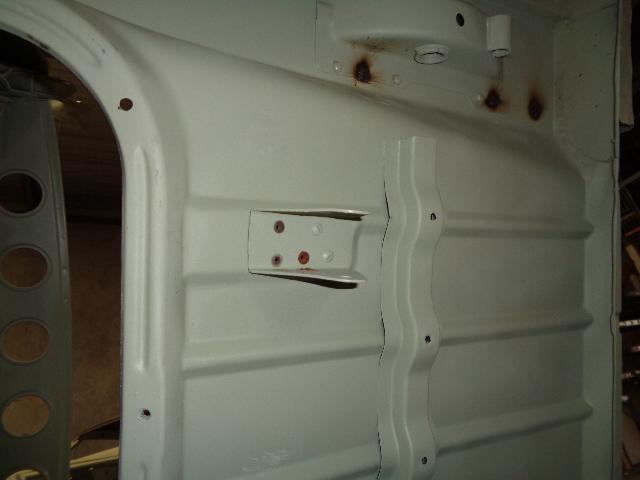
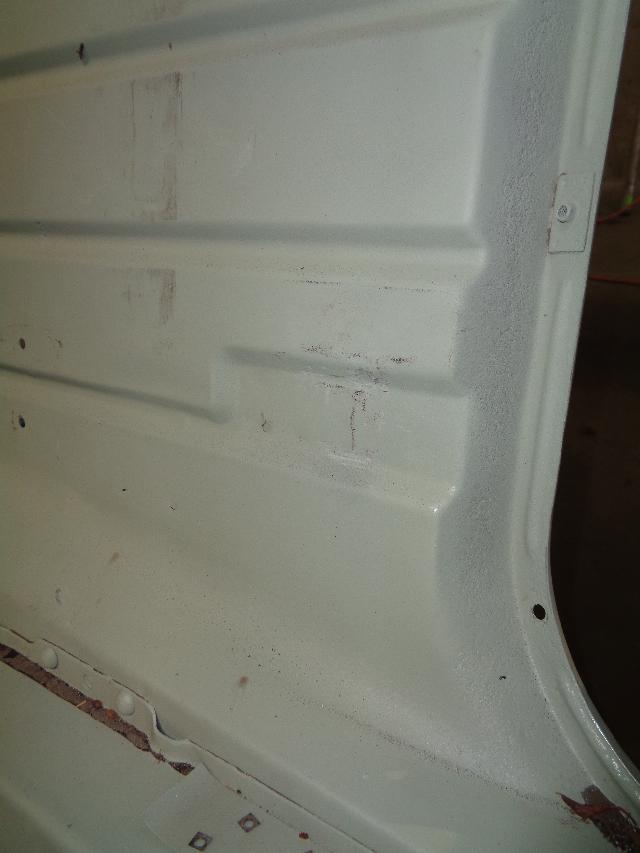
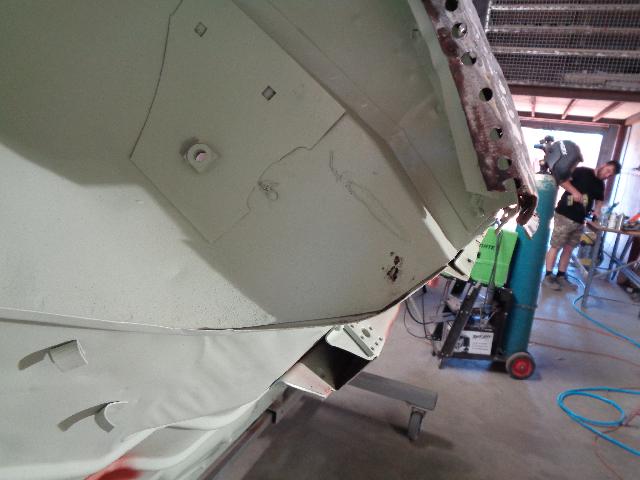
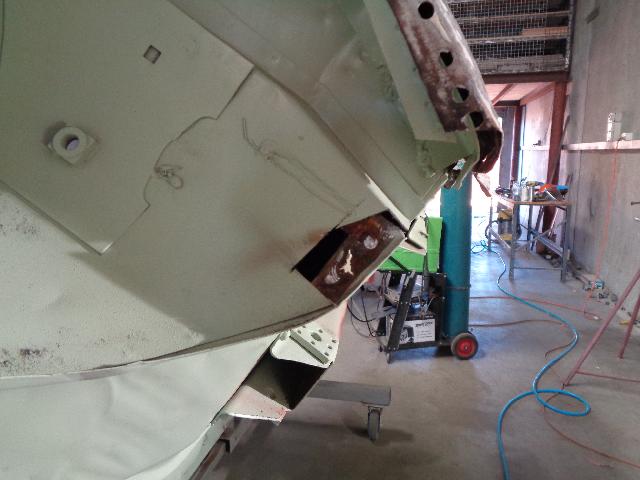
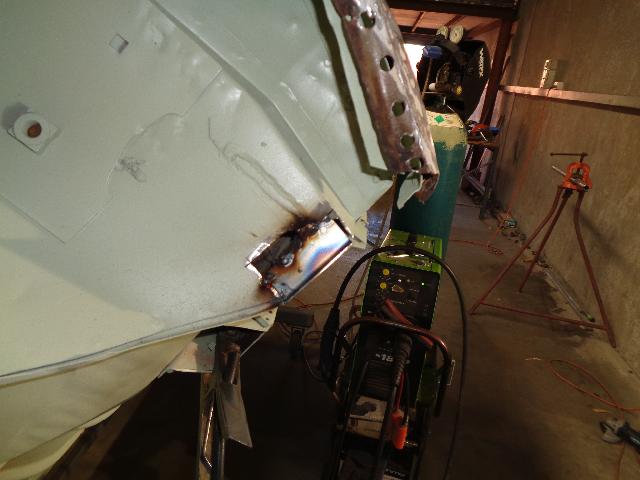
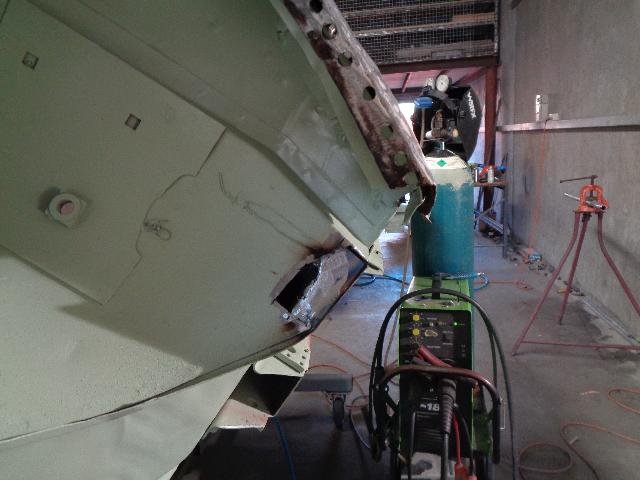
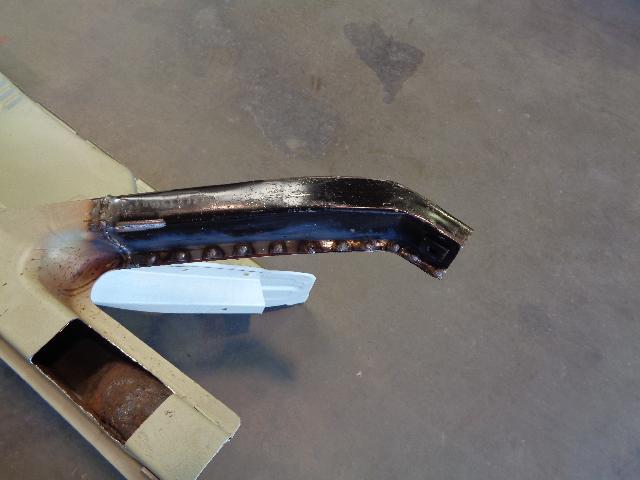
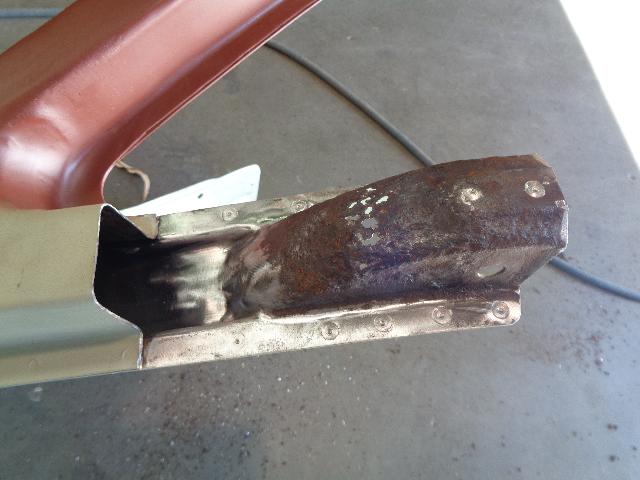
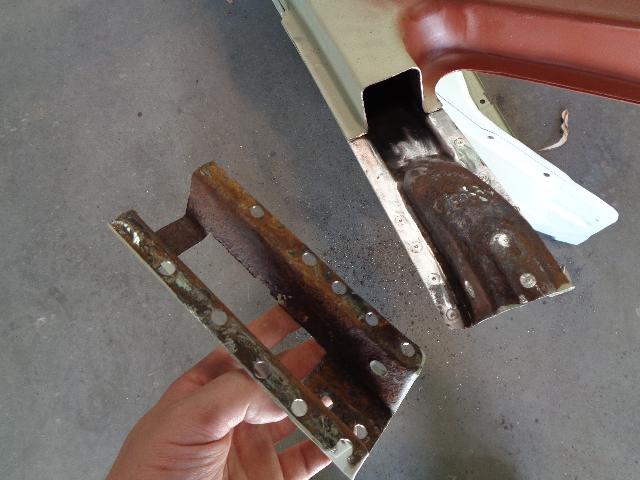
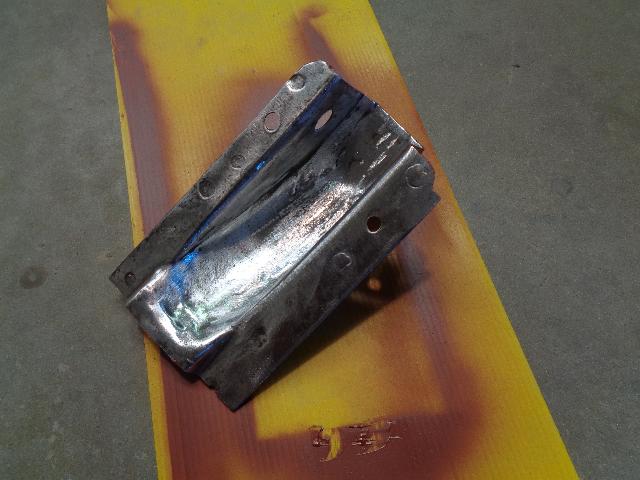
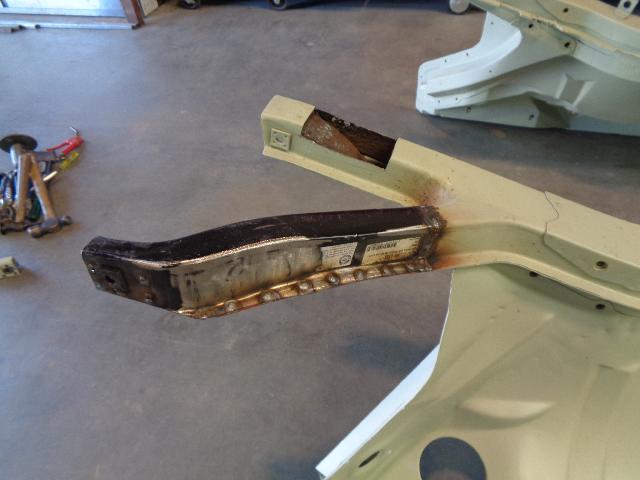
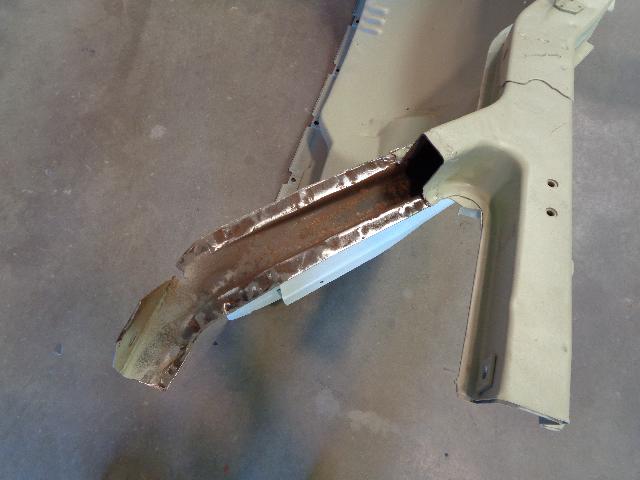
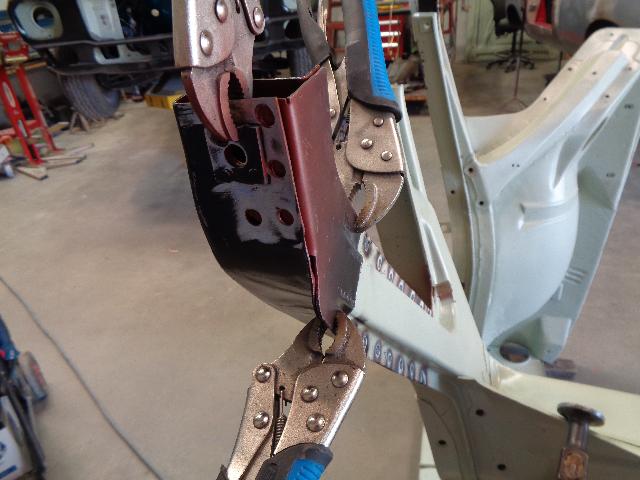
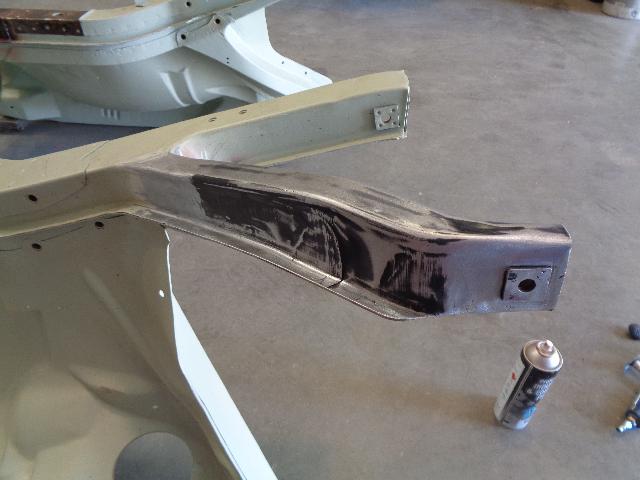
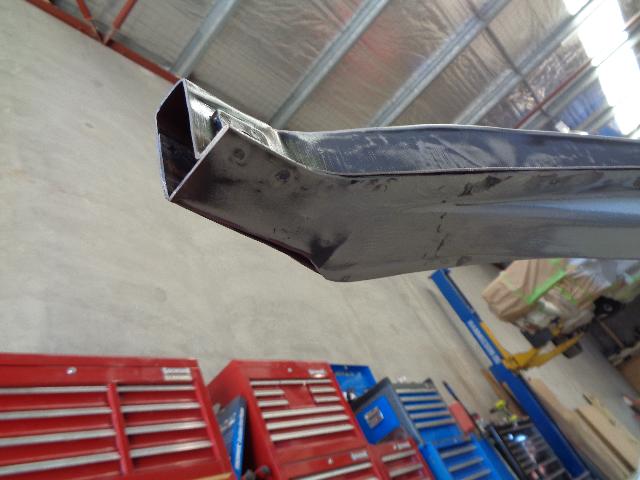
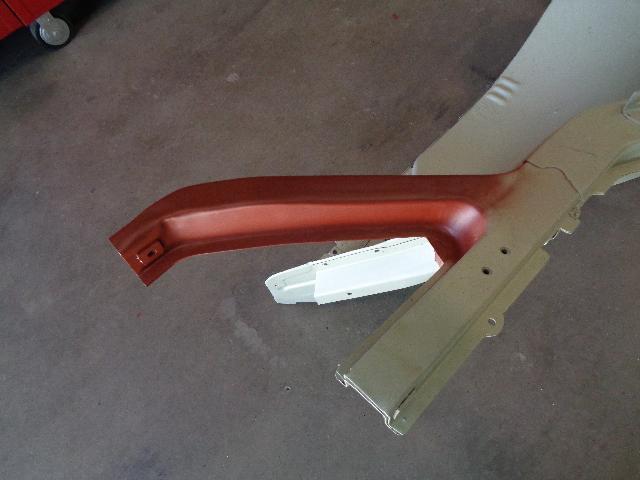
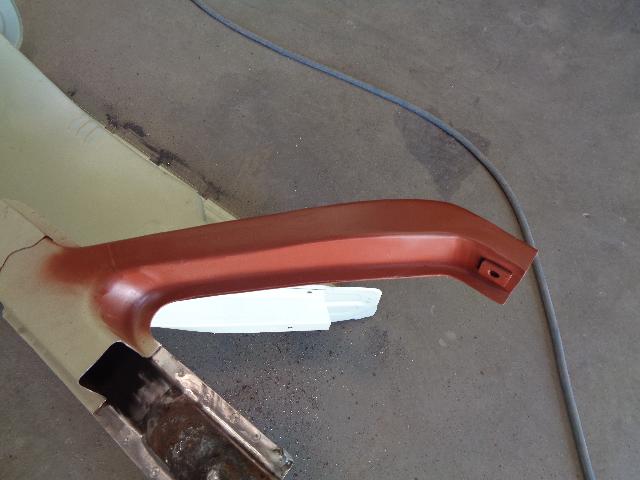
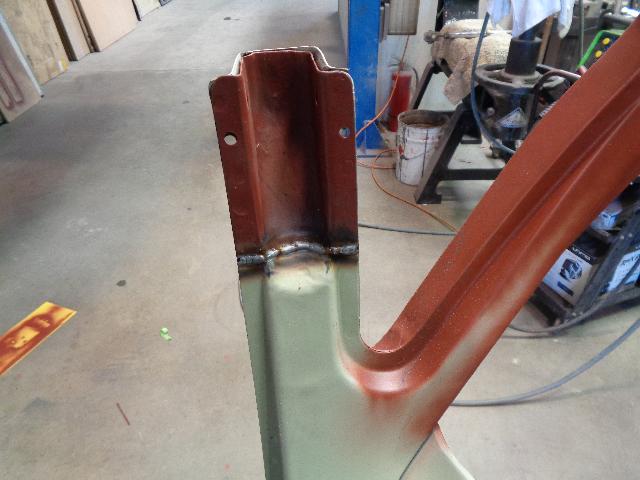
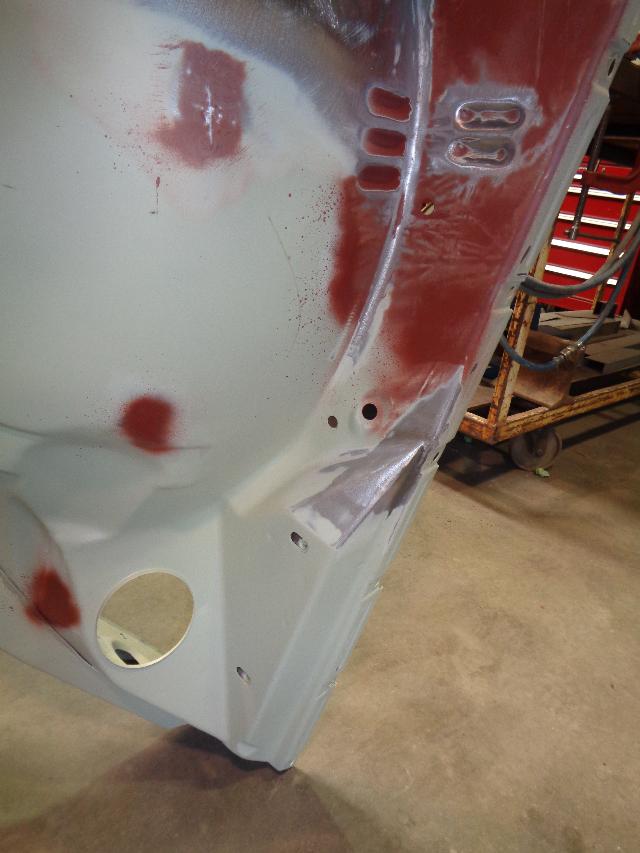
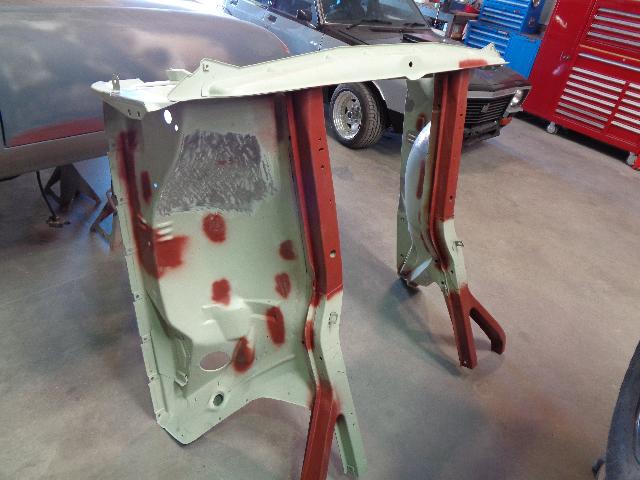
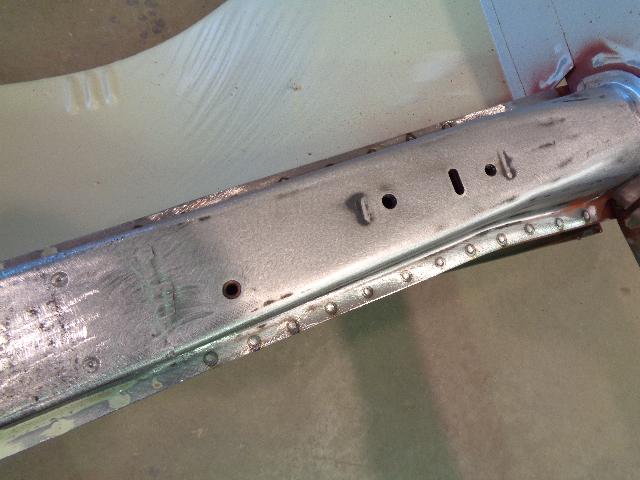
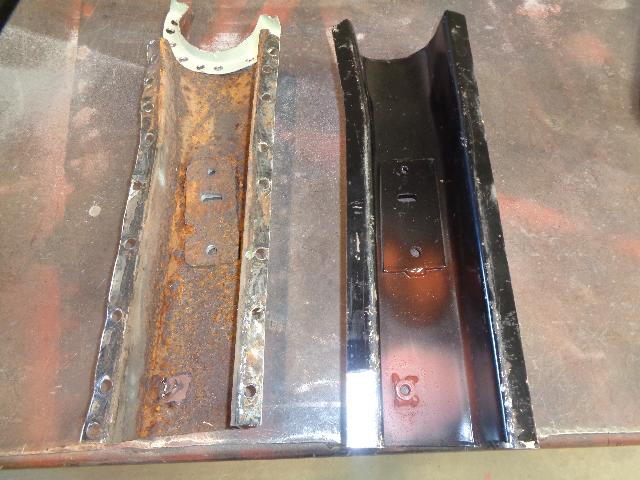
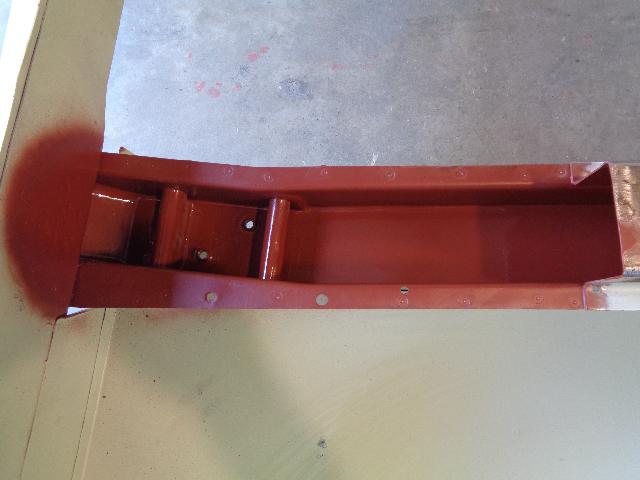
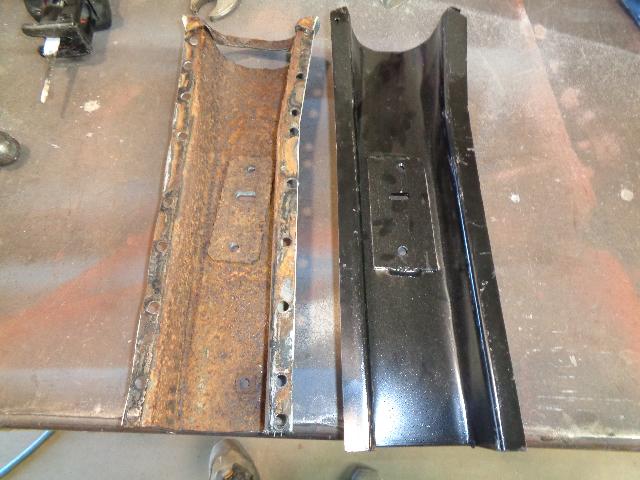
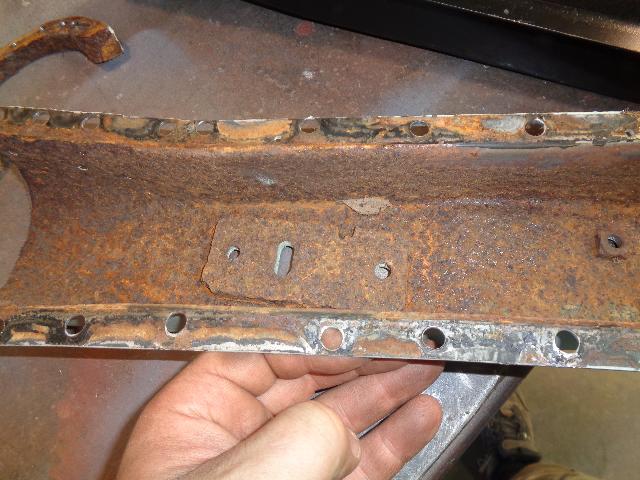
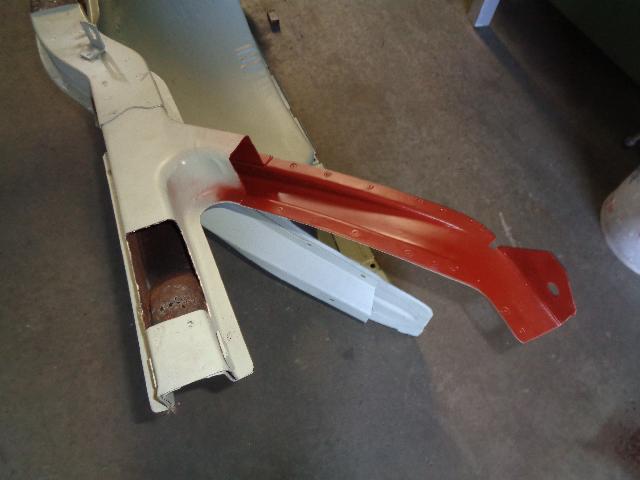
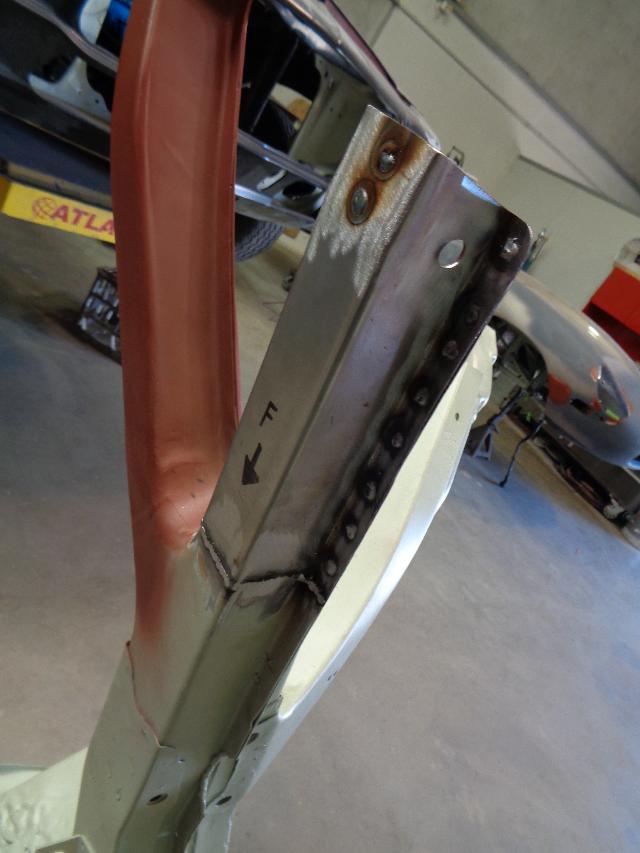
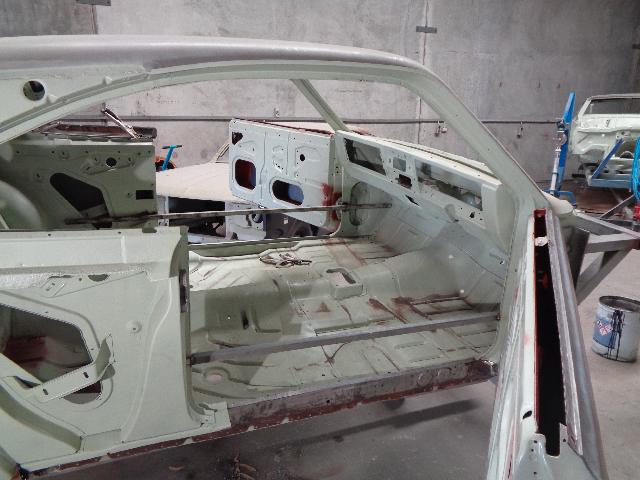
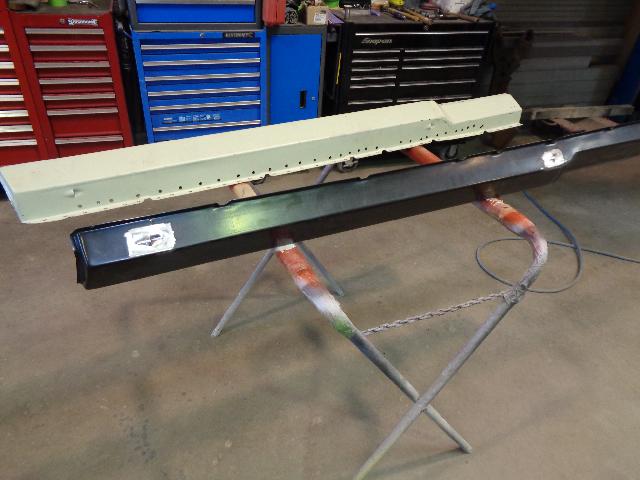
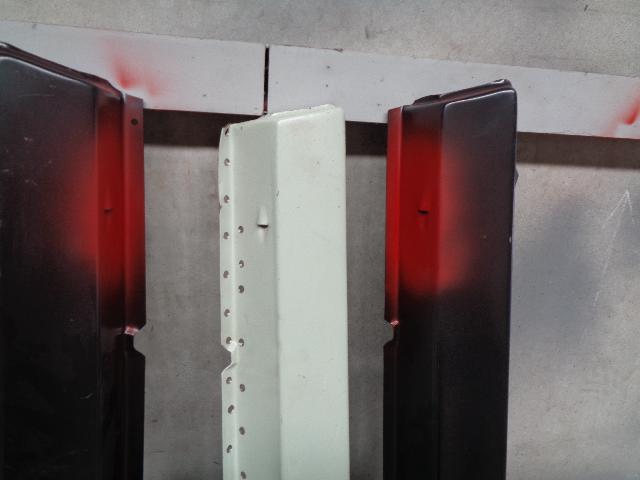
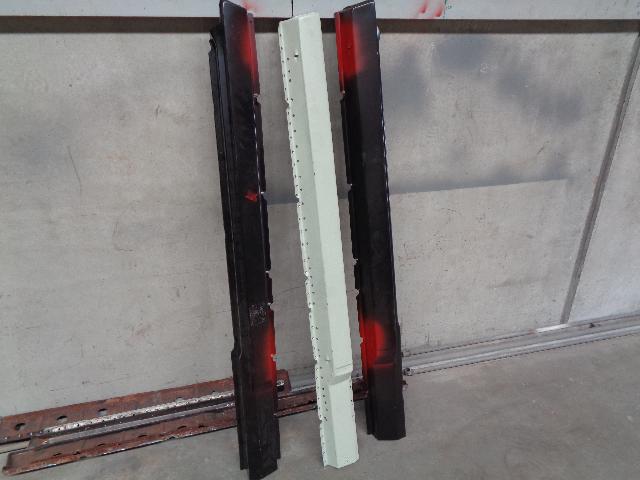
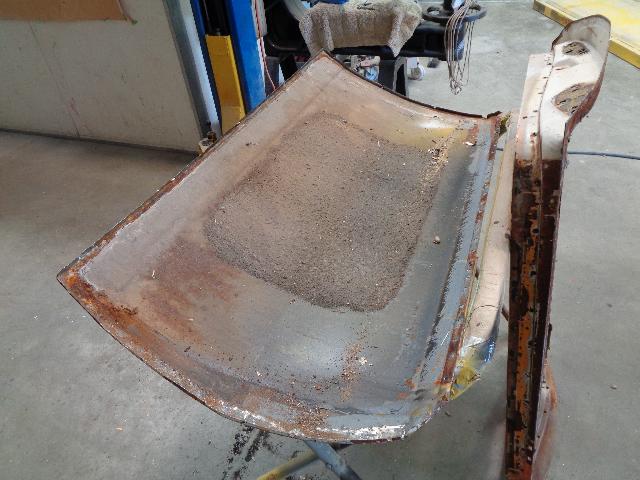
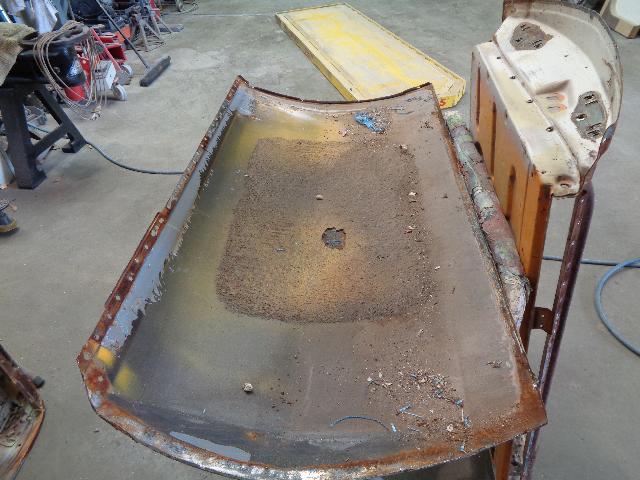
Deano's inners sill replacements arrived, and the boys got straight to work fitting them up. We used the Rare Spares out sills, which needed a small amount of work, mostly to add the drainage holes as per factory. The boot floor had already been modified back in the 80's for the big tank and hump. It was "cleaned up" by the guys, but then cut out and replaced with the Deano's part. The inner quarter support was compaired to the original, and as you can see it's a little different. I believe the early (or all?) HK's had a different design to later models. So we decided to cut the necessary pieces out and fit those rather than replace the entire part. The rear inner wheel arch needed some work, which then tied it all together with the freshly replaced spare wheel area. The front windscreen had some minor caqncer, so this was all cut out and replaced with the Deano's section. Labour during this period: 52 hours Inner quarter, front windscreen and boot floor 31.5 hrs L+R inner and outer sill fitment 20.5 hrs There was no way this car wasn't going to be MY ultimate version of the HK GTS Monaro, and that means it'll be blown :) Back in January, I was attending a trade show in Anaheim, USA, and the AirBNB just happened to be 7 miles from Littlefield Blowers. So after we finished up with everything to do with work, we made the trip out to see the guys, and place the order in person. It's so cool to see a small family run business making world-class products. No big corporate office spaces. No international mega budgets for advertising. Just old school hard work, and a great reputation. After about an hour of checking out all the stuff they were working on, and a factory tour of the process, I ordered a 6/71 blower, in anodised black. Rotors are high-grade 7075 alloy, which is actually the strongest aluminium on the market. The pulleys selected should see around 12psi. The spare wheel well wasnt fitting up perfectly, so it's been cut out and modified to suit.
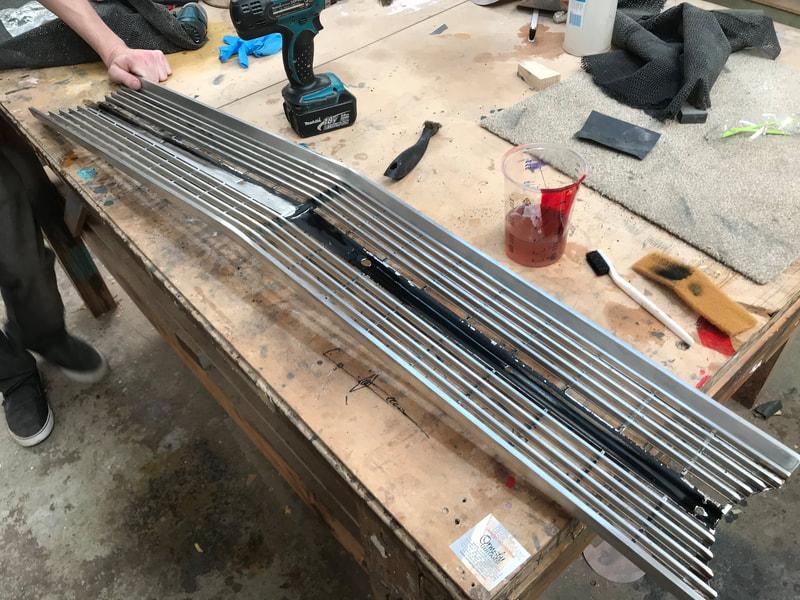
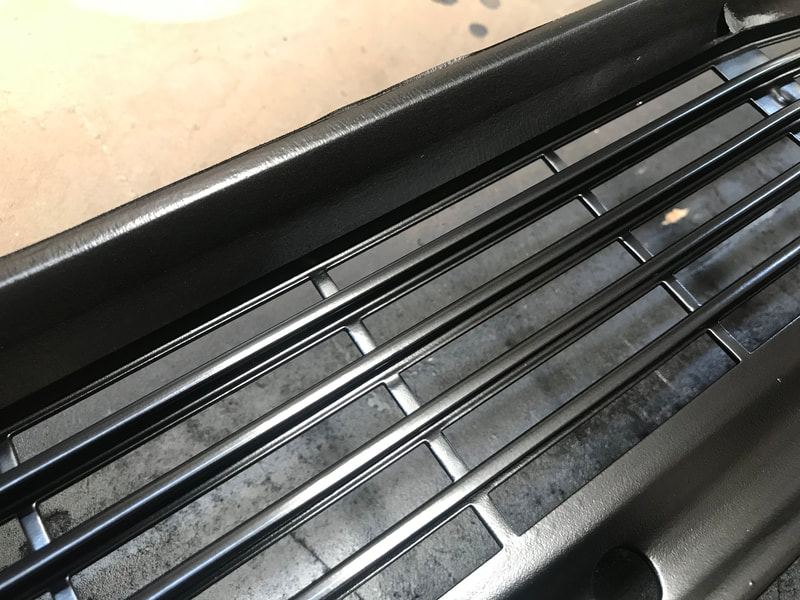
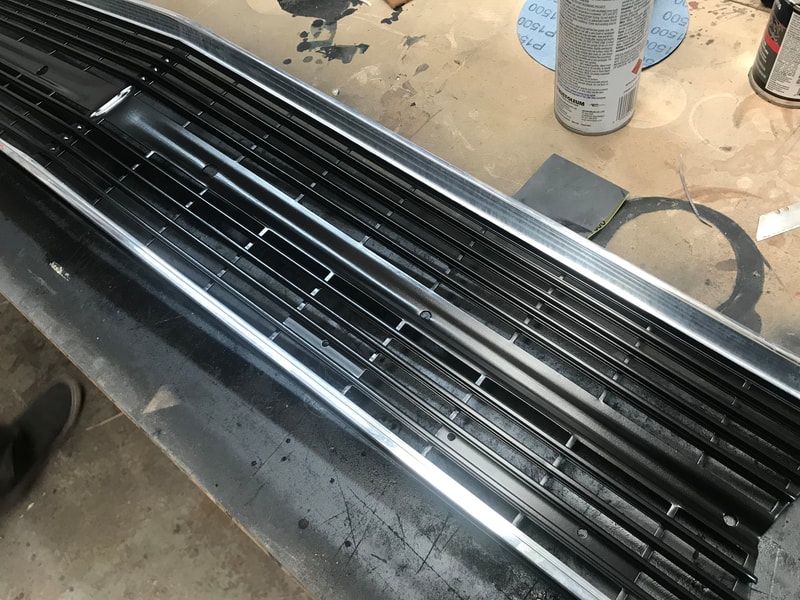
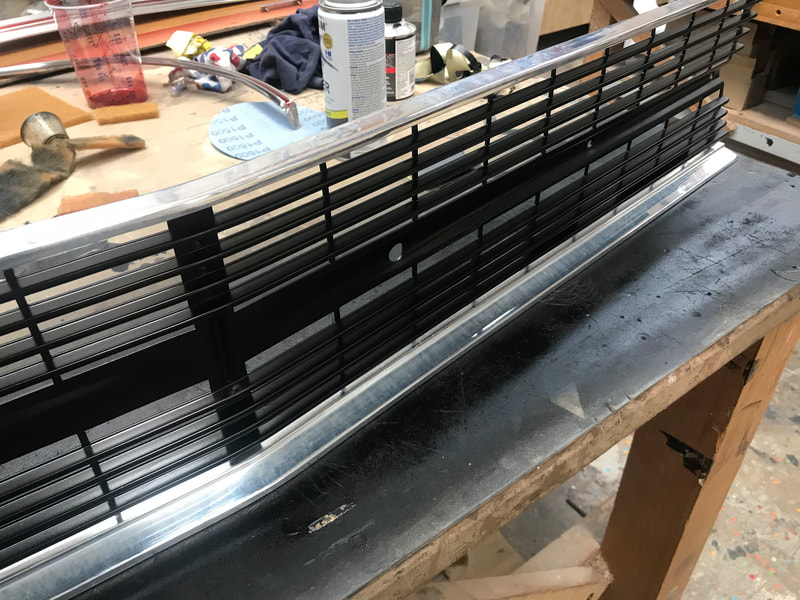
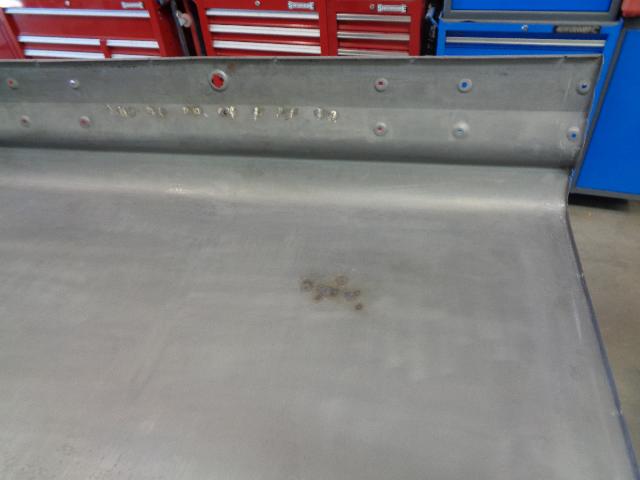
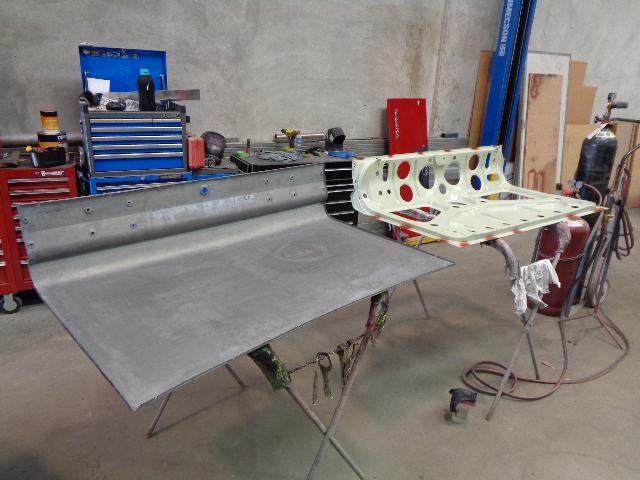
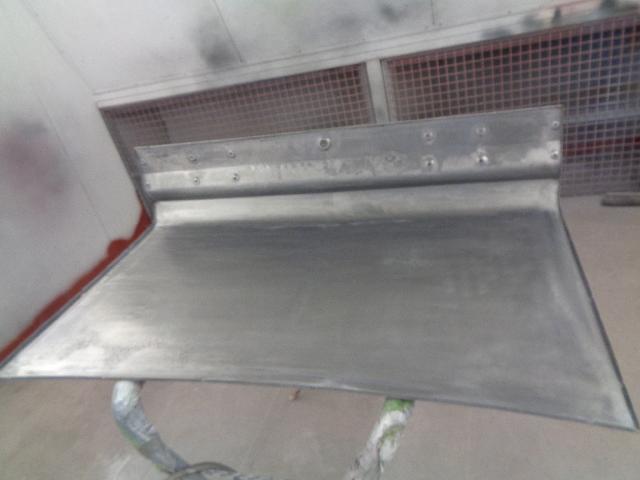
Labour during this period: 14.5 hours Modify spare wheel well and weld in 14.5 hrs Picked the best grill out of the stash, but it still needed a fair bit of work. Lots of dents and scratches all over, some horizontal bars were twisted a little, and the anodising finish was worn.
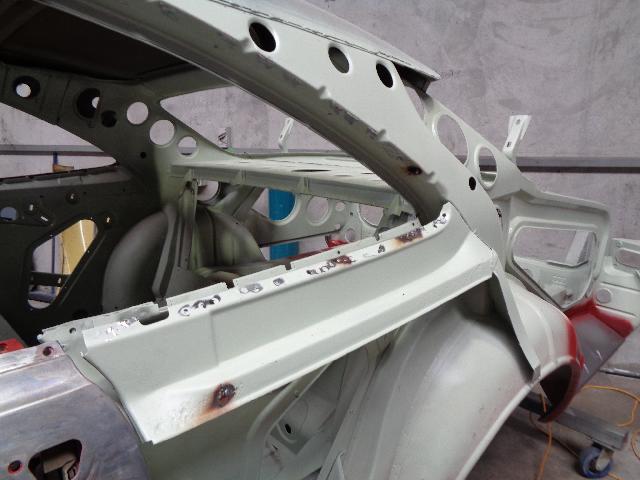
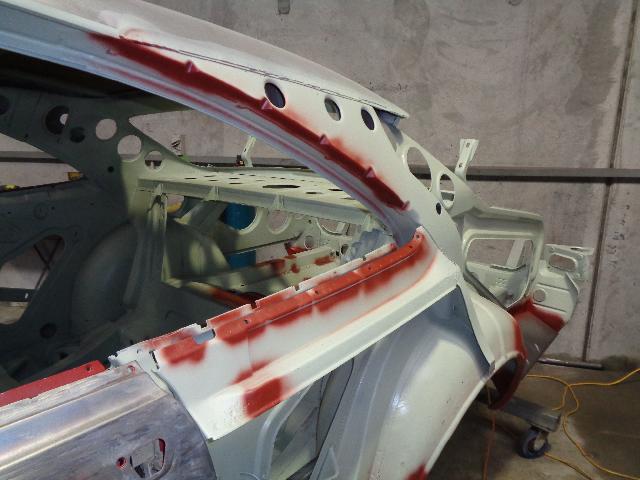
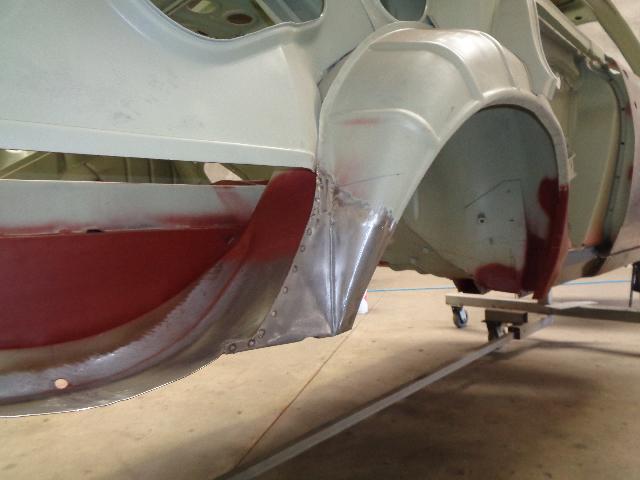
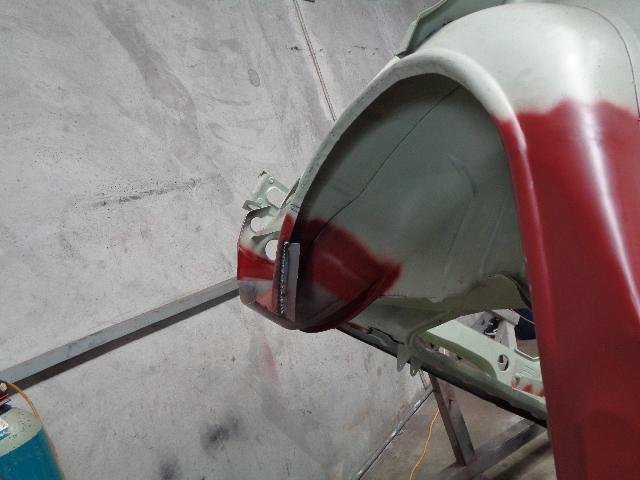
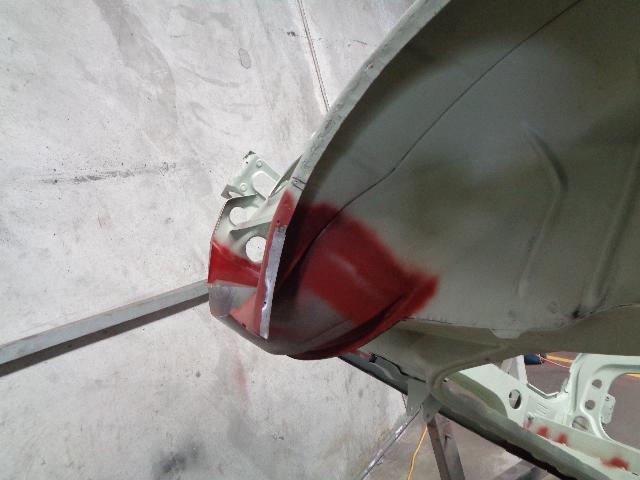
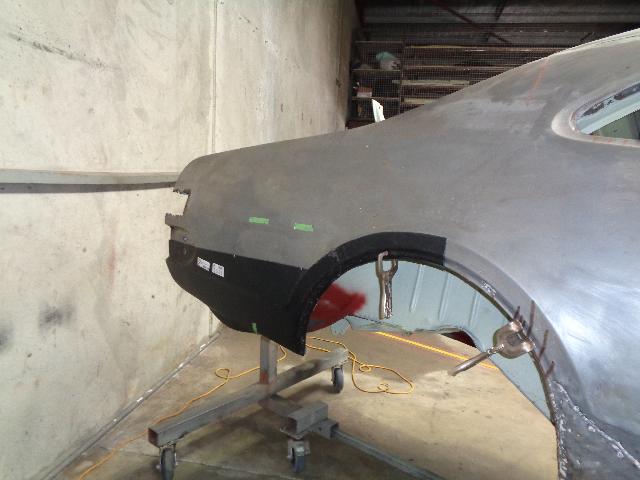
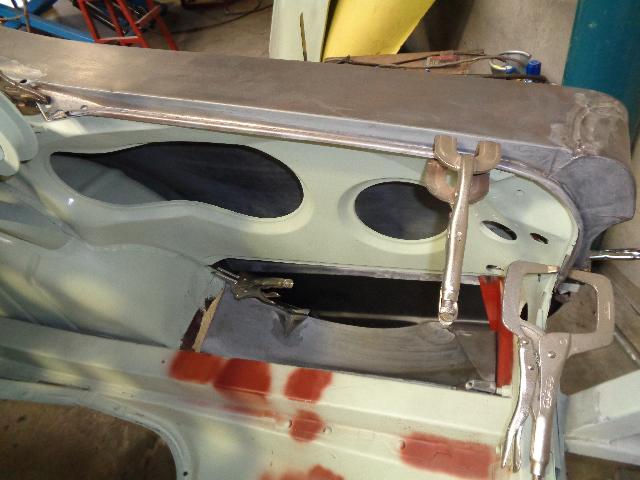
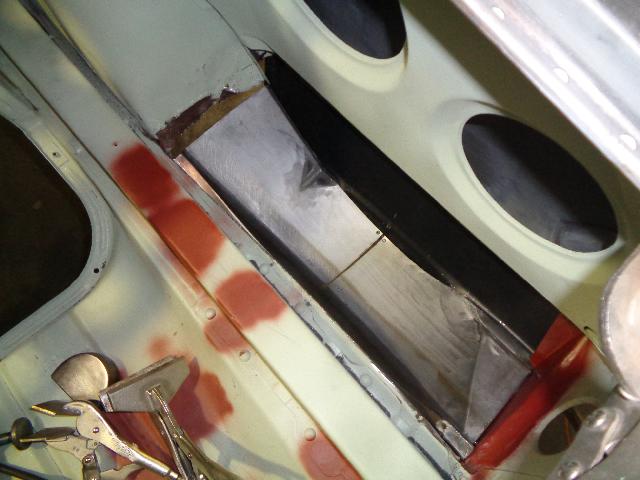
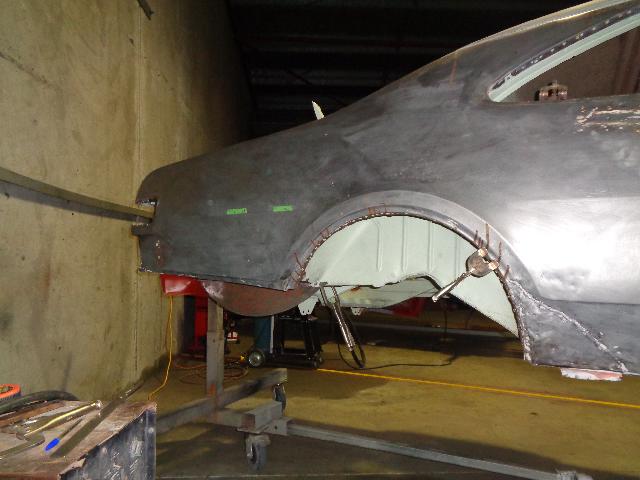
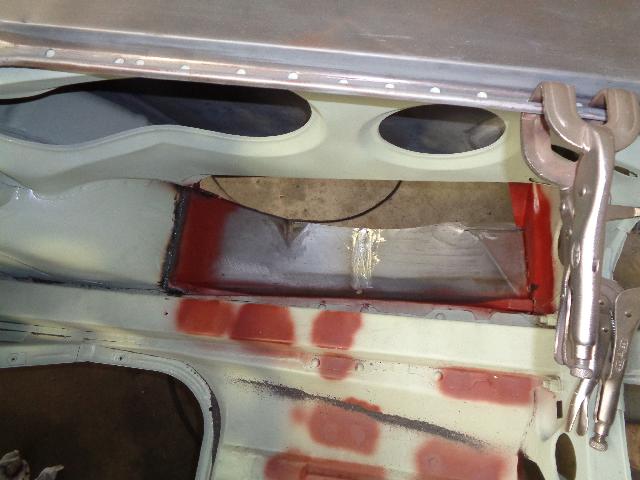
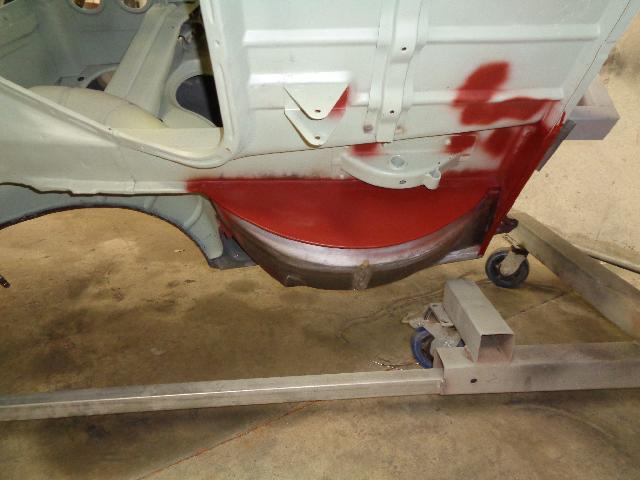
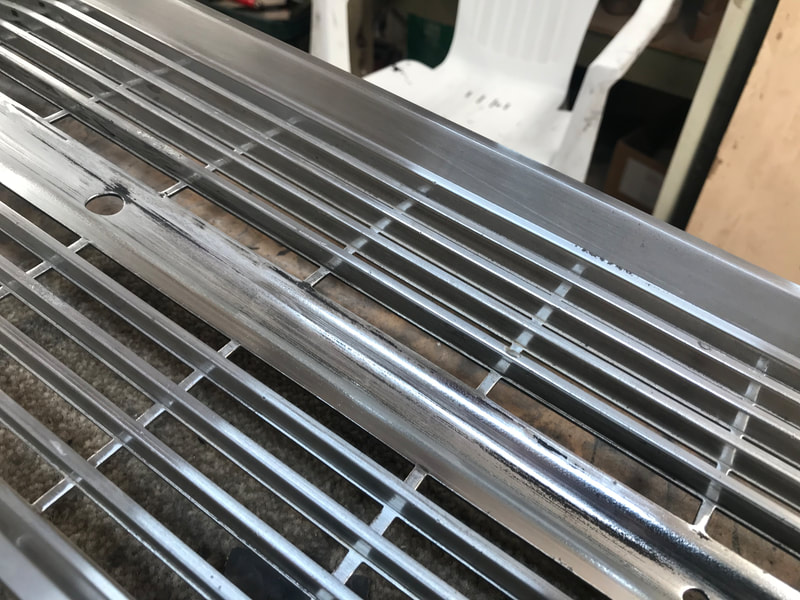
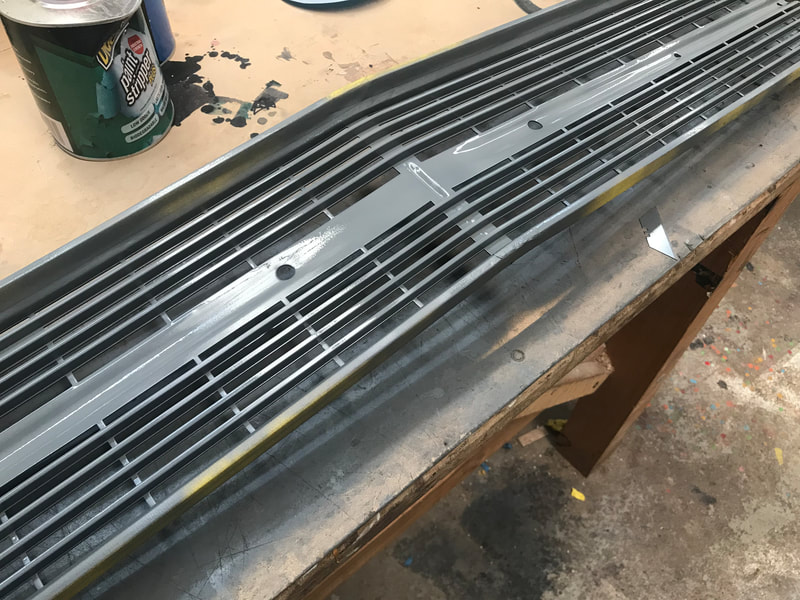
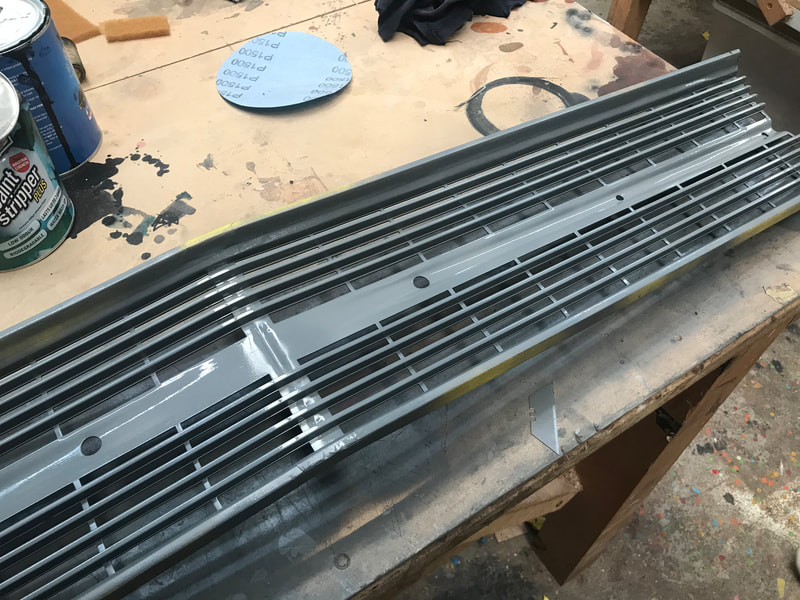
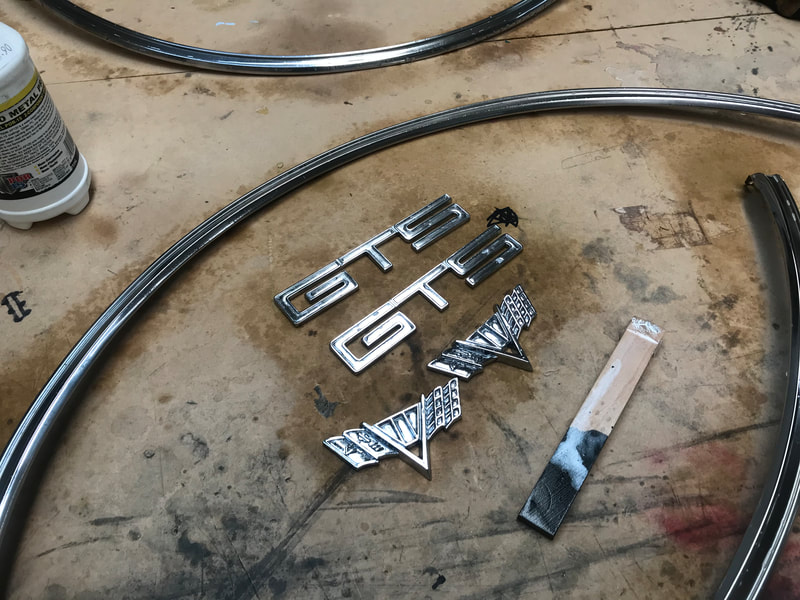
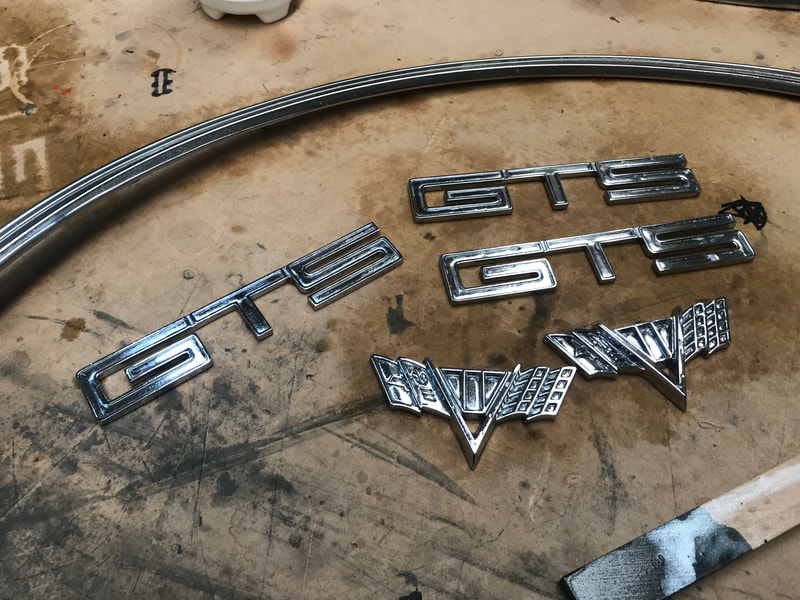
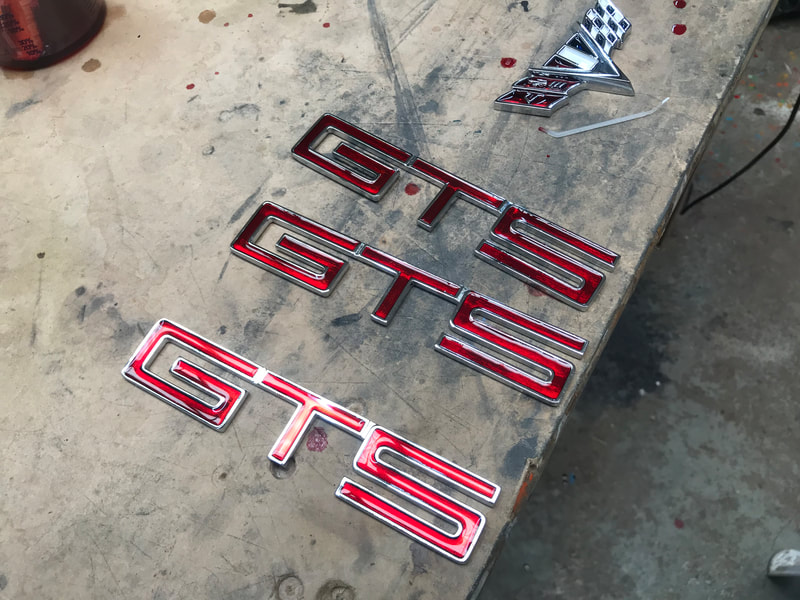
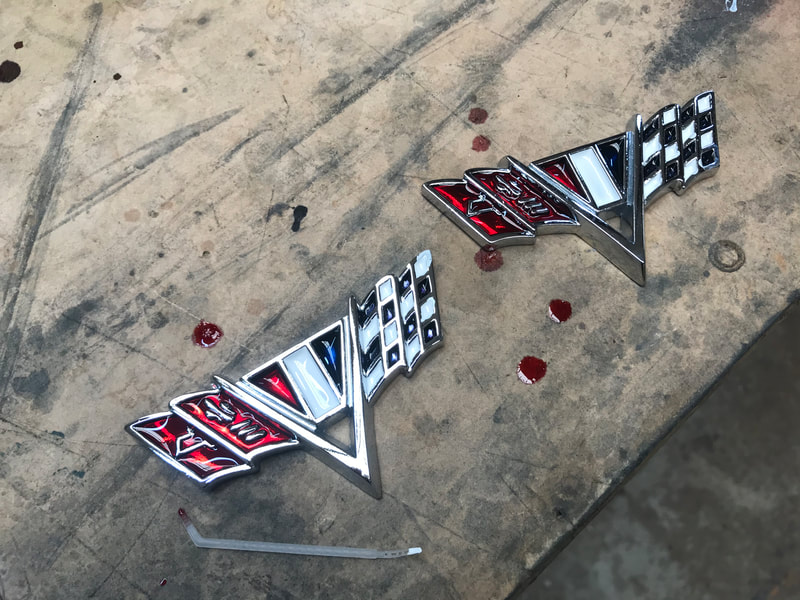
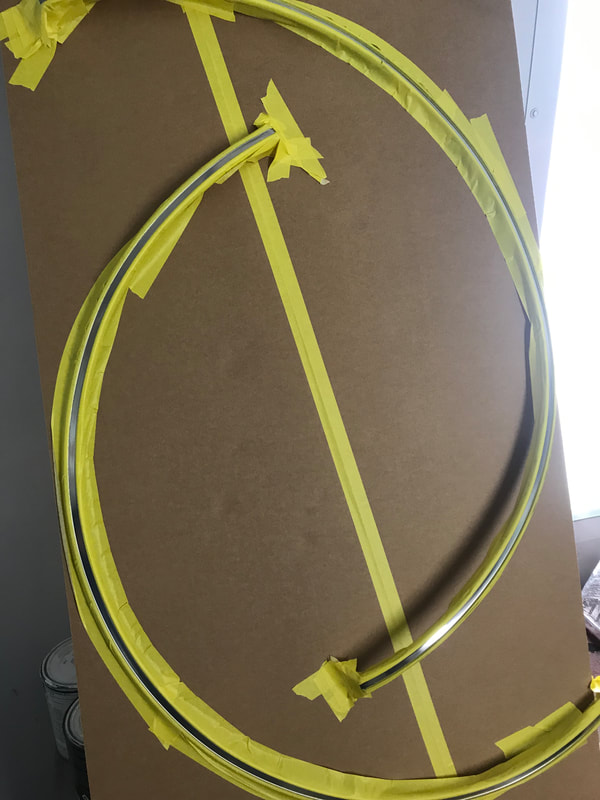
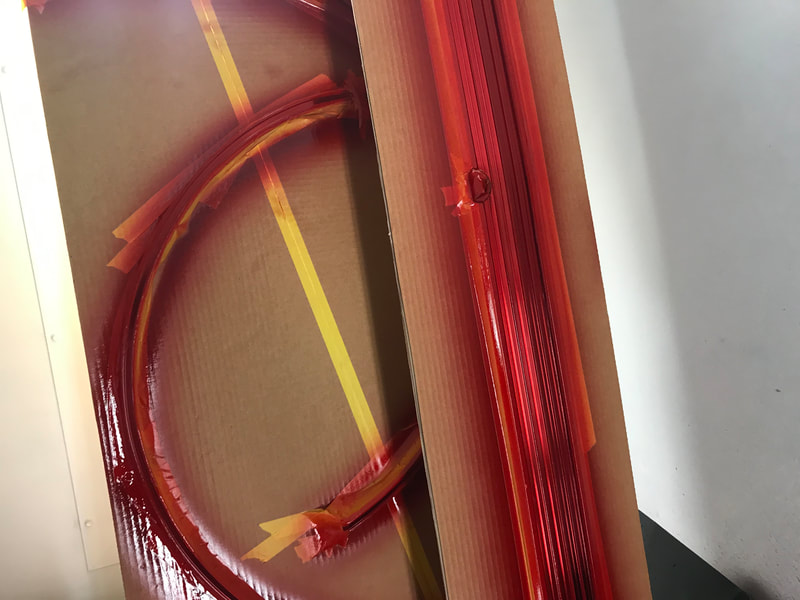
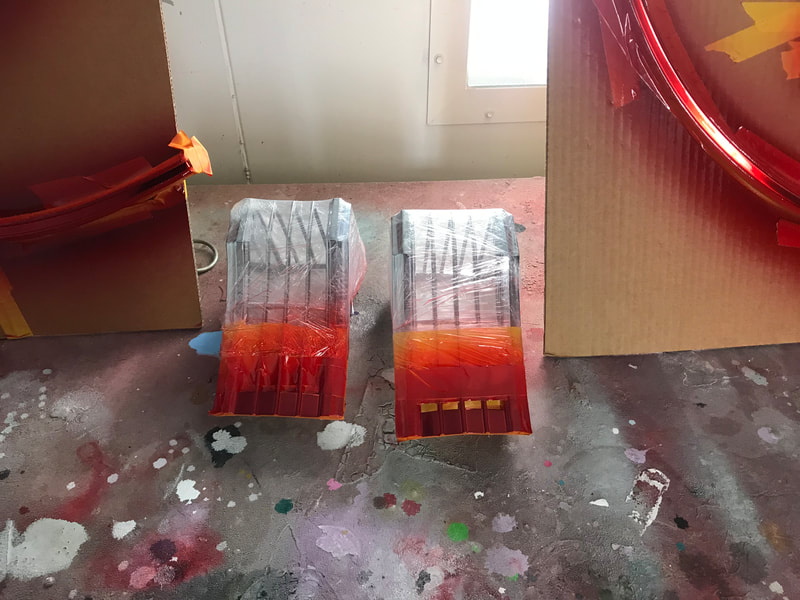
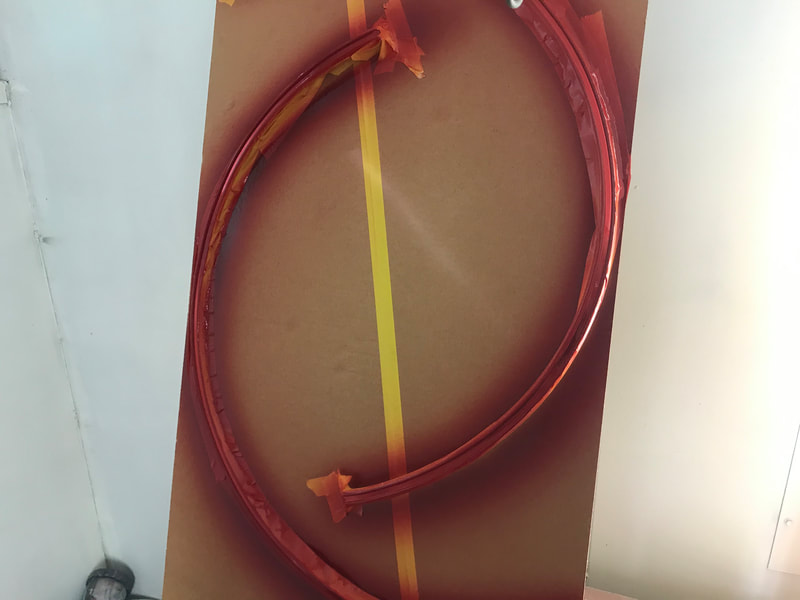
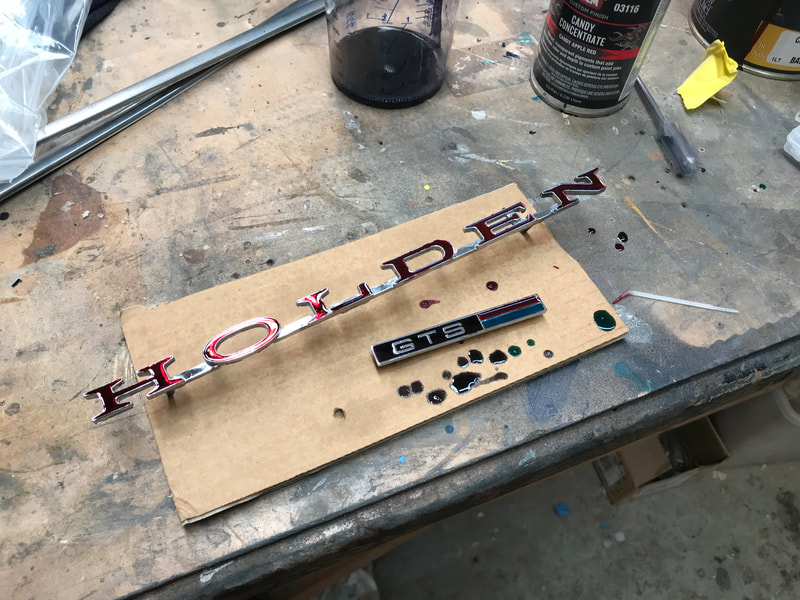
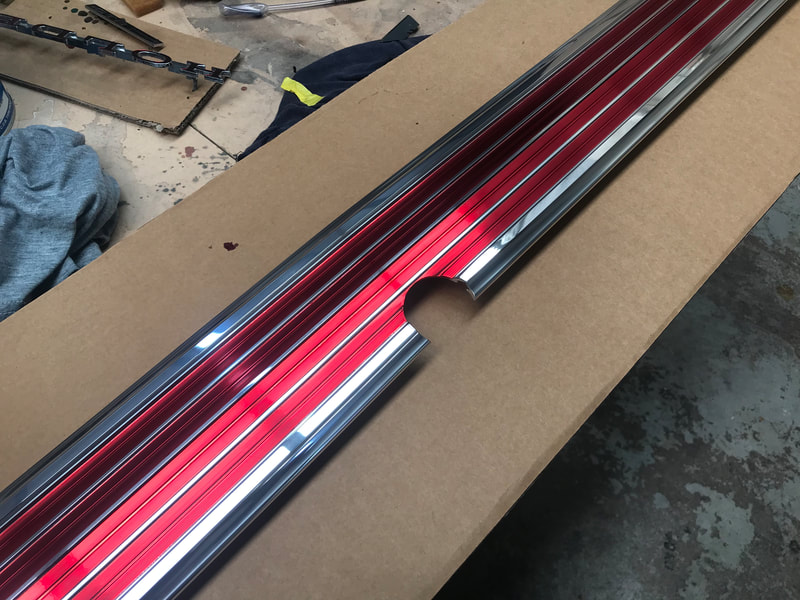
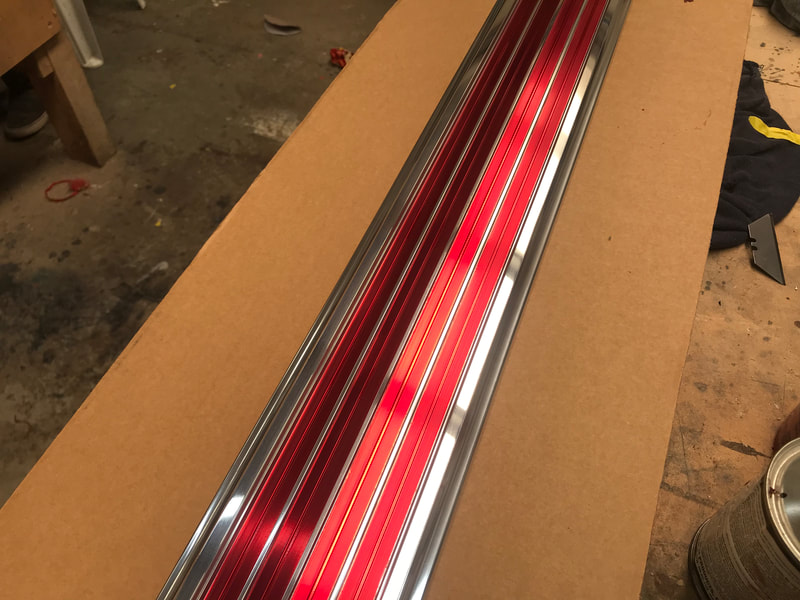
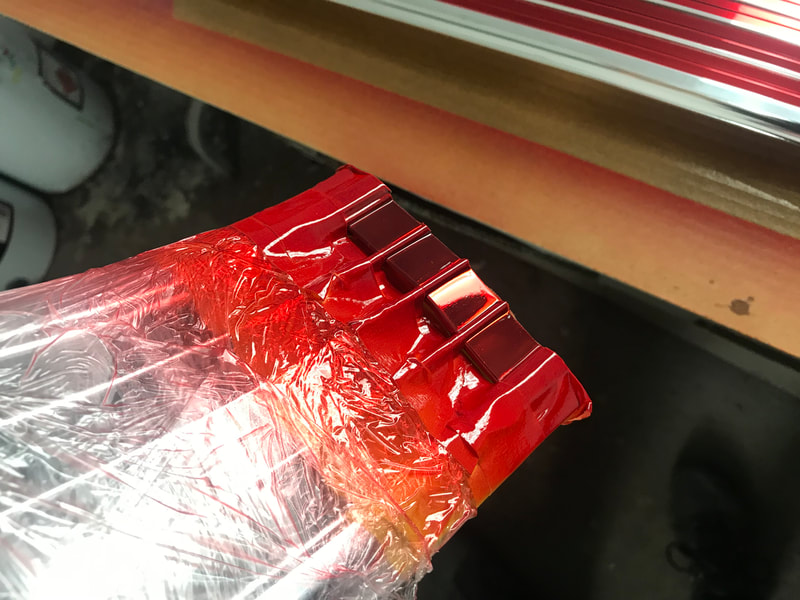
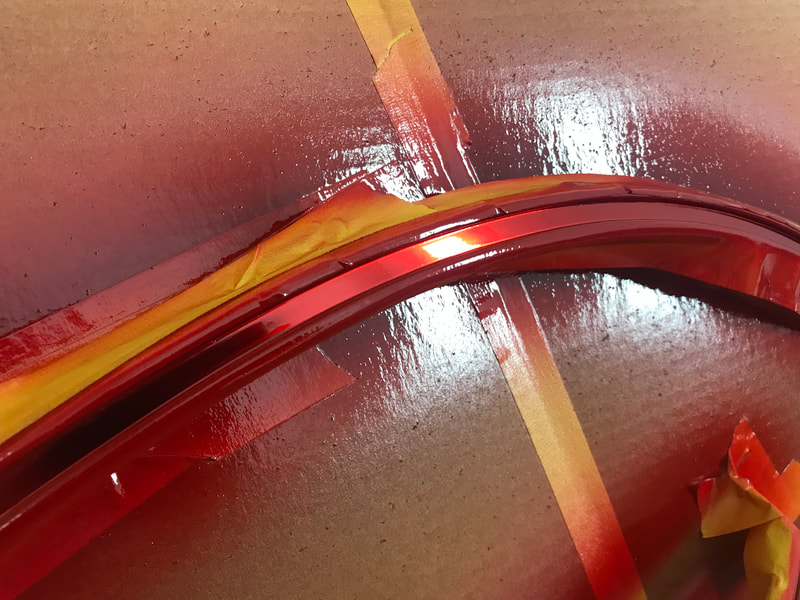
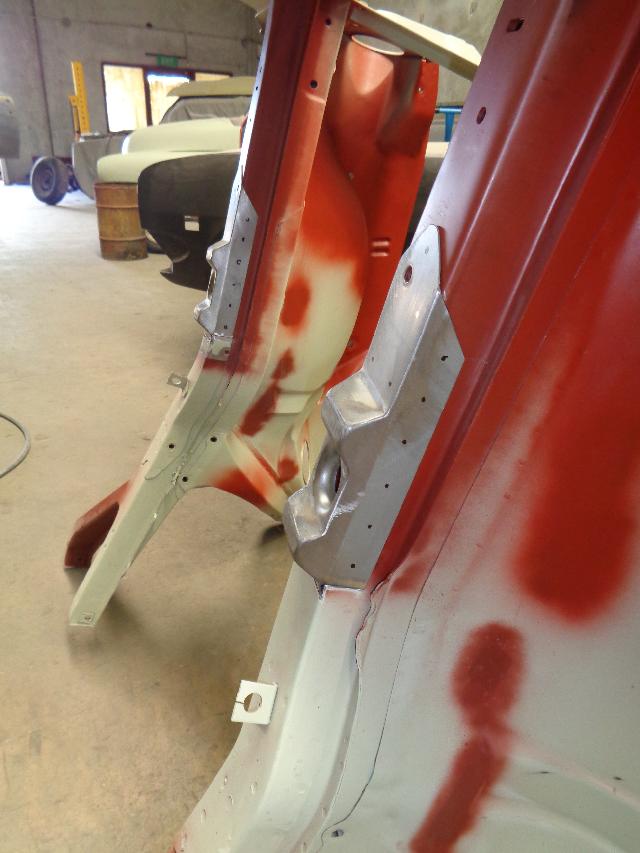
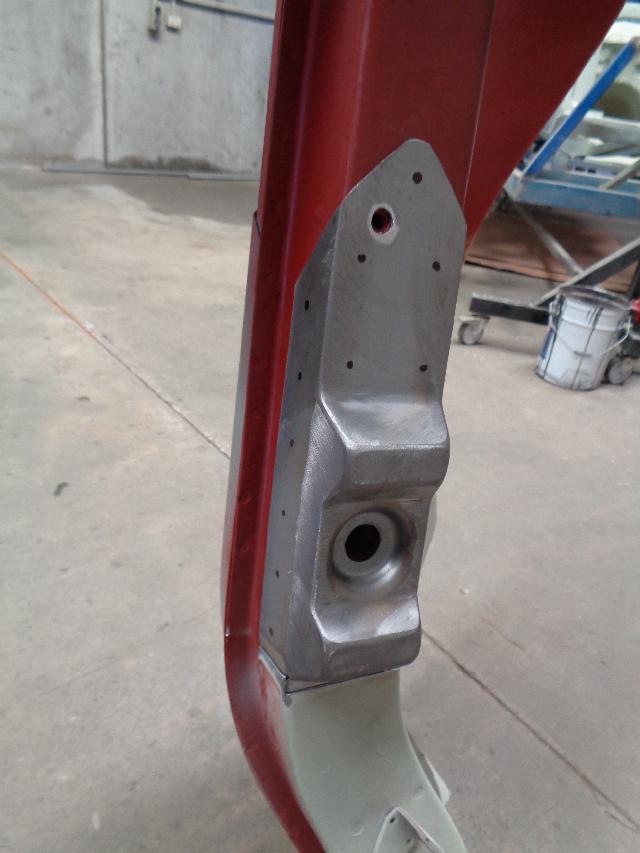
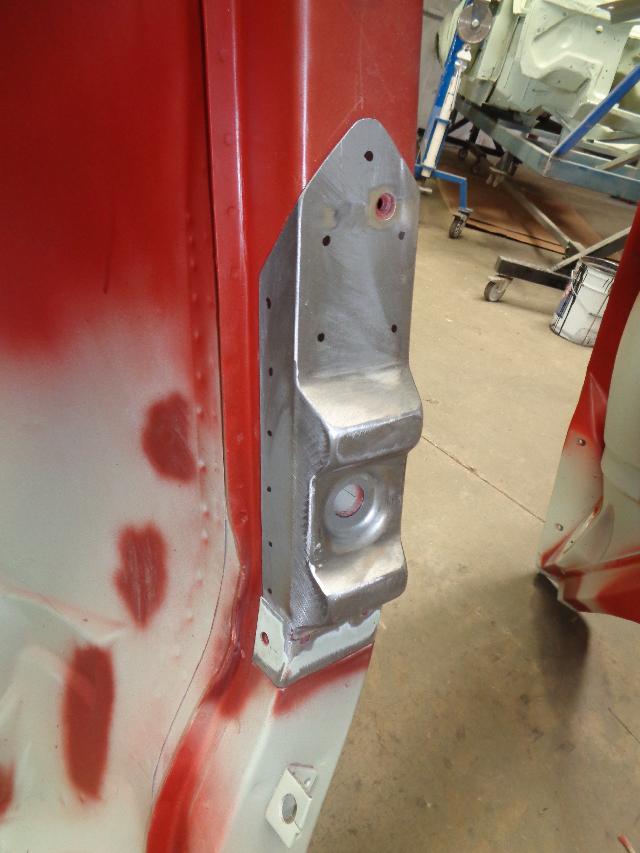
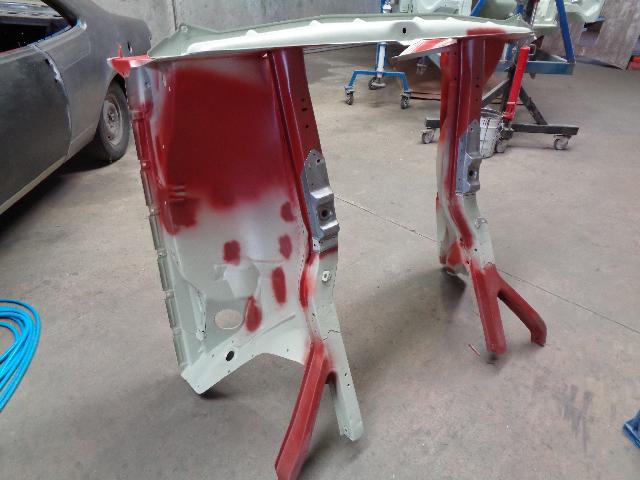
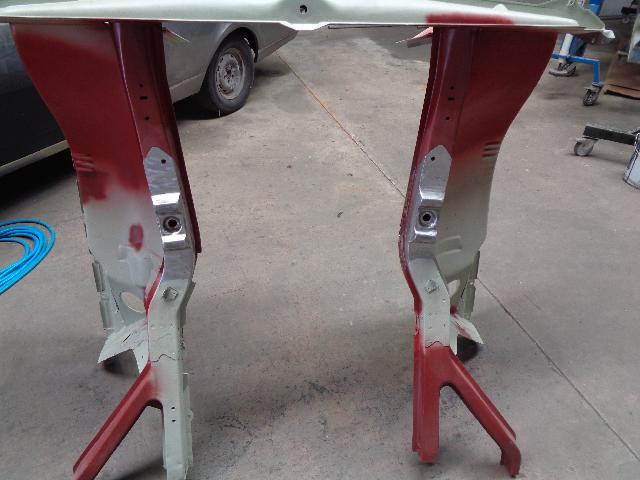
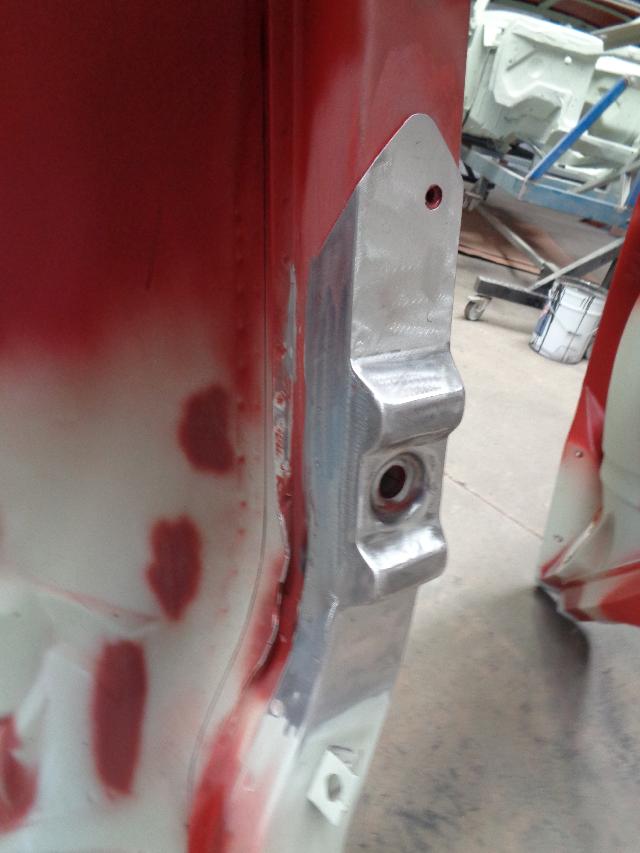
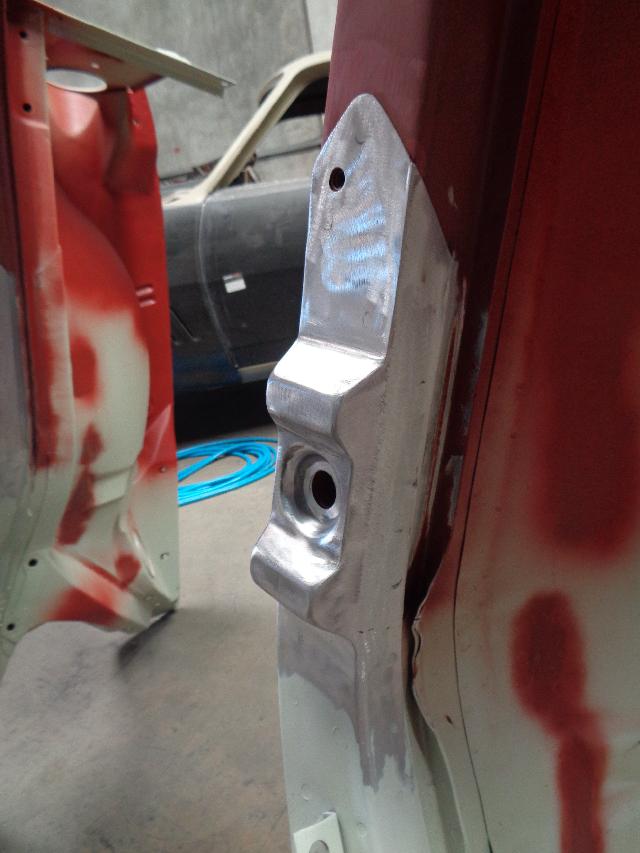
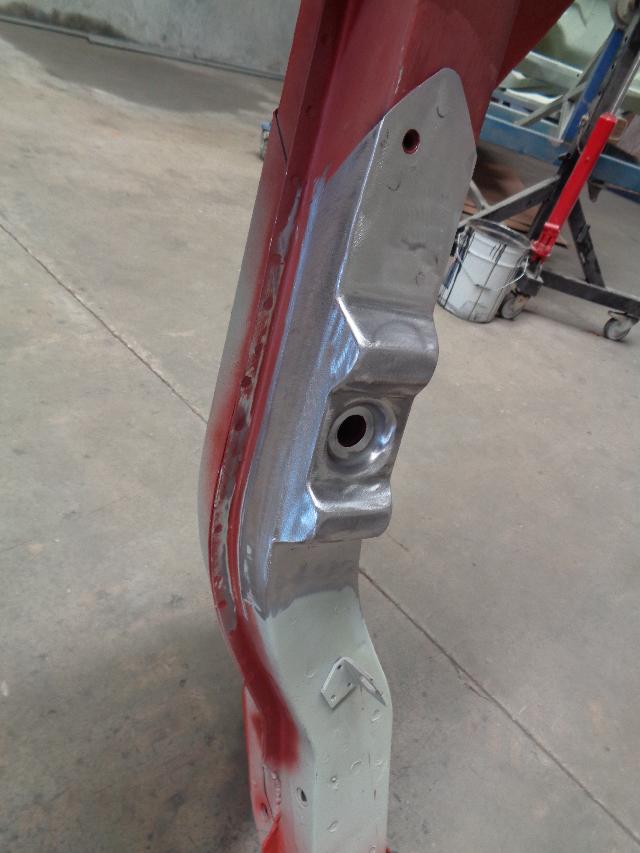
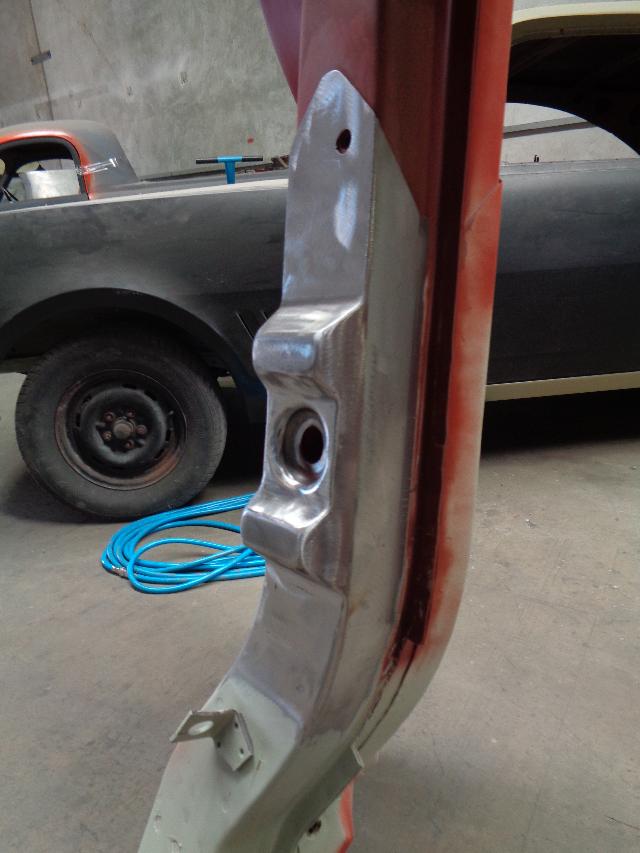
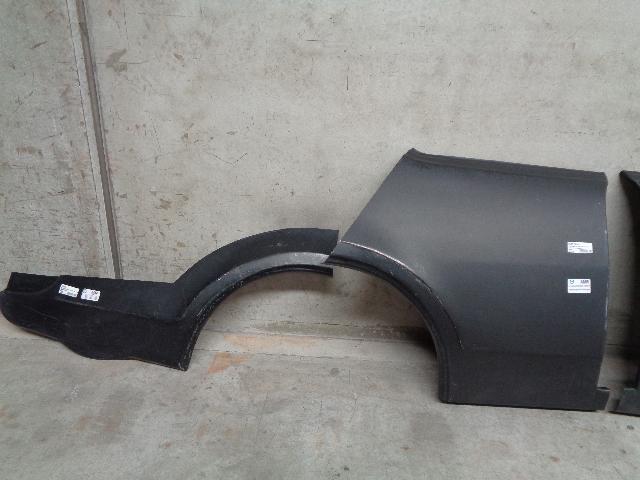
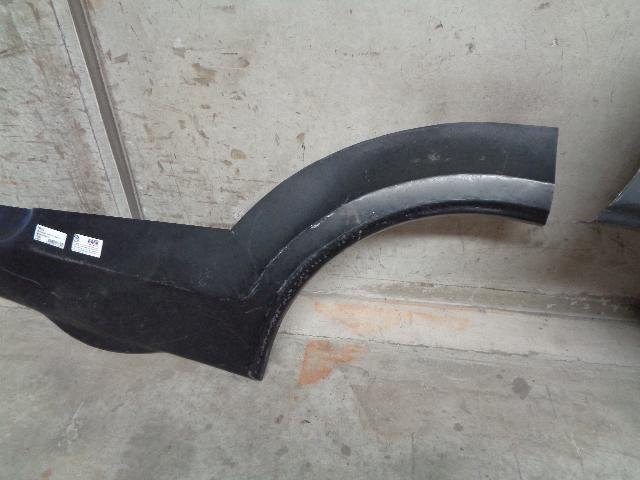
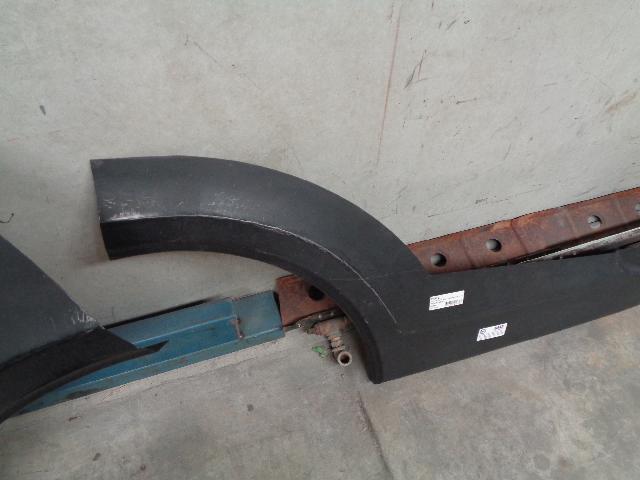
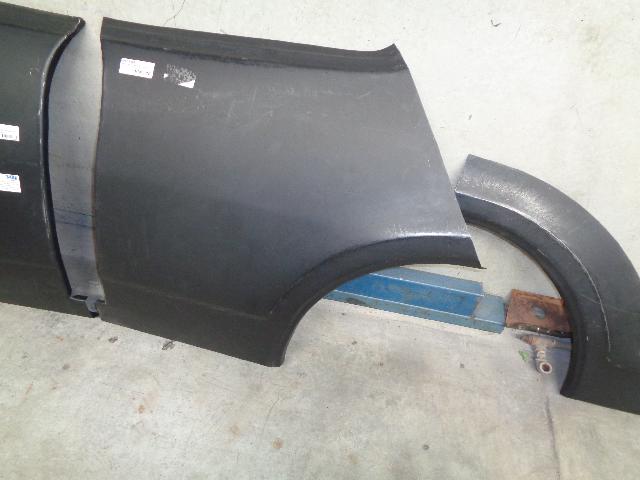
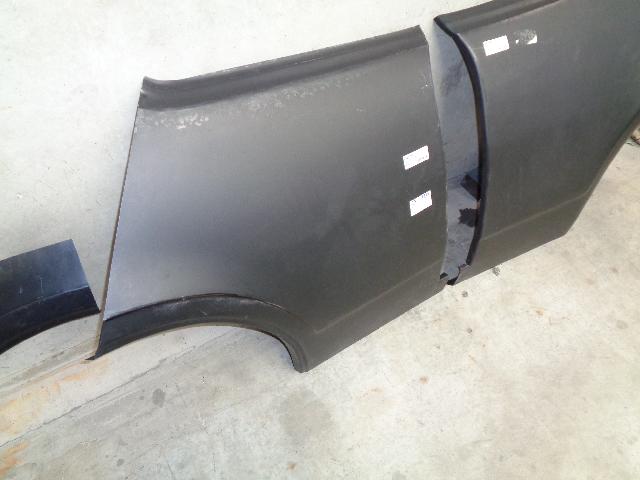
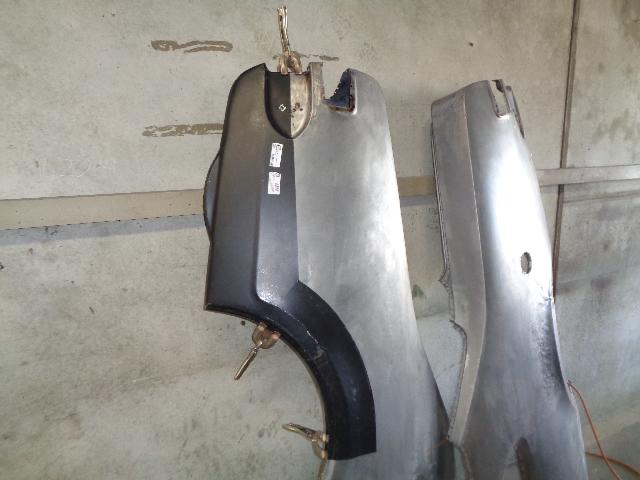
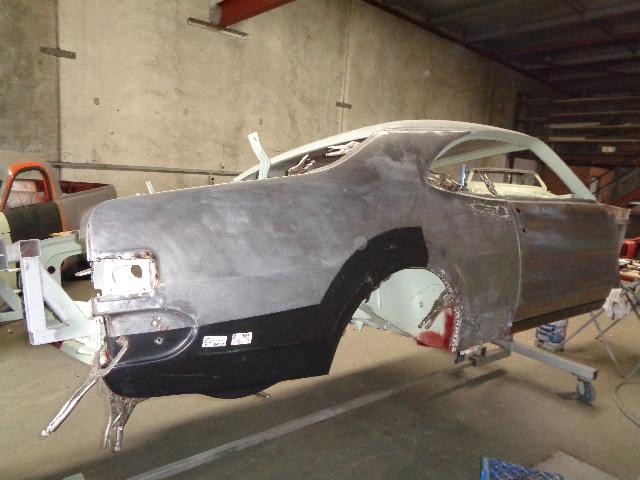
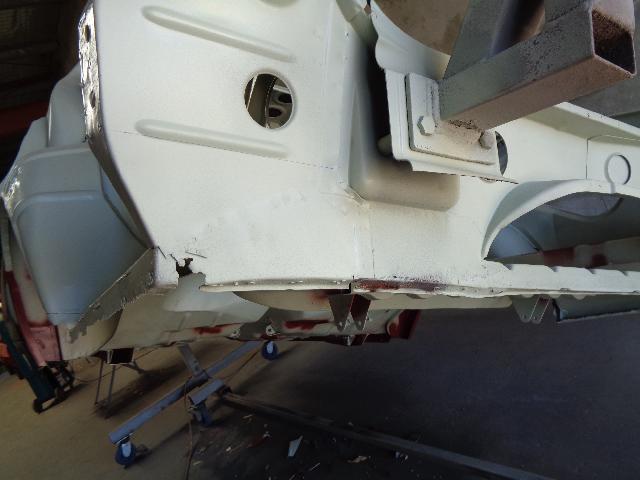
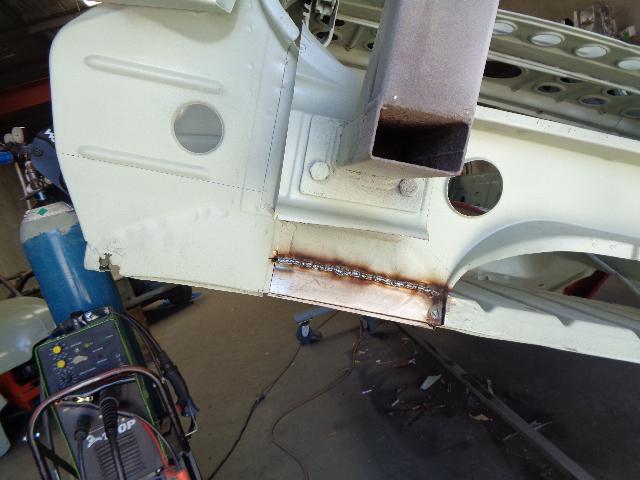
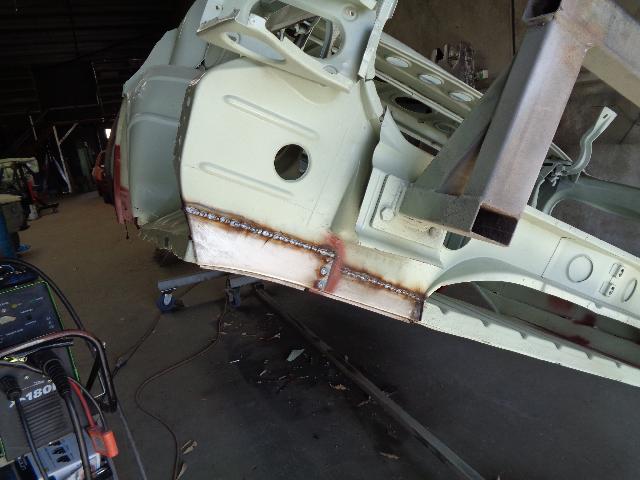
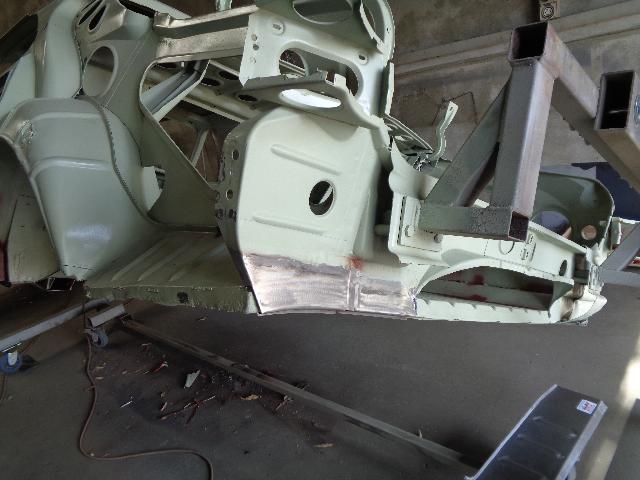
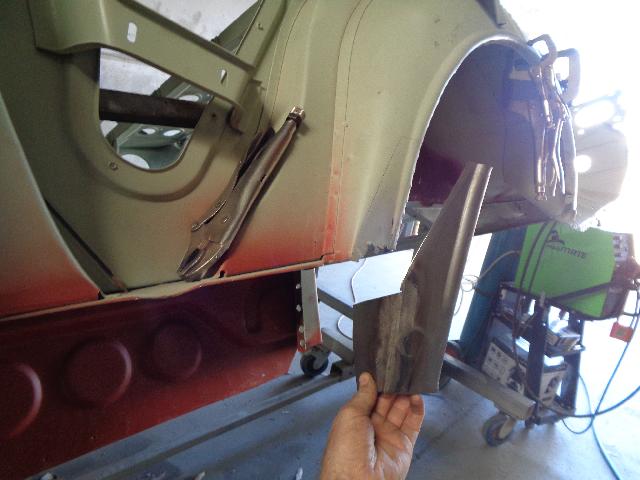
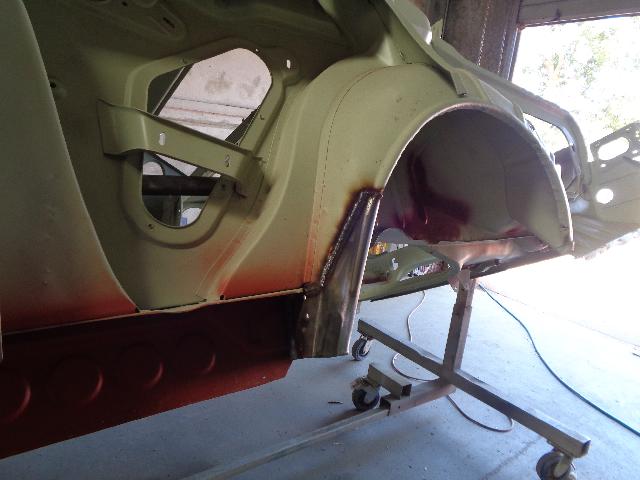
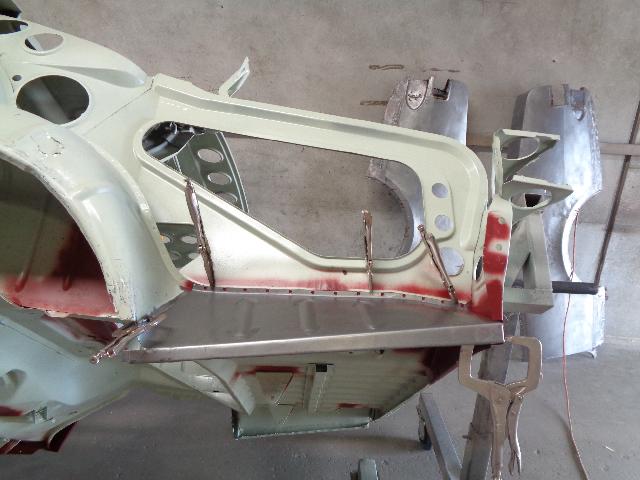
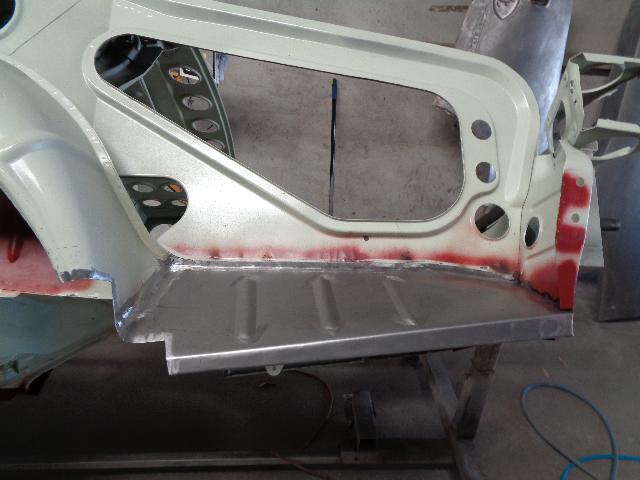
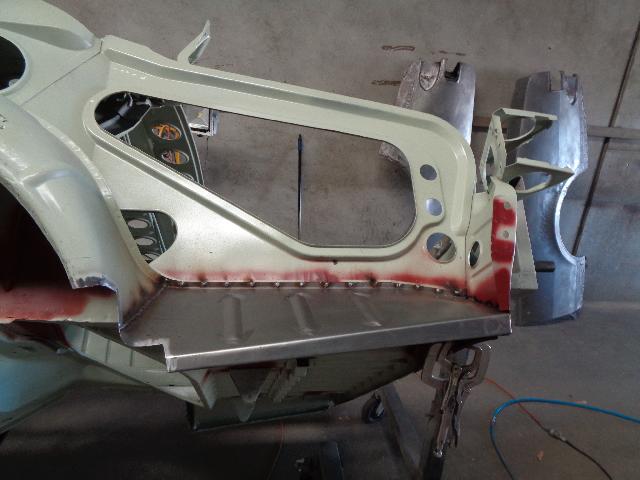
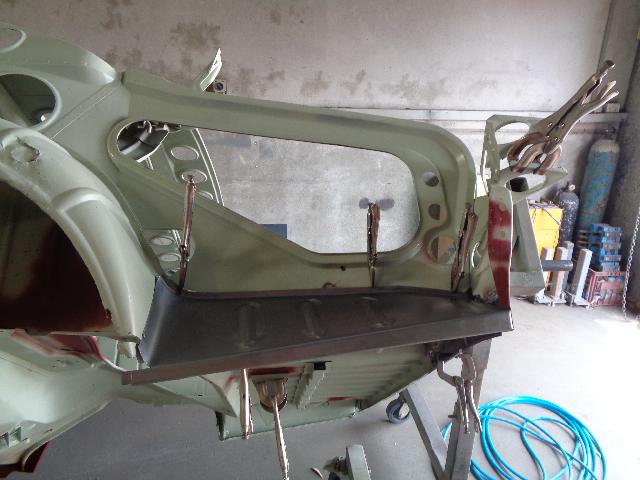
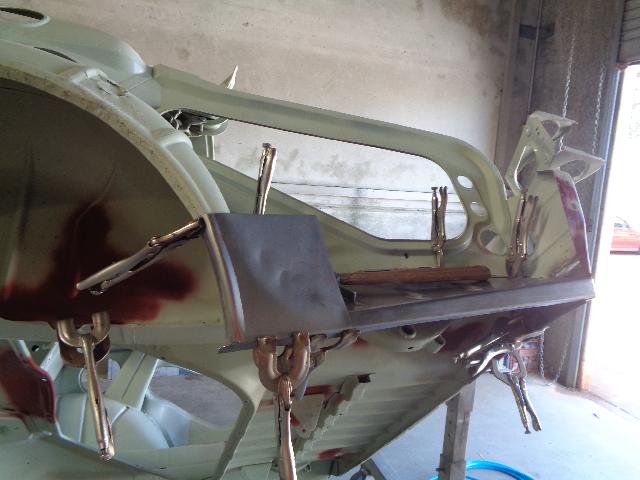
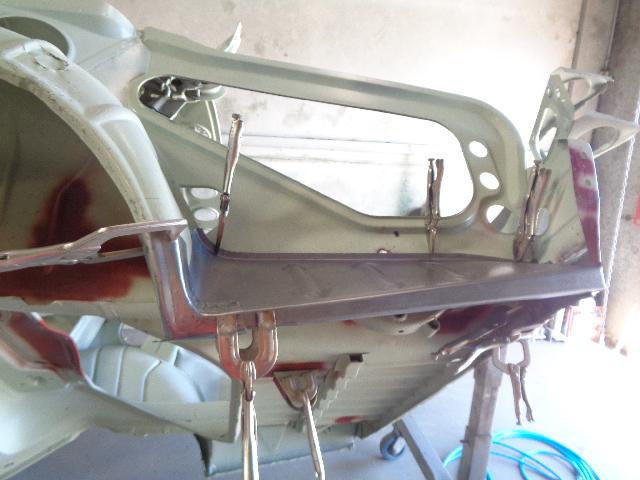
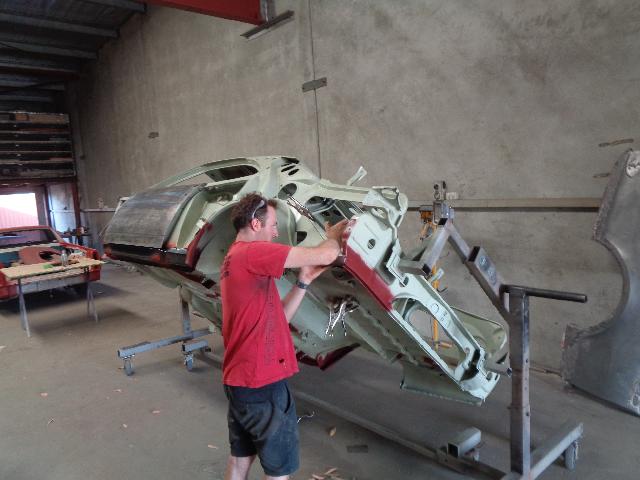
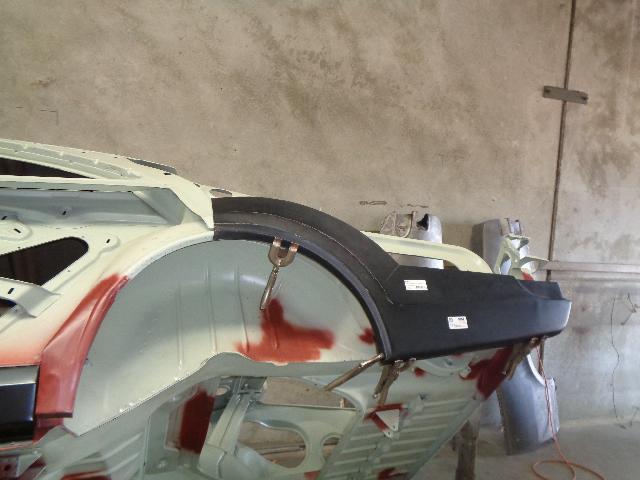
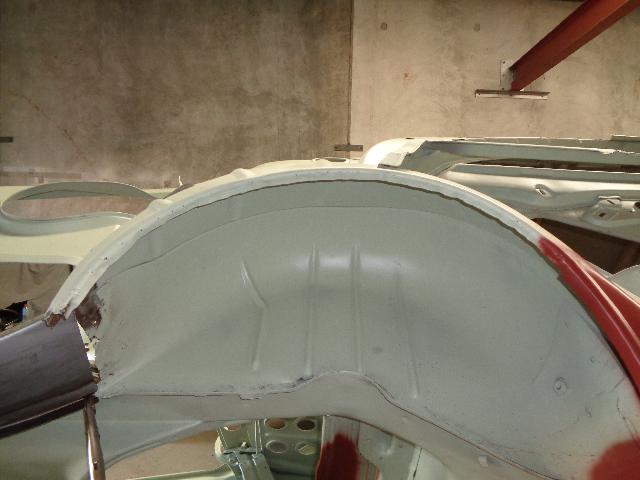
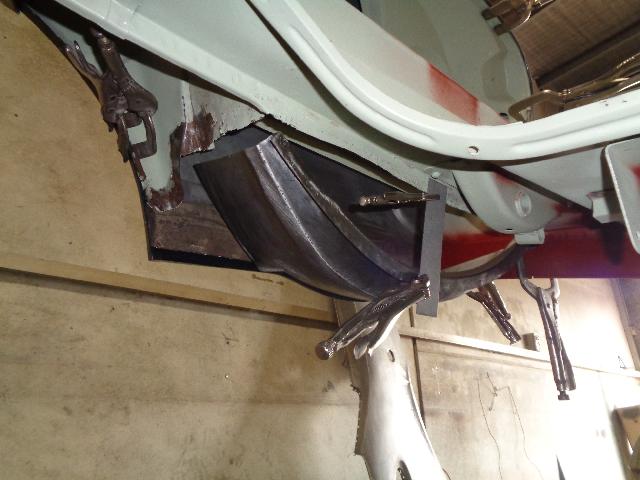
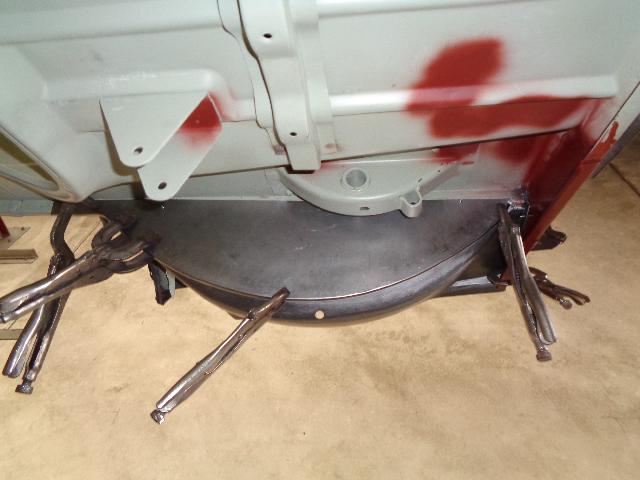
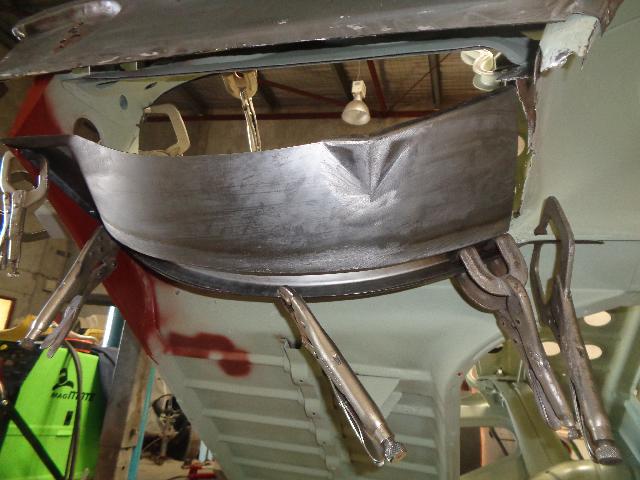
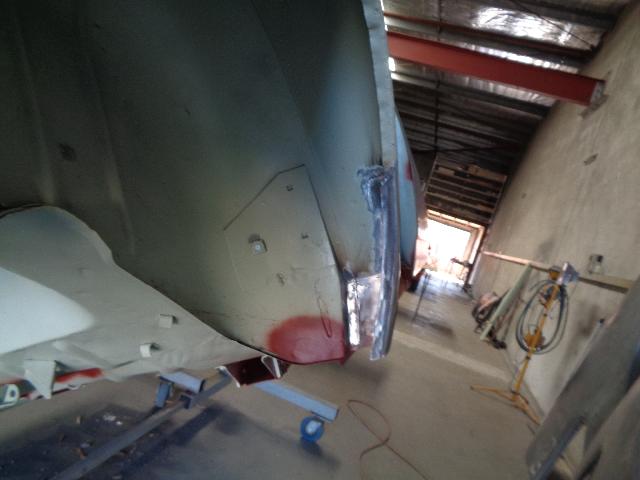
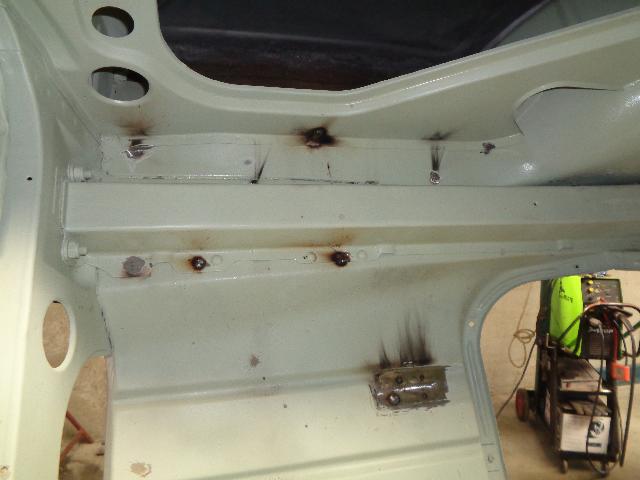
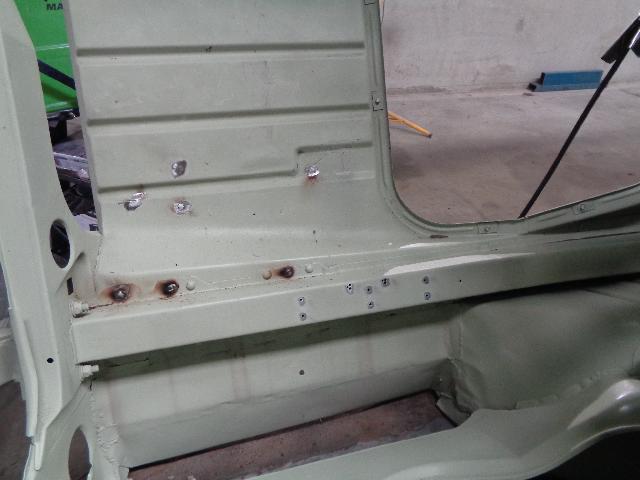
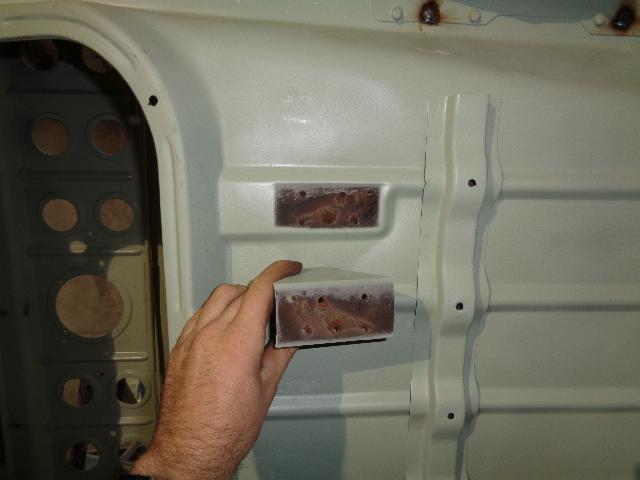
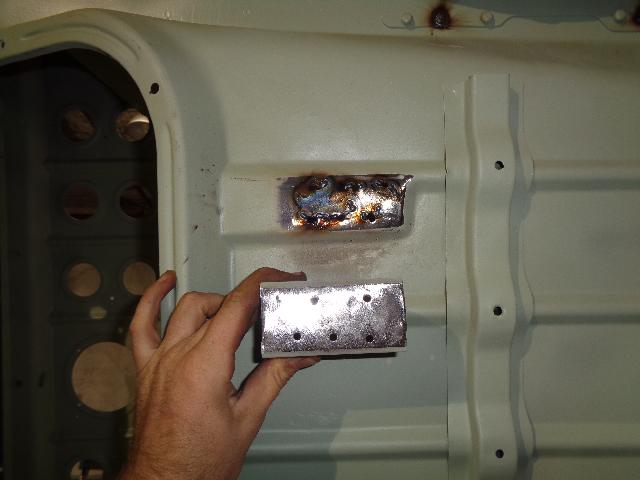
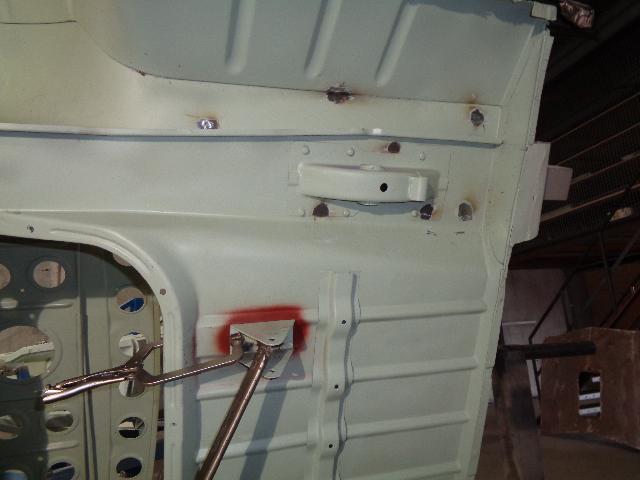
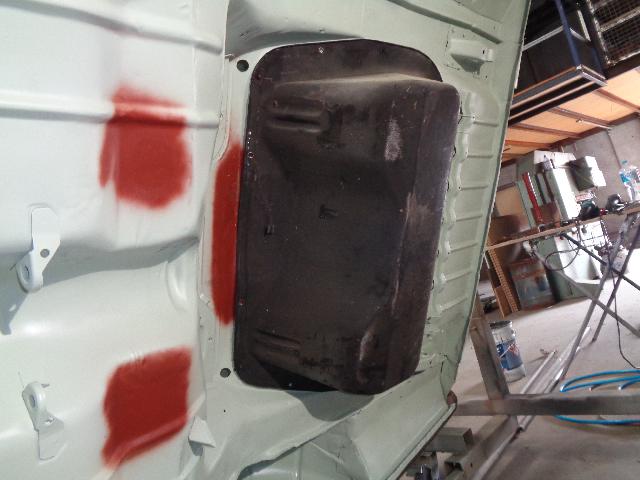
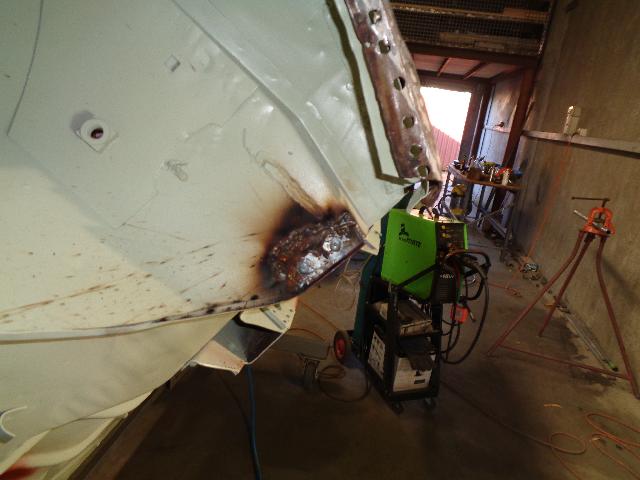
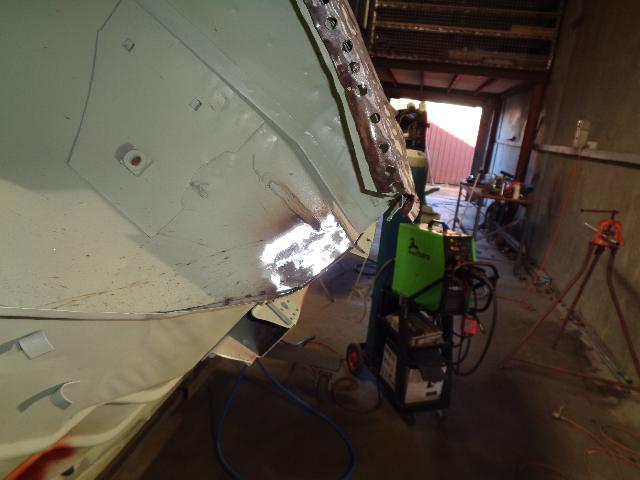
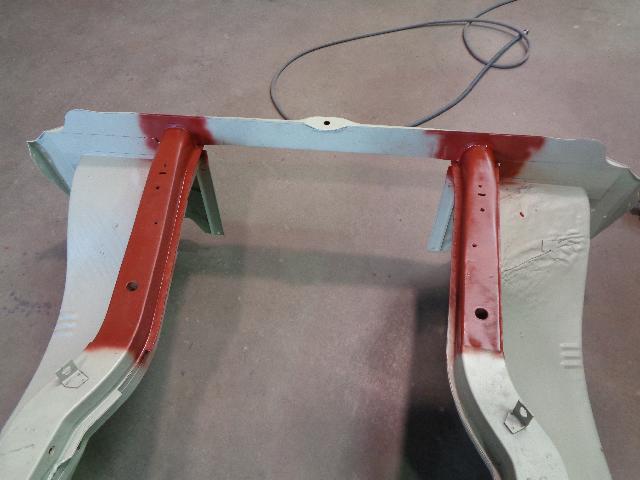
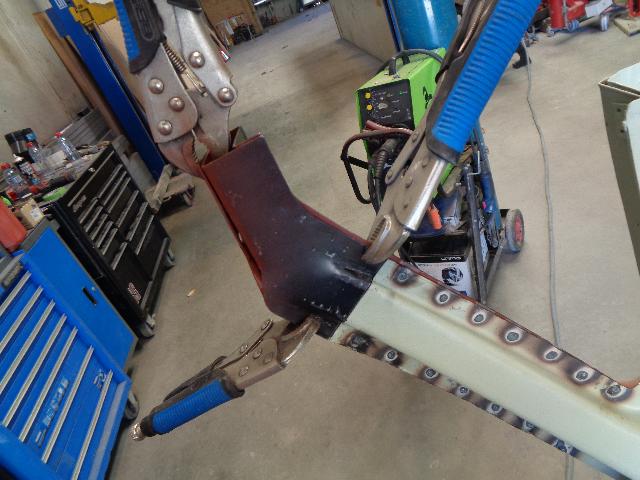
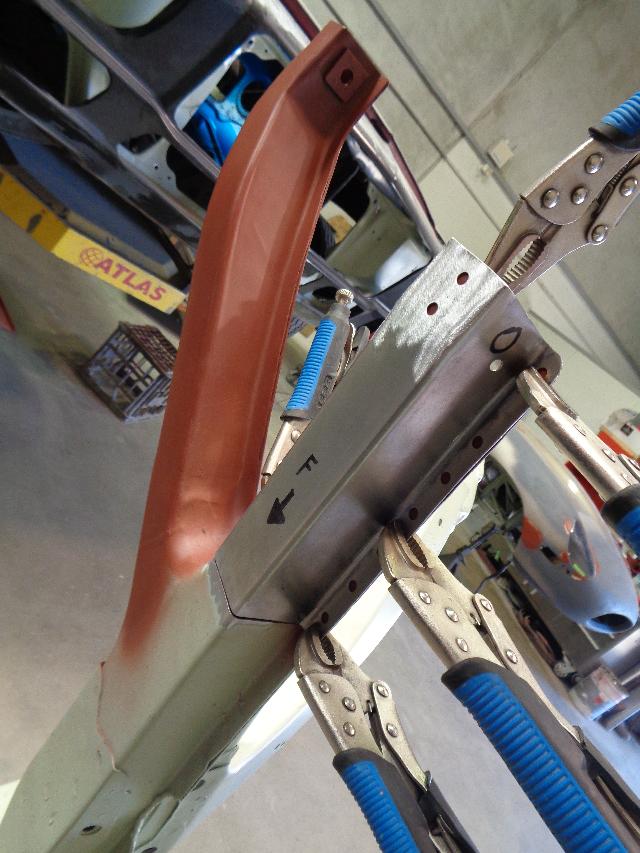
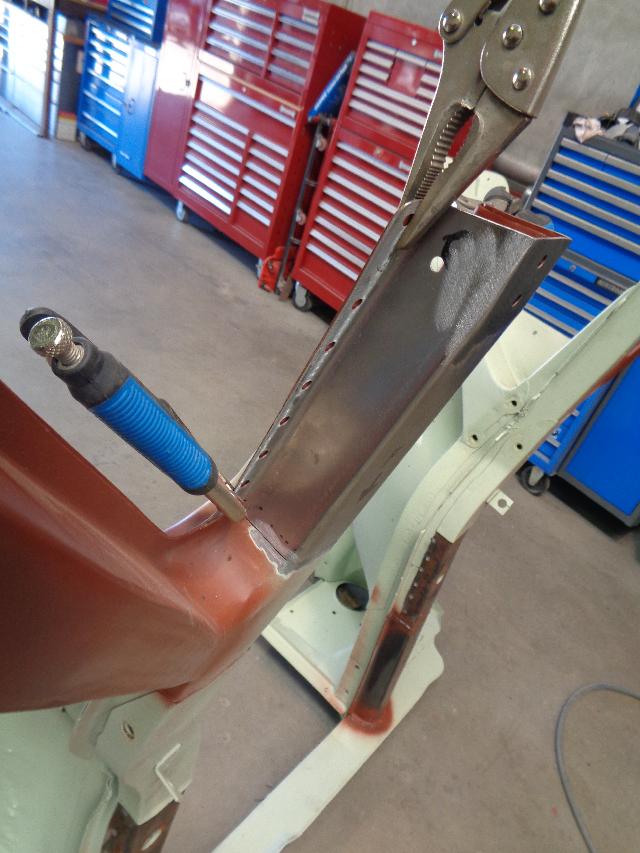
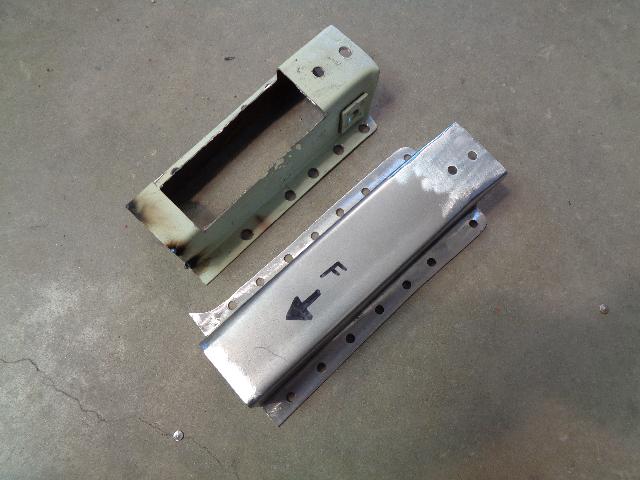
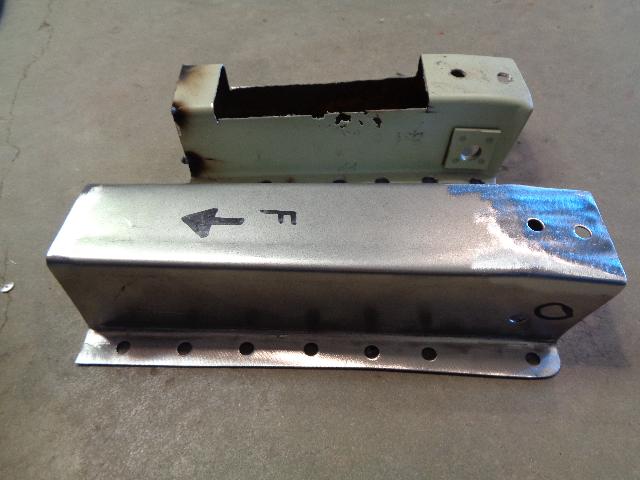
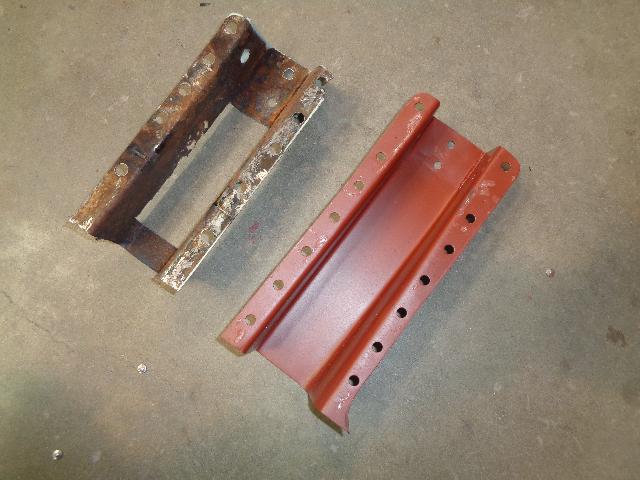
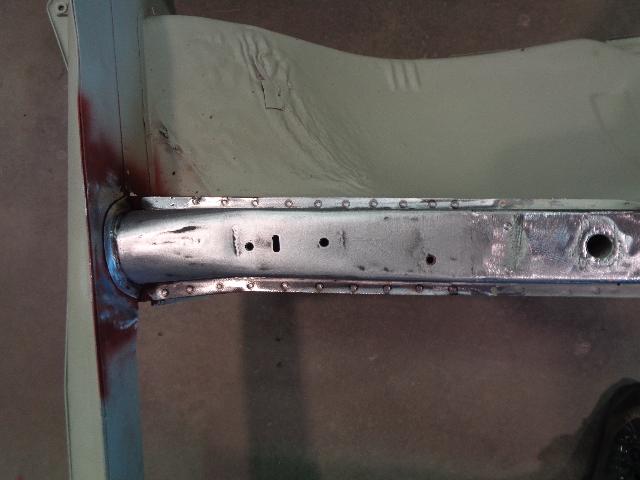
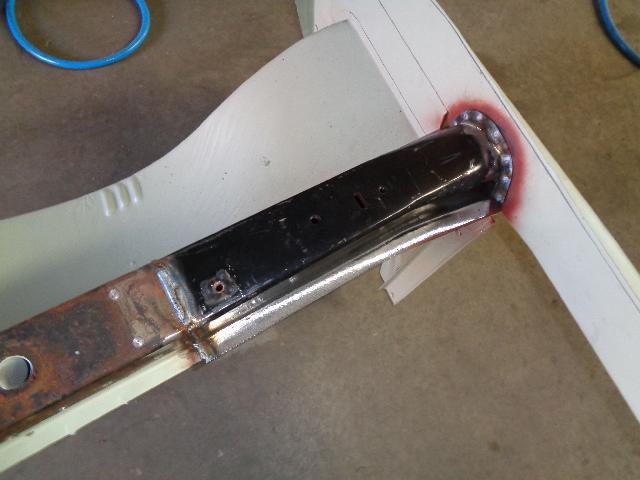
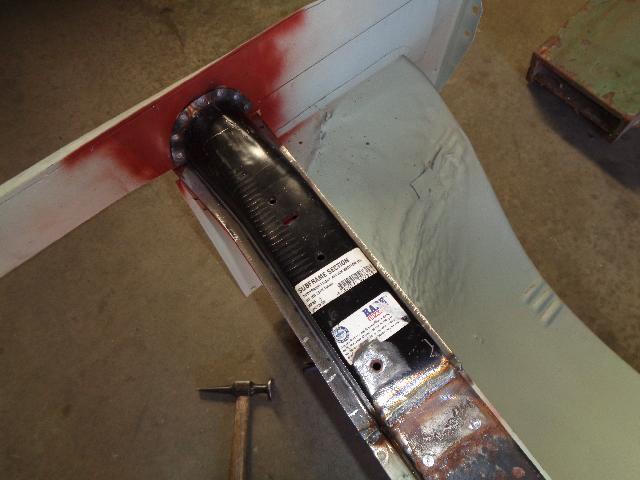
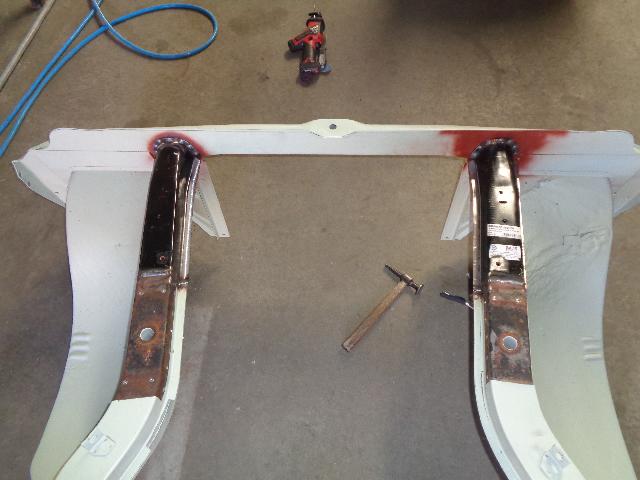
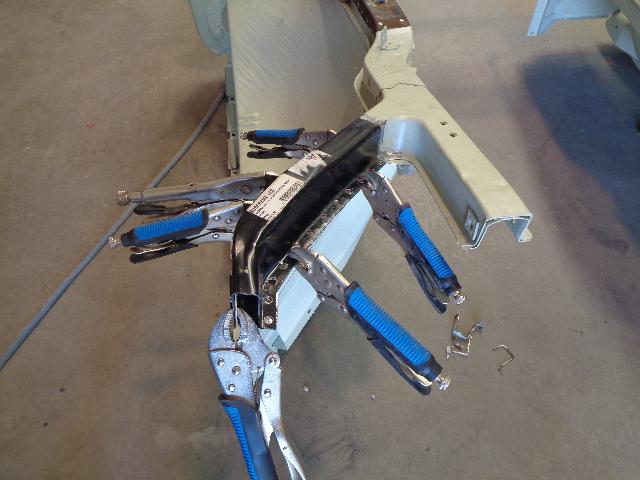
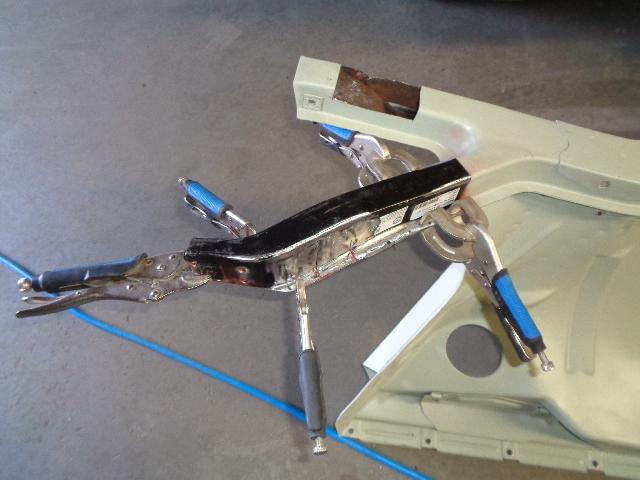
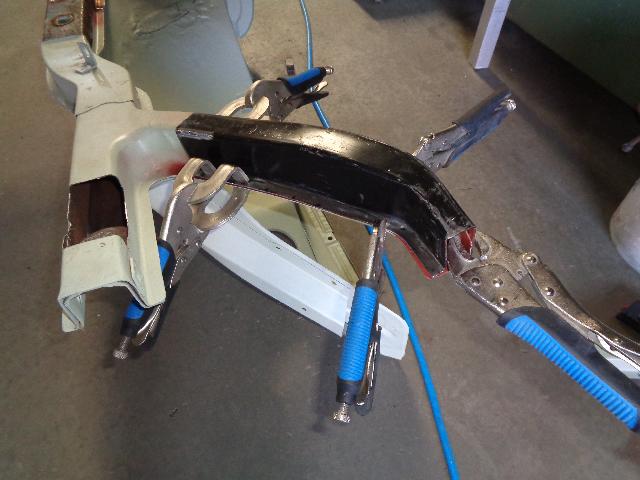
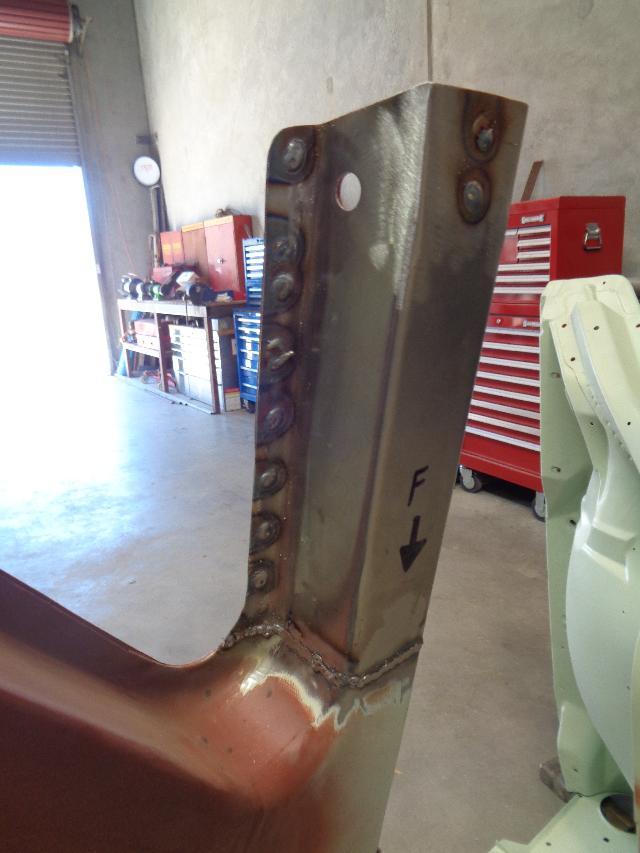
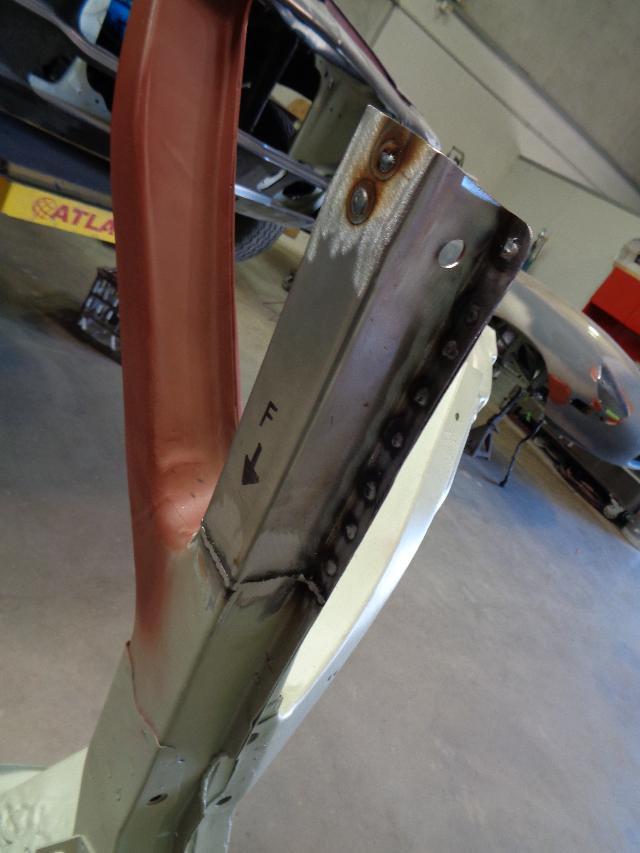
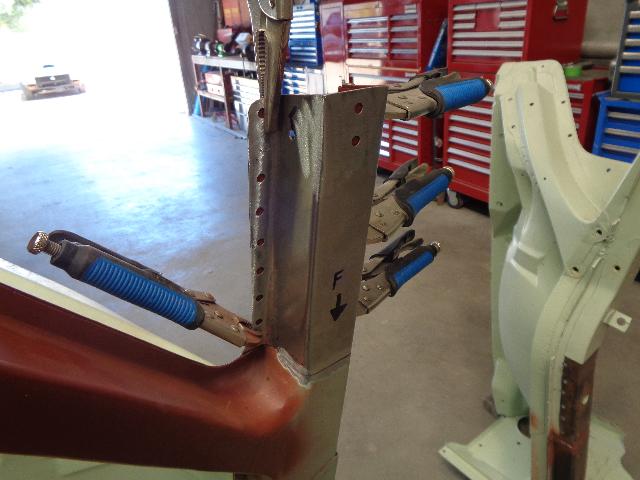
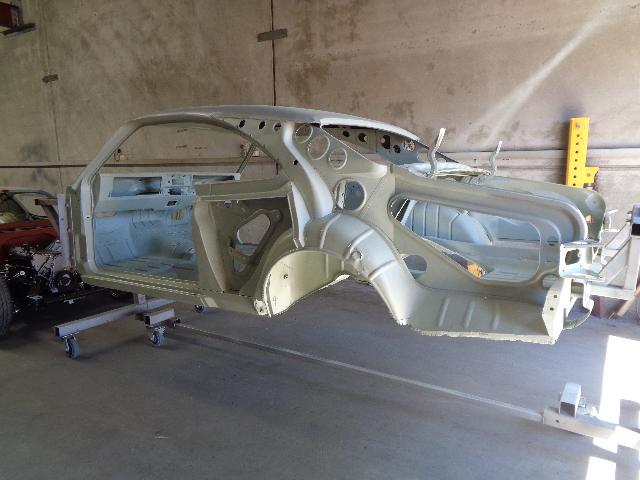
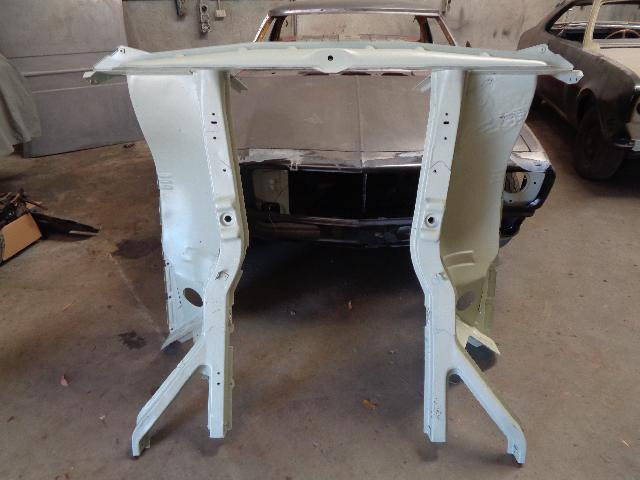
First up was stripping the anodising off the upper and lower sections, using 80/120 grit sand paper. Made a custom block to suit the angle and avoid distortion. Once the anodising was removed, stripped off as much of the old paint as possible, and got to work on the horizontal bars. Most of these had a few dents from stone chips over the years, and some were bogger than others. I made a die to fit the bars from behind, and punch out the dents, then file finished nice and flat. Then back on to the upper and lower sections, with 360/600/800/1000/1200 grit wet and dry paper to get it all perfect, with a quick buff to checks it's all good, before cleaning, etch primer, and then leaving it to cure before sanding ready for a finish coat of satin black. Labour during this period: 7.5 hours Strip anodising 1.5 hrs Fix dents 2.5 hrs Sand and buff 1.5 hrs Primer, sand and paint 2 hrs Whilst the body is getting worked on, I wanted to start on the trim work. After going through a few sets to pick out the best pieces to start with, we got to work. The alloy boot trim pieces I had were good, but did have a few marks which would be simply too hard to remove. So the decision was made to purchase a new repro item from New Old Car Company in QLD. I checked out a number of samples from a couple resellers, but they all had a clear coat paint defect at each end. I took my chances buying direct, but the same result unfortunately. But this just gave me the ability to improve on the quality, but stripping and polishing them before clear coating again. To do this we sanded back the finish on the flat sections, then ran through 360, 600, 800, and 1000 grit. From there we used a hardstand buffing unit, with cotton buffs and Merzerna dry compund (medium and fine). An hour to tape it all off, then we used a metal cleaning spray, followed by 4k clear mixed with red candy. The tail lights are by the same vendor, and over all the quality looked pretty good, bar on defect on one of the vertical tail light bars. Easy fix though. We prepared the chrome same as the alloy, and sprayed 4k with red candy. (i forgot to spray the middle verticle bars, will rectify that later). The wheel arch moulds are by Rare Spares, and although nice, they had a dull finish. I wanted to rectify that, which would potentially ruin the matte red painted centres. So the red was stripped off first, then we got out the wet and dry sand paper to brighten up the metalwork. Unbelievably, there were actually some file marks on the wheel arch trims, so we hit these areas with 360 grit first. Everything else was hit with 600, 800, 1000, 1200 and then 1500 grit. From there we buffed as per before. Way too much time was spent masking off each trim, before spraying the same 4k clear/candy. I went with candy to make everything match. It was always unusual to me that the HK GTS had candy red boot strip and front grill badge, then matte red wheel arch trim, then semi gloss GTS badges. So we made them all red candy. Including the badges. To do the badges, once again we used paint stripper to remove the paint, and a small brass wire brush to get into the corners. Metal cleaning prep spray, then 4k clear red candy. This process was used for the GTS badges, the glove box badge, the front grill "Holden" badge, and the 327 "flags" . For the glove box badge, we also used blue and black candy, and for the "flags", white as well. The effect this has is amazing in person. The colours really pop. Labour during this period: 15 hours Strip paint 2 hrs Sanding and buffing wheel arch trims 6 hrs Sanding and buff boot trim 2.5 hrs Mask tail lights, boot trim and wheel arch moulds 2.5 hrs Paint alloy and stainless trims 1 hr Paint badges 1 hr The front crossmember locating block was fitted, welded, and made smooth. Much nicer than original, which had some gaps in each side. Replacement sections from Rare Spares were checked against the original quarter, which was then trimmed in preperation for work to be done on the rear sills on both sides. The left side was tackled first, with the inner sill completely removed and replaced, along with new sections for the rear under the beaver panel, and the fronts of the wheel arch. As previously, new parts were supplied by Deano's Auto Restorations. At some point in the past, the wheel well was cut to access the inside of the rear quarter, and knock it out. This was all fixed up and welded back how it should be. Similar work was done of the right hand side, but this time the spare wheel well was fitted. It had been replaced with just a flat section of material in the past, so removing that and getting it back to factory spec was on the cards. To ensure all this was going to fit nicely, the rear quarters were clamped up to work off. The inner beaver support and front of the wheel arch also got fresh new metal. Labour during this period: 96 hours
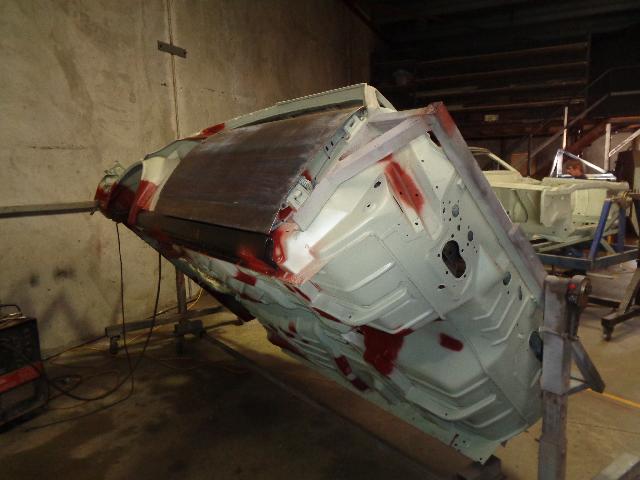
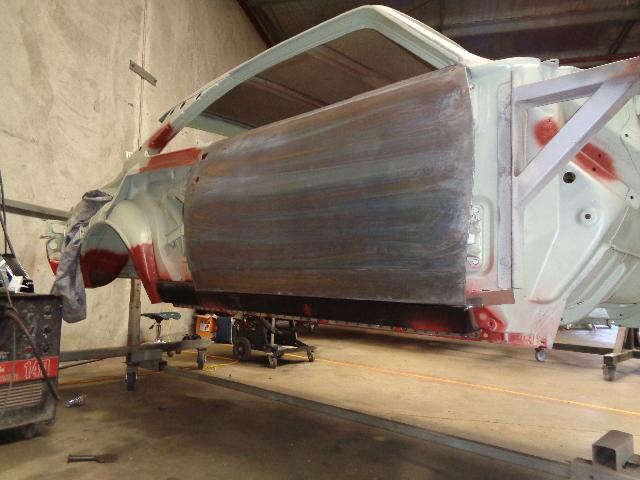
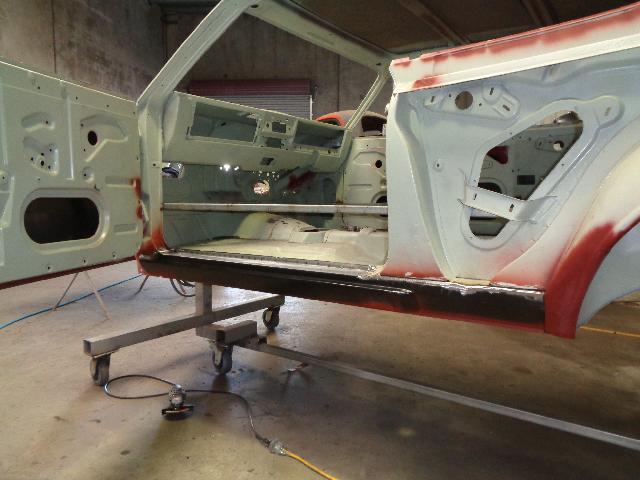
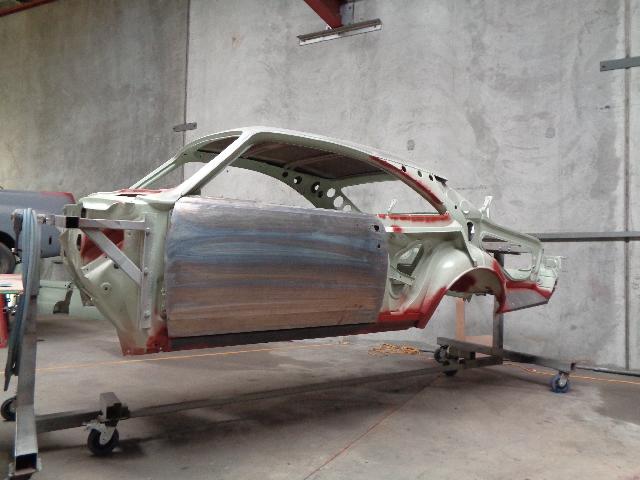
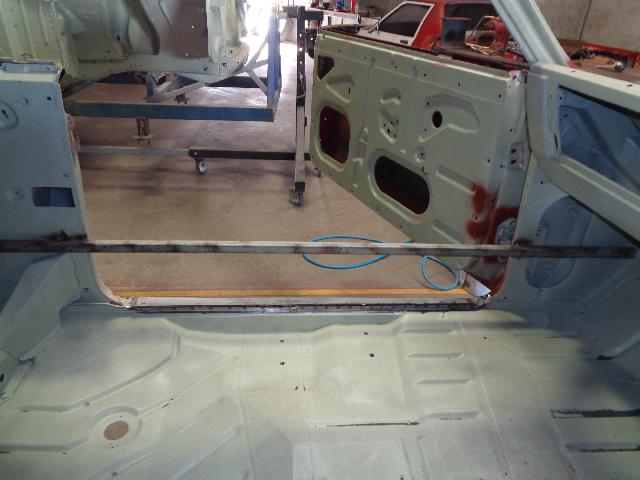
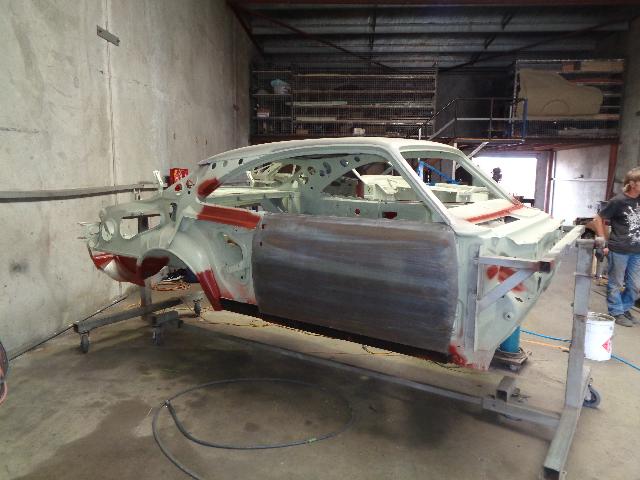
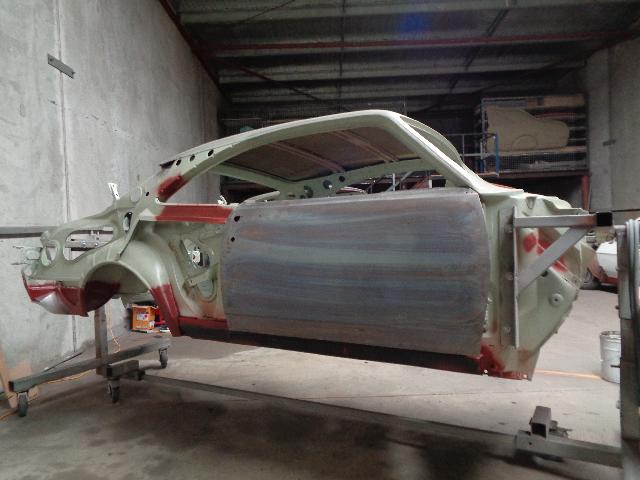
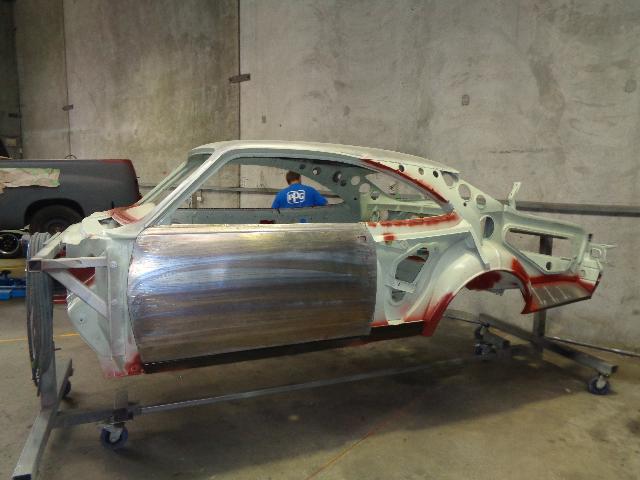
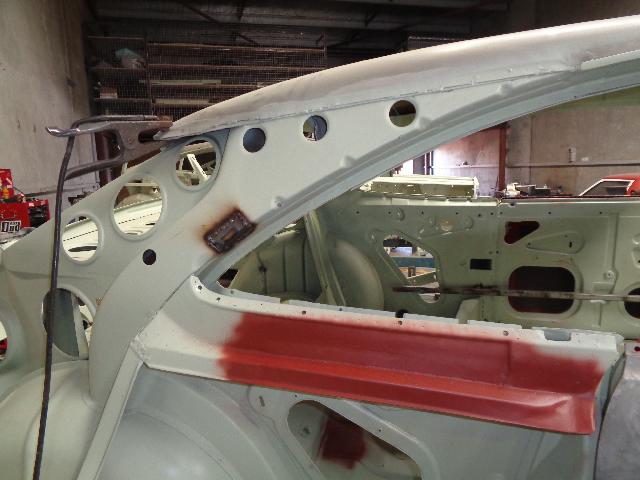
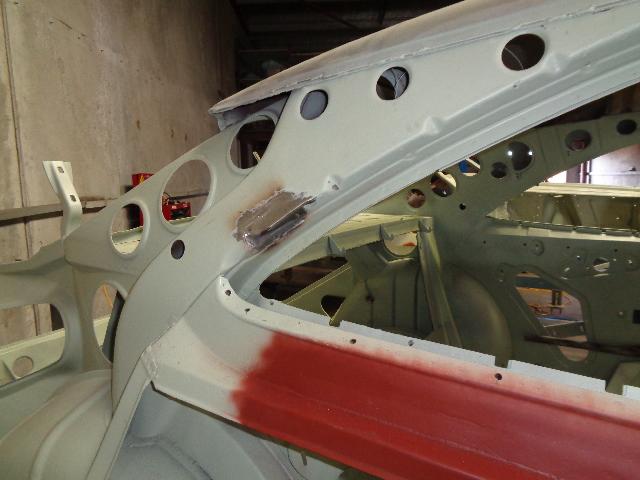
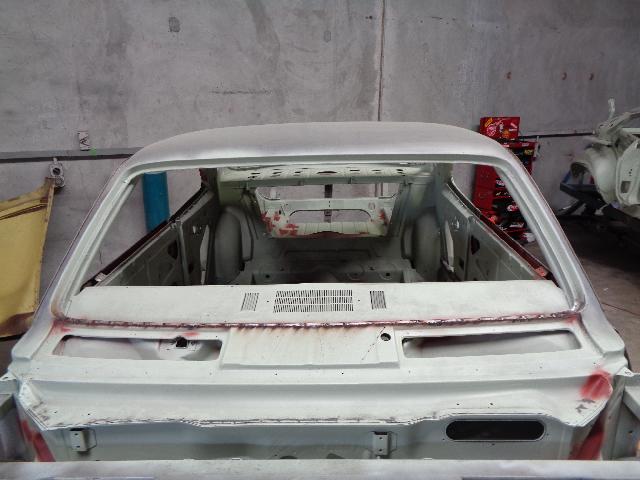
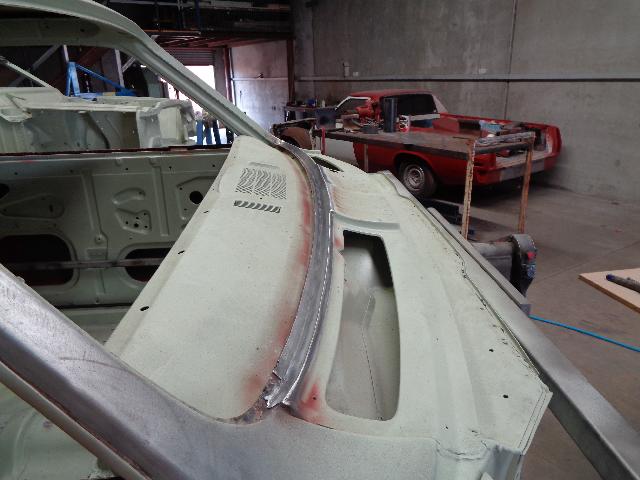
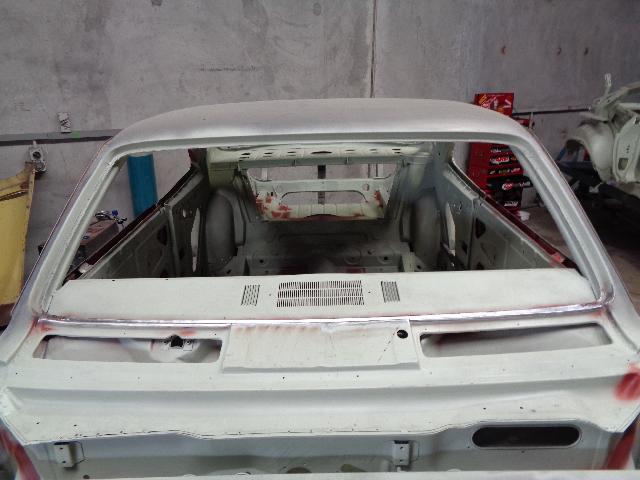
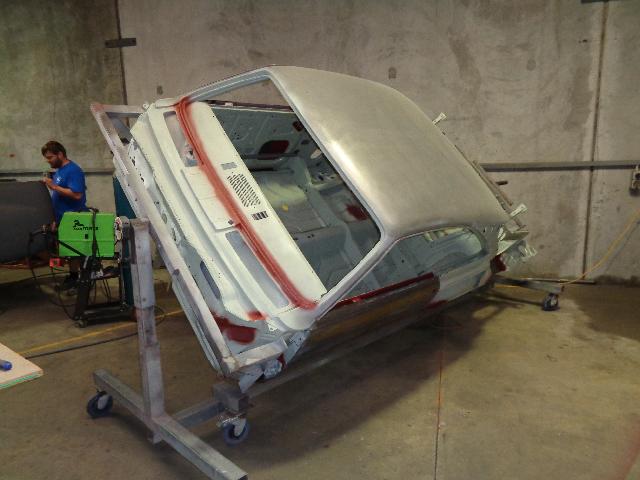
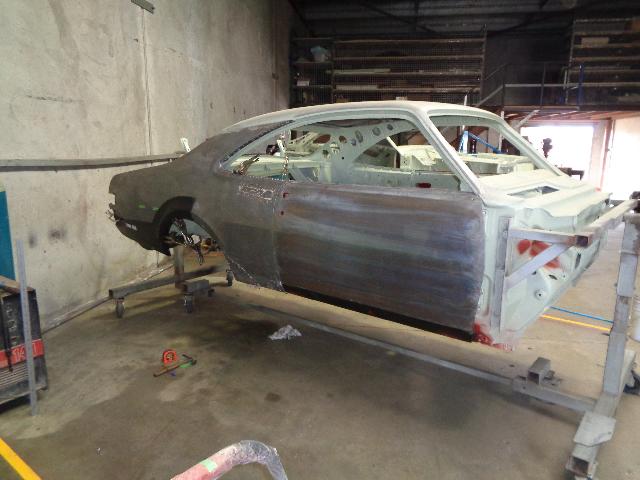
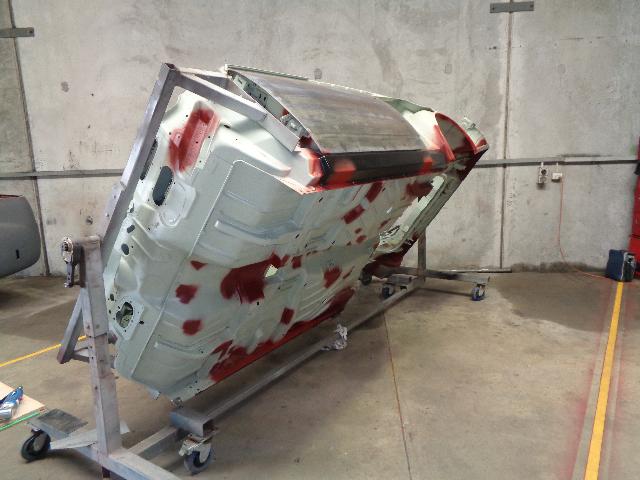
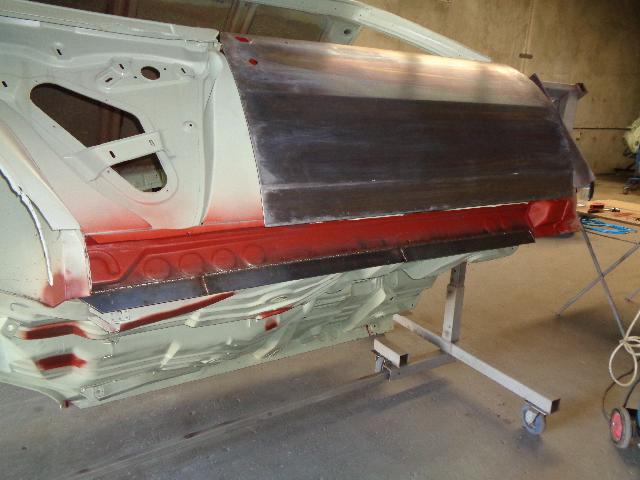
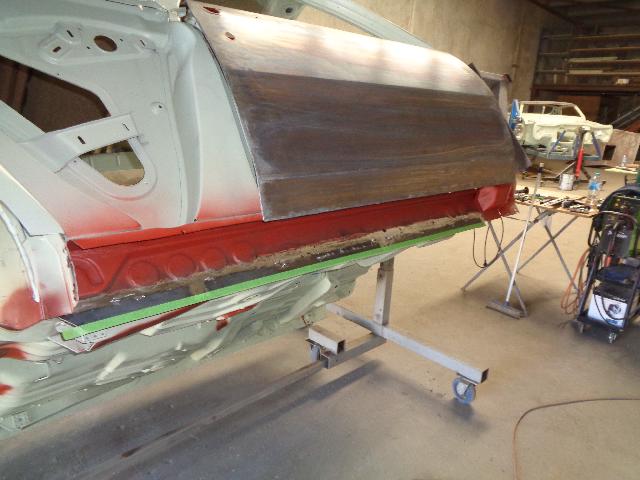
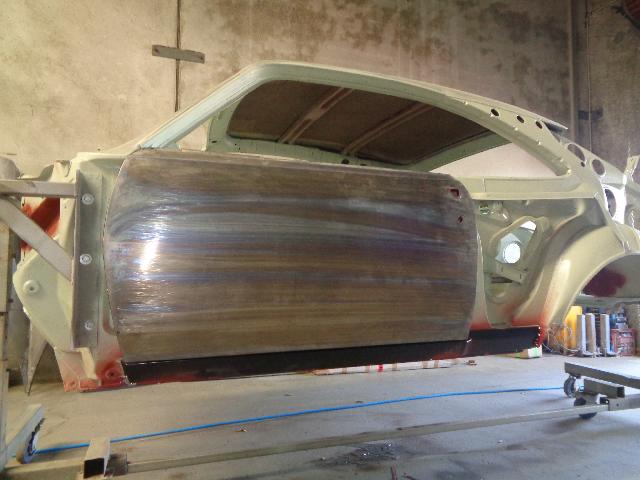
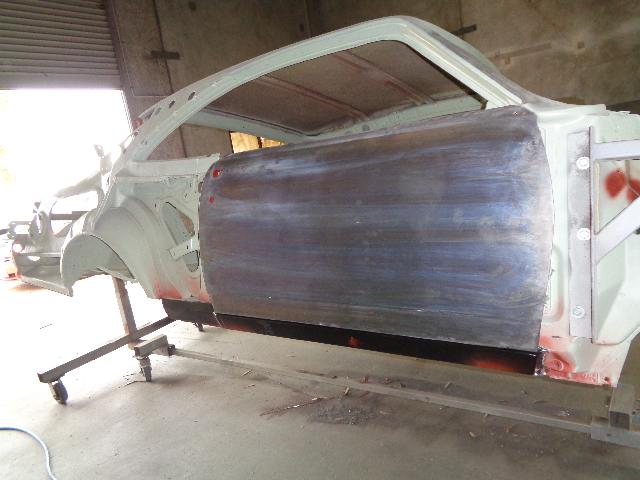
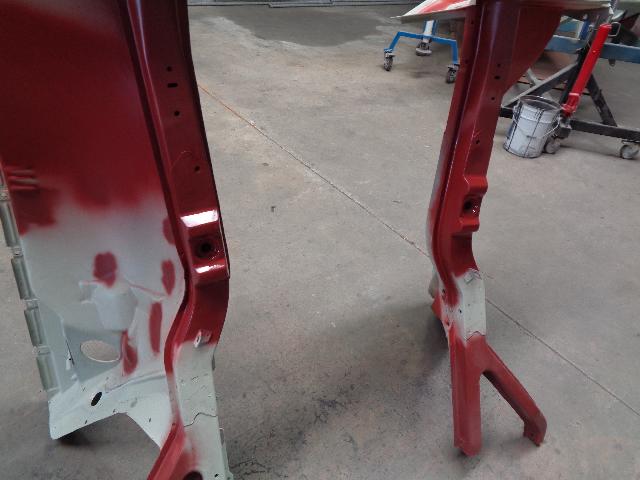
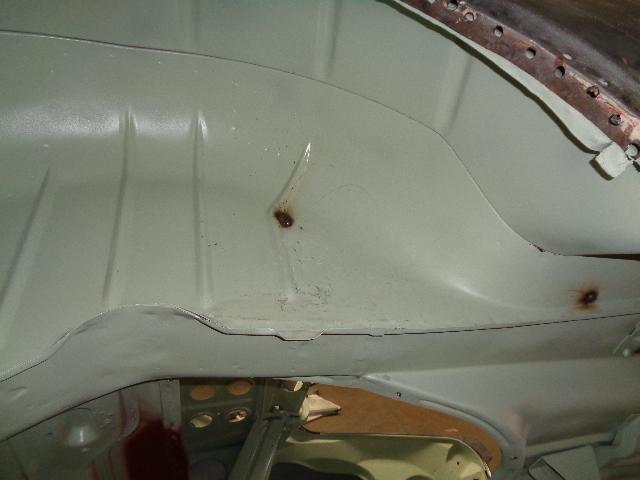
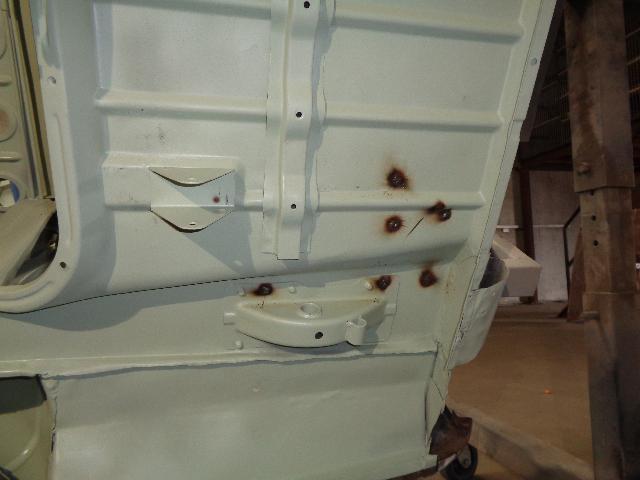
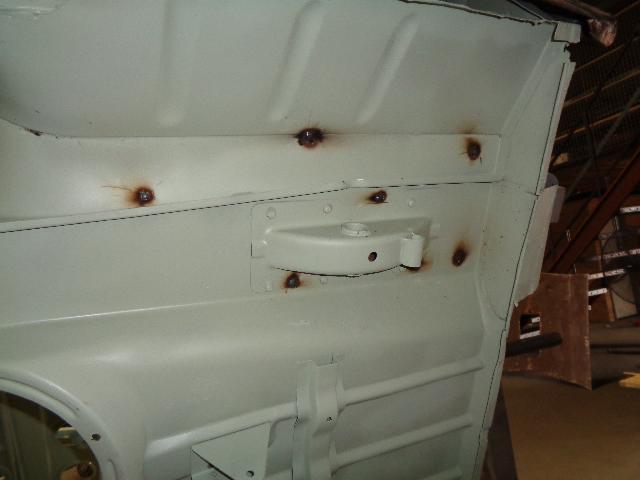
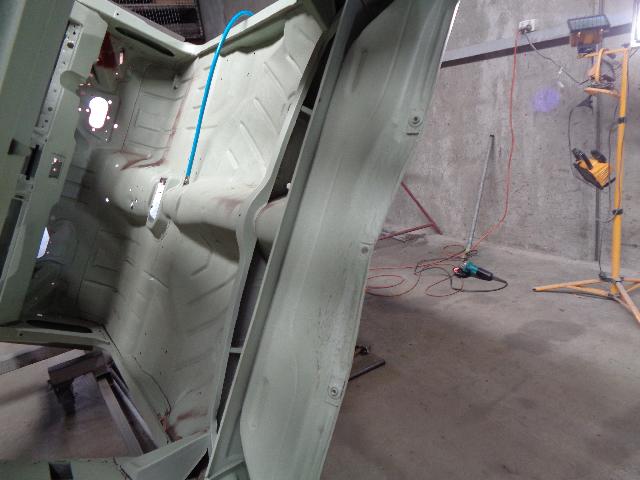
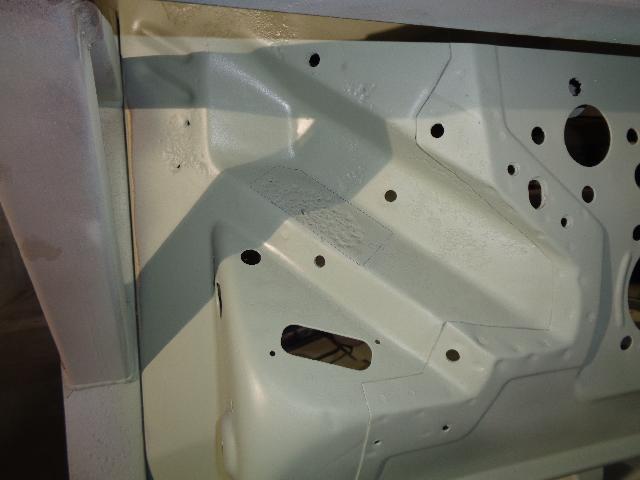
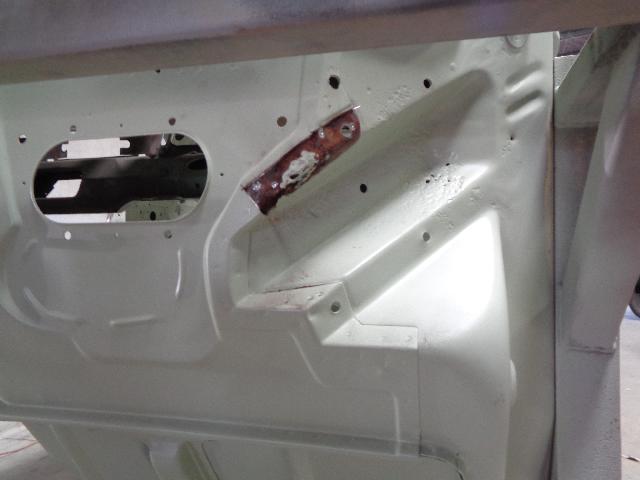
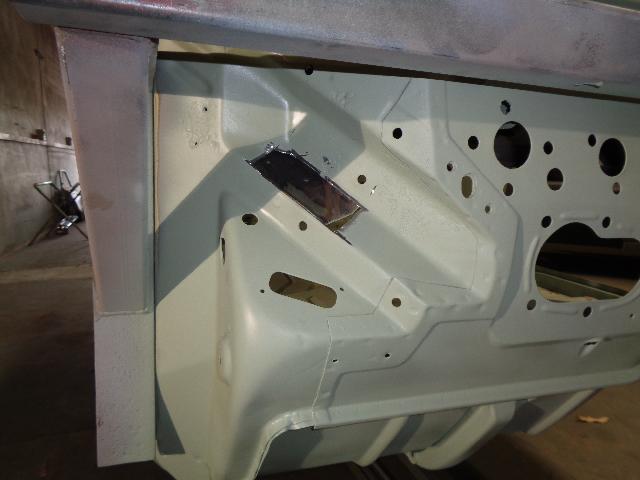
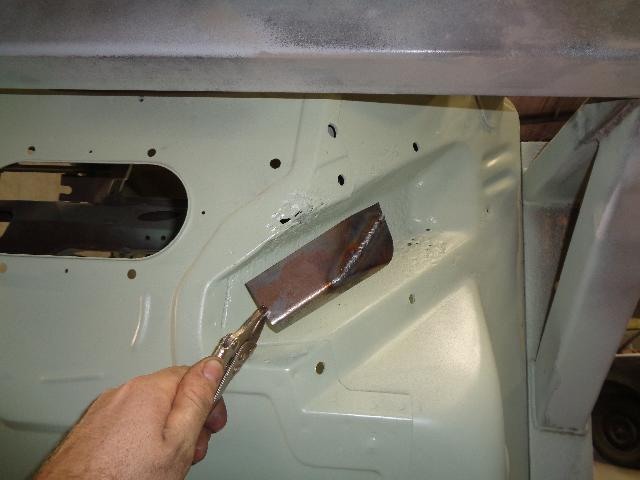
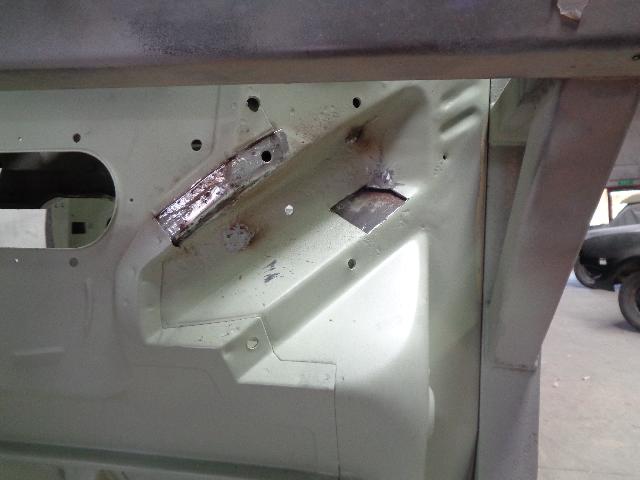
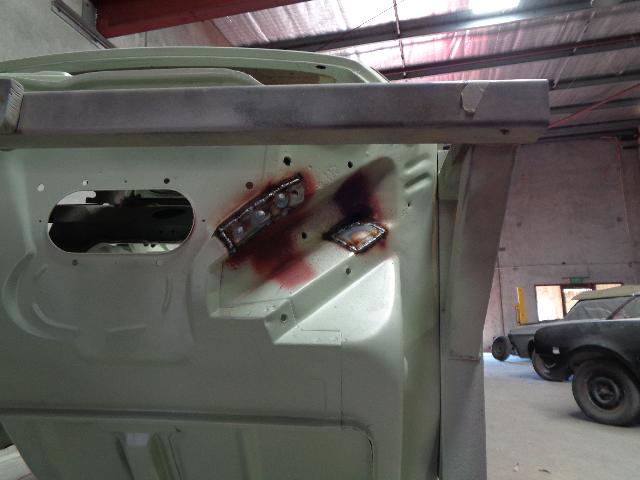
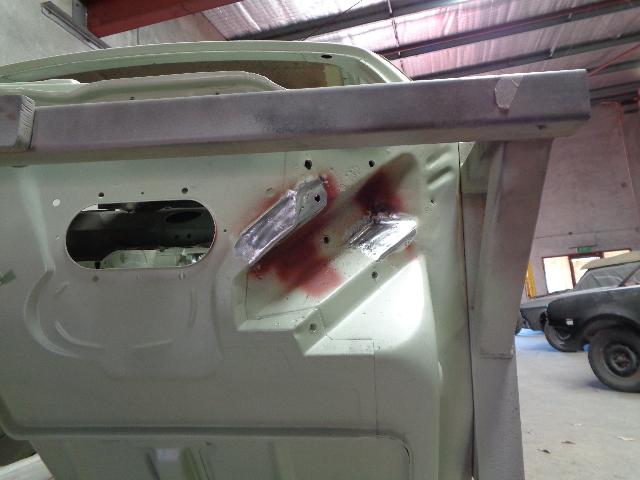
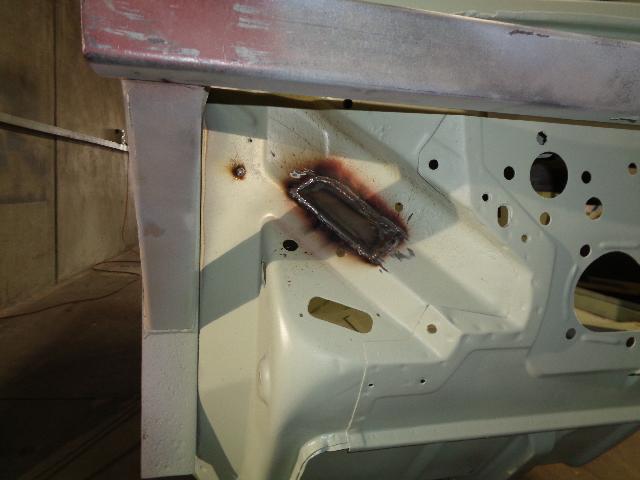
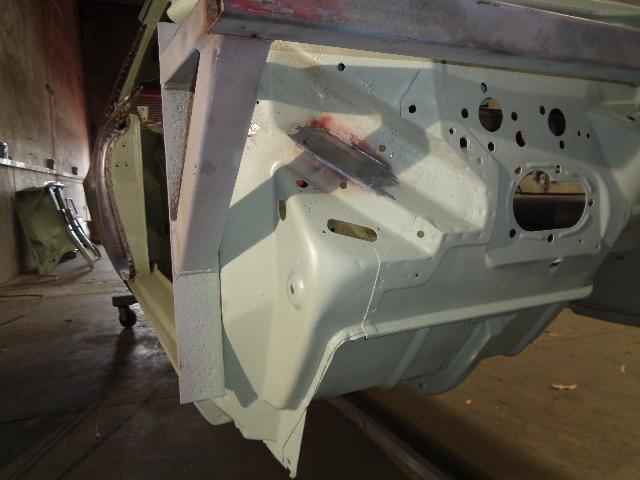
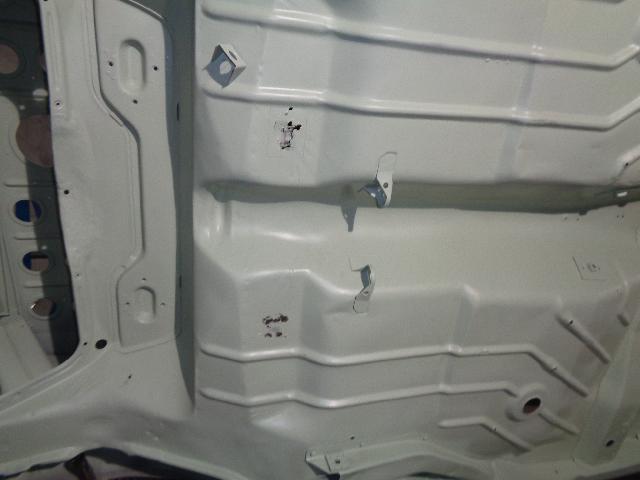
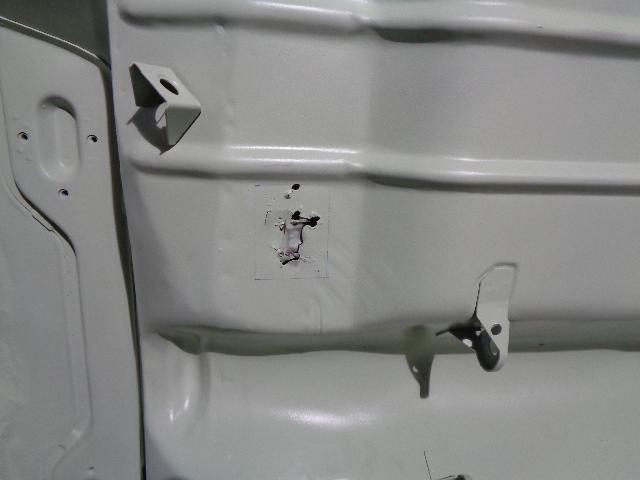
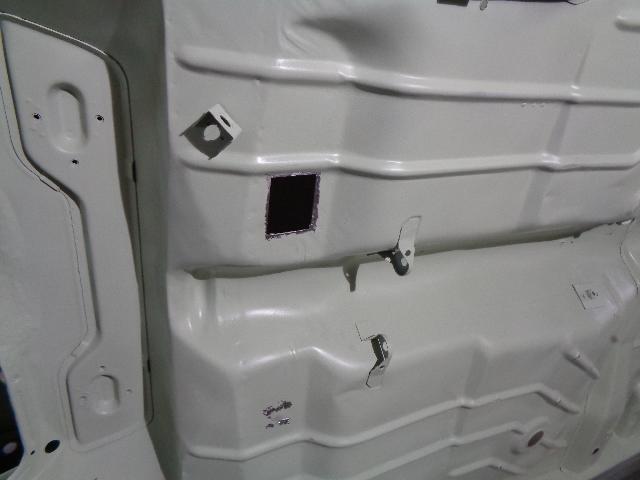
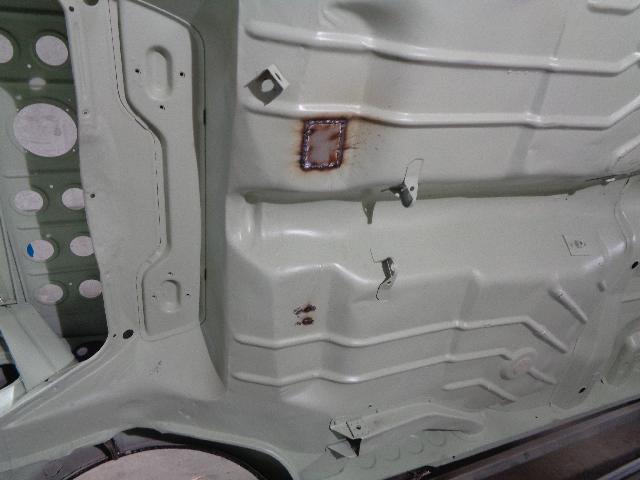
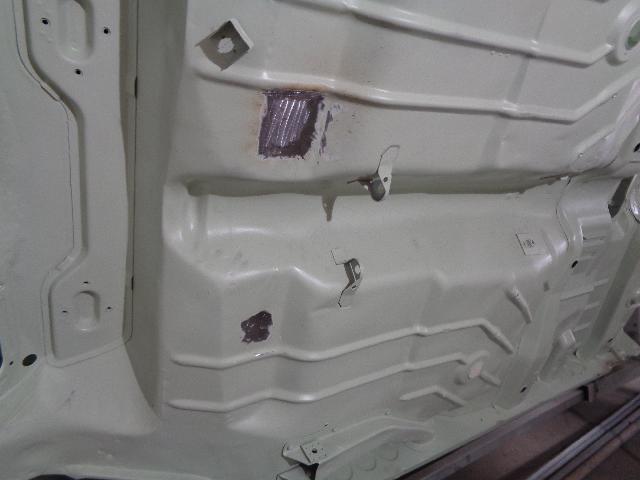
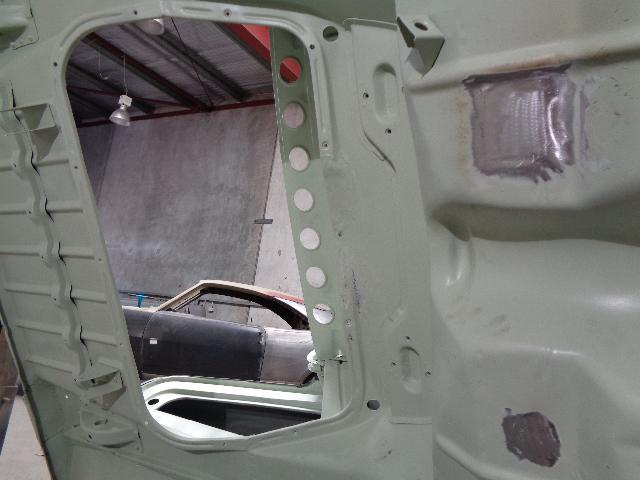
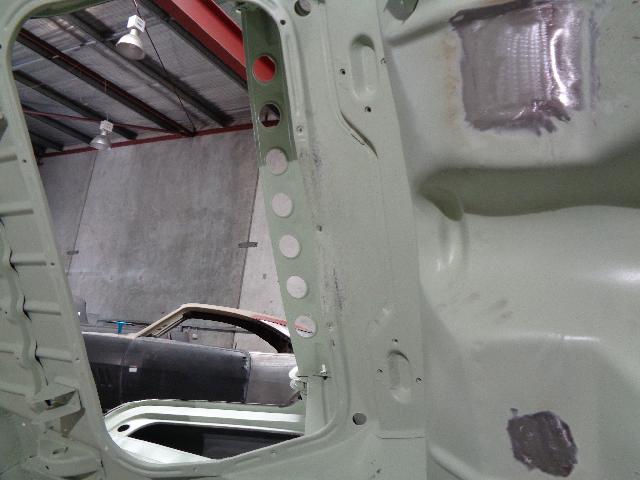
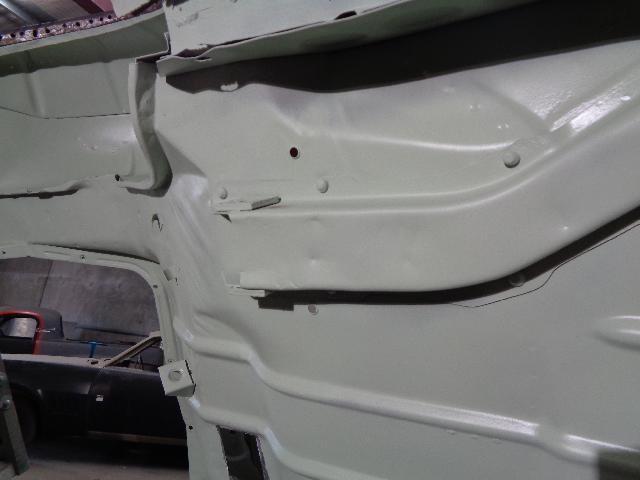
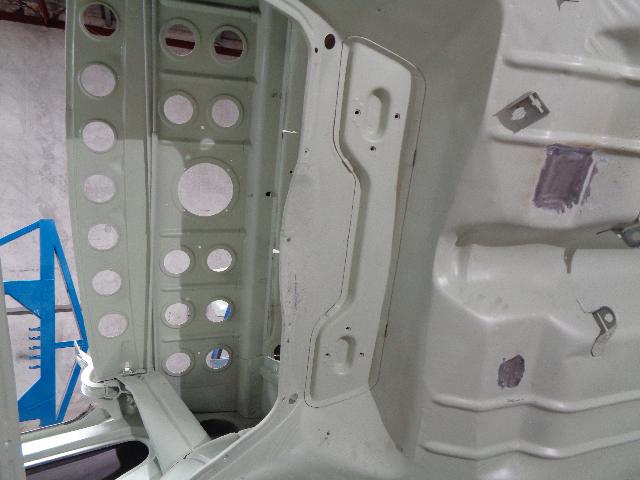
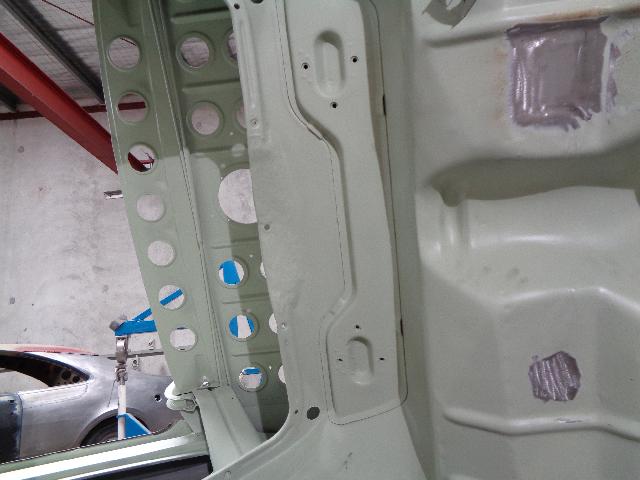
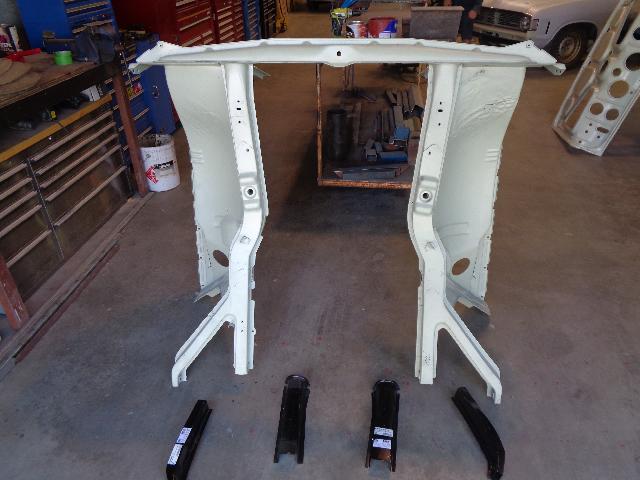
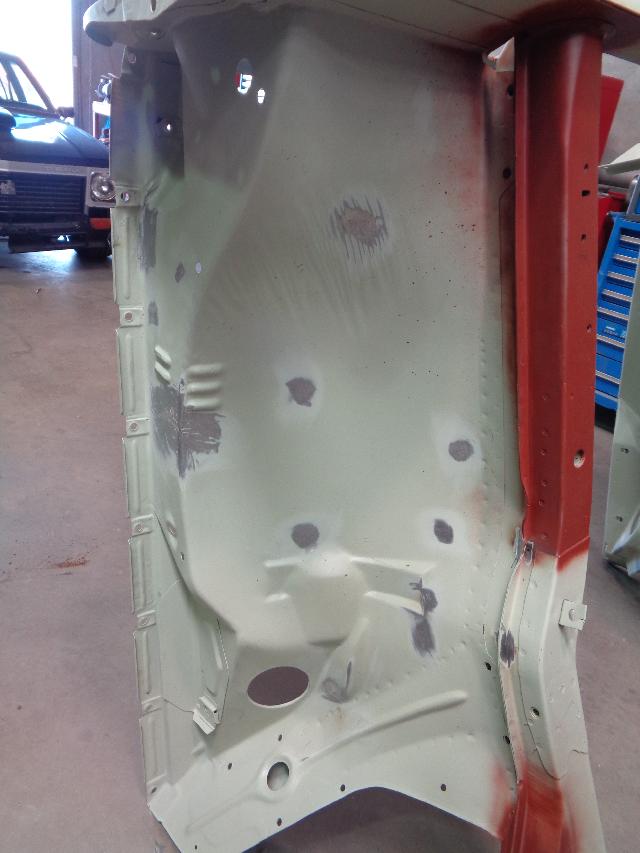
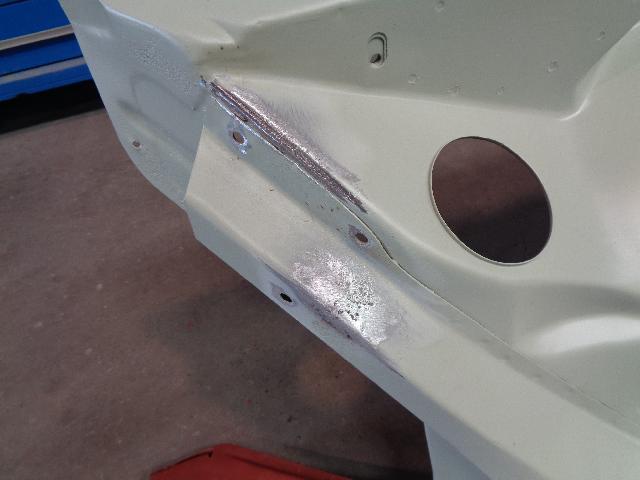
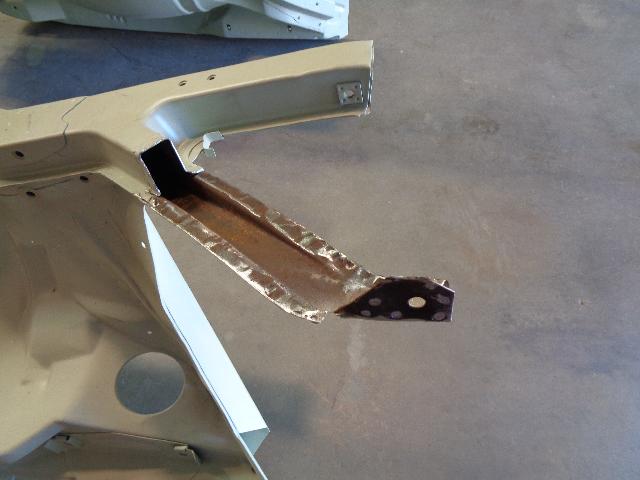
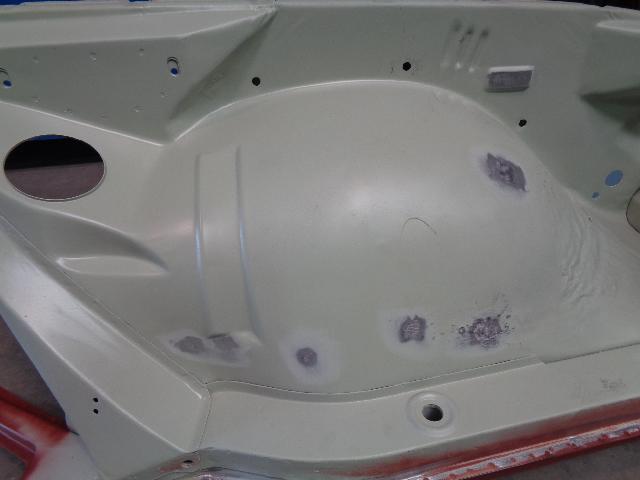
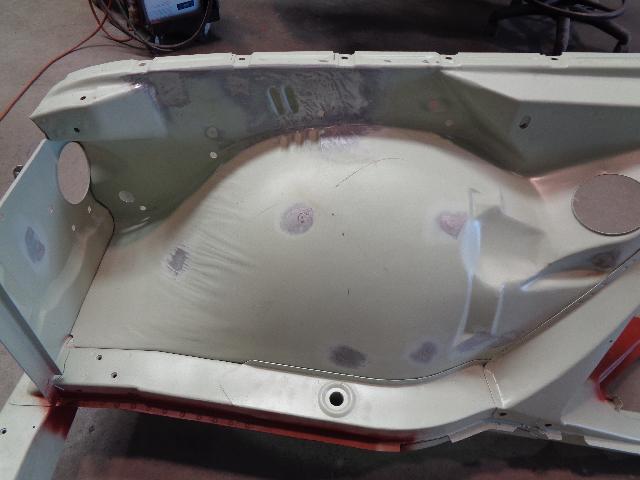
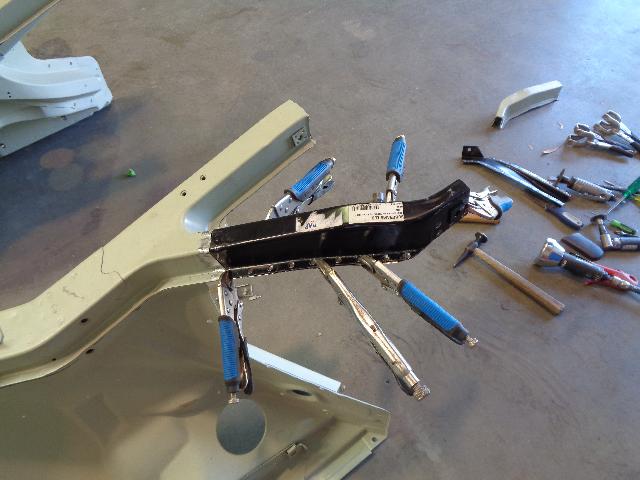
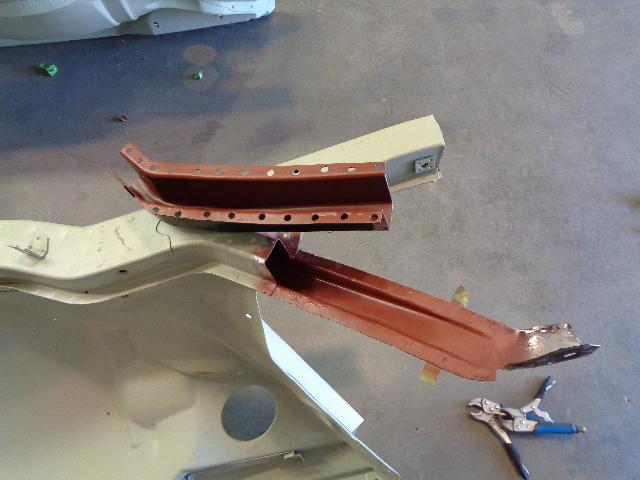
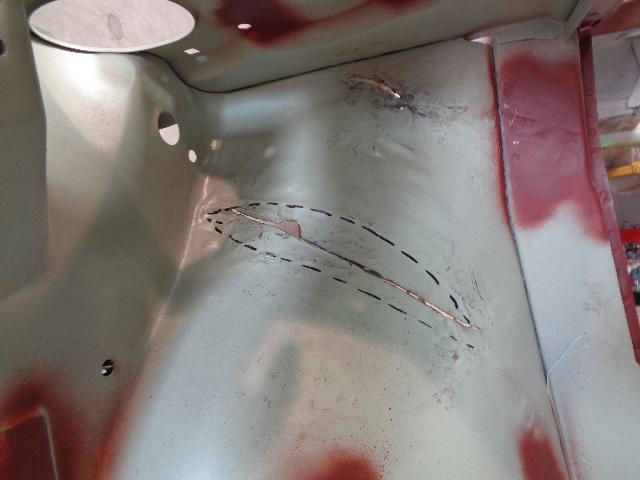
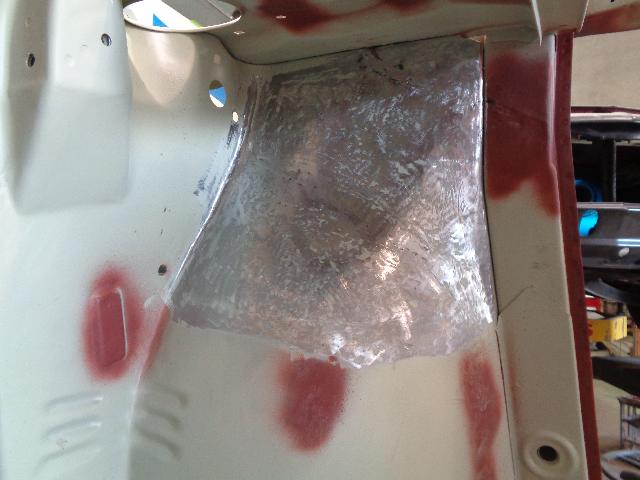
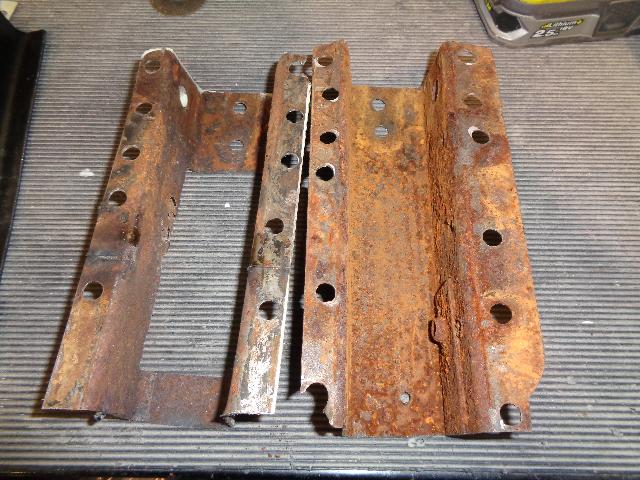
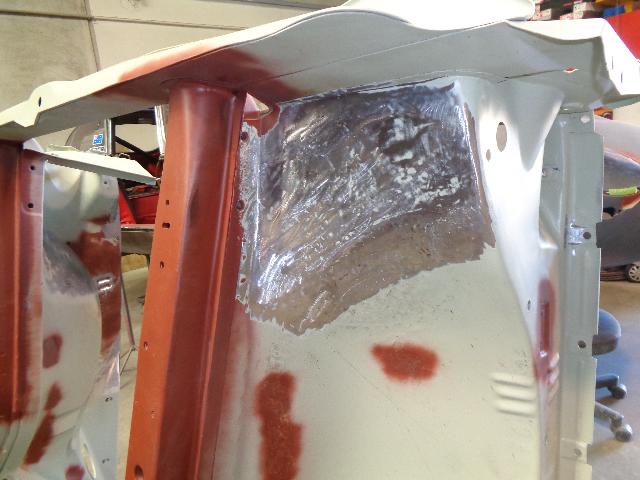
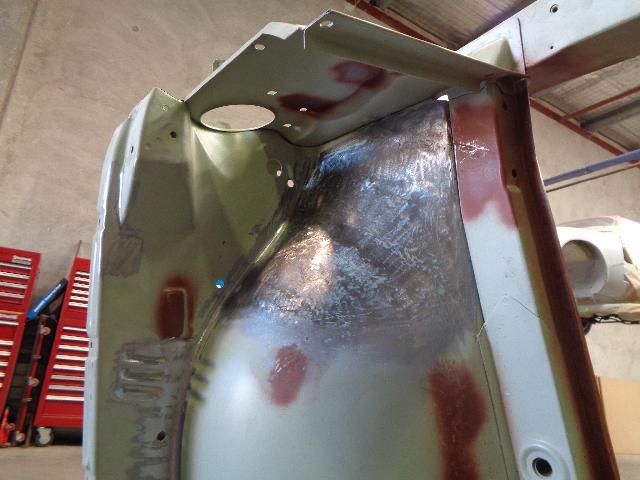
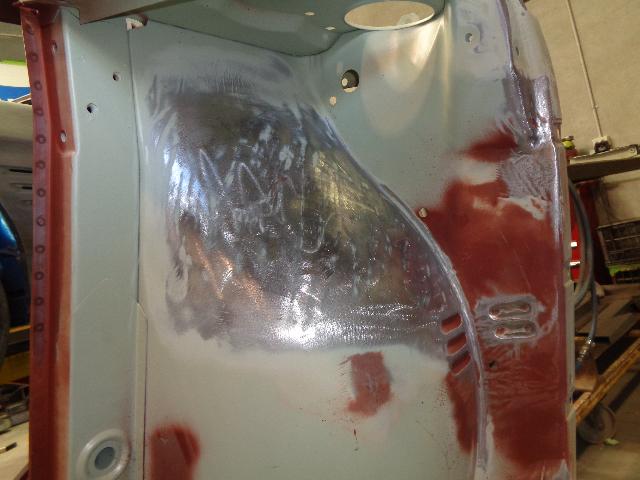
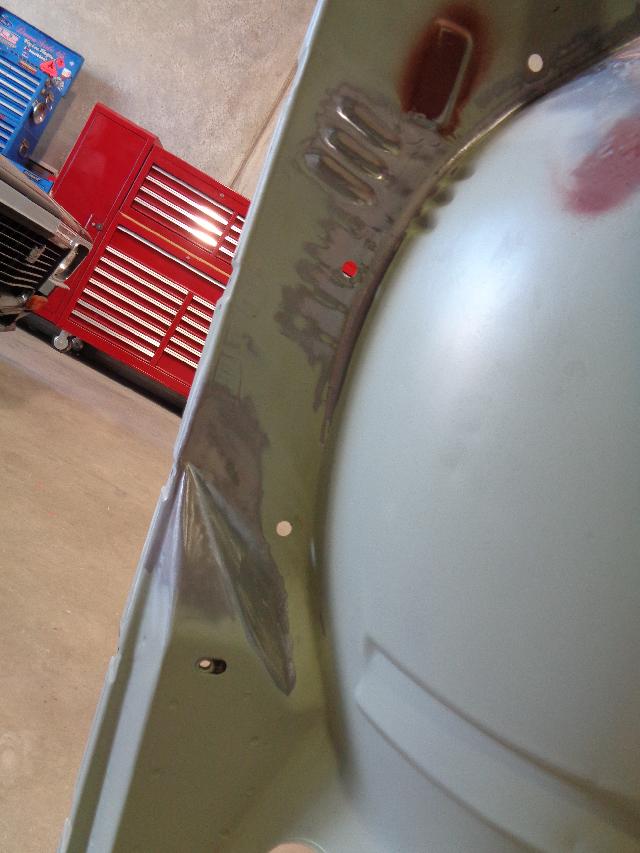
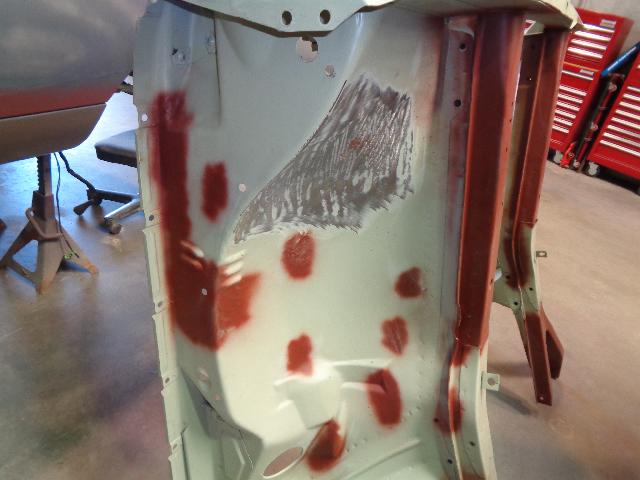
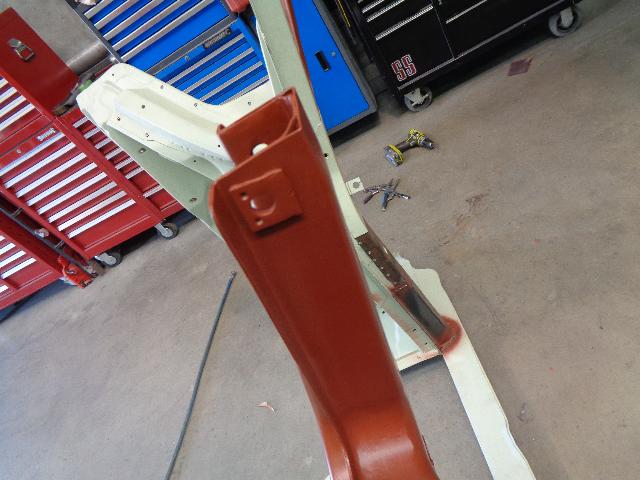
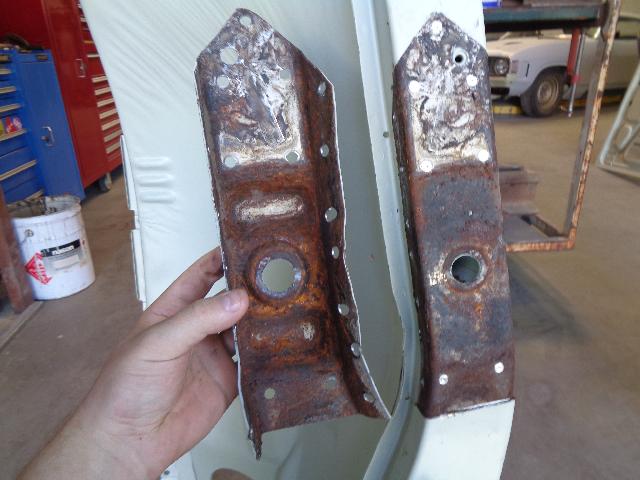
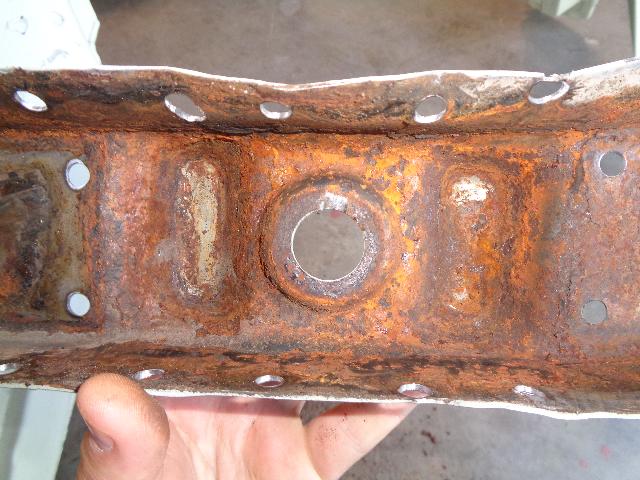
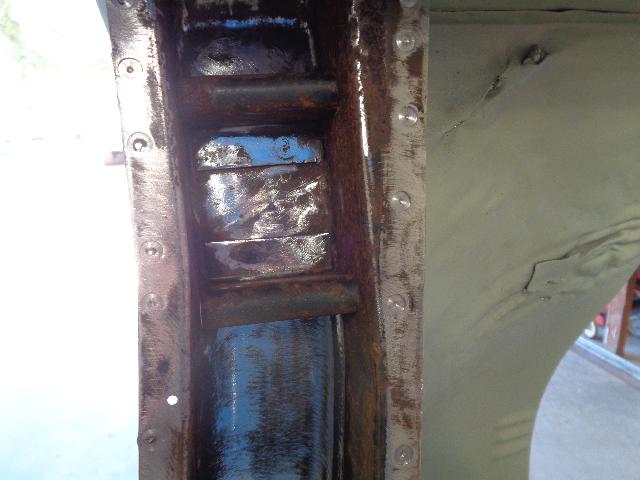
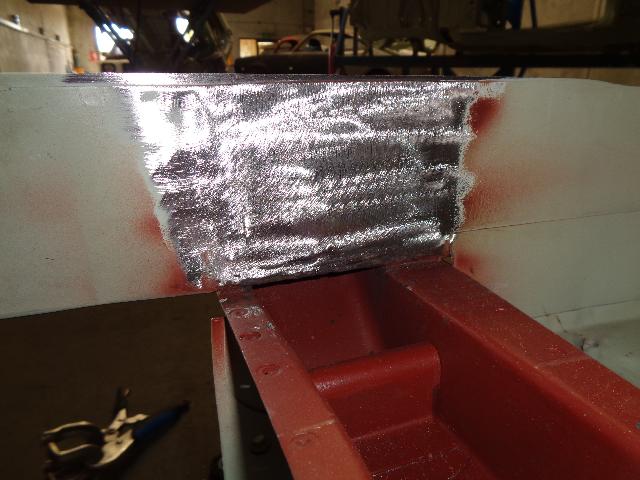
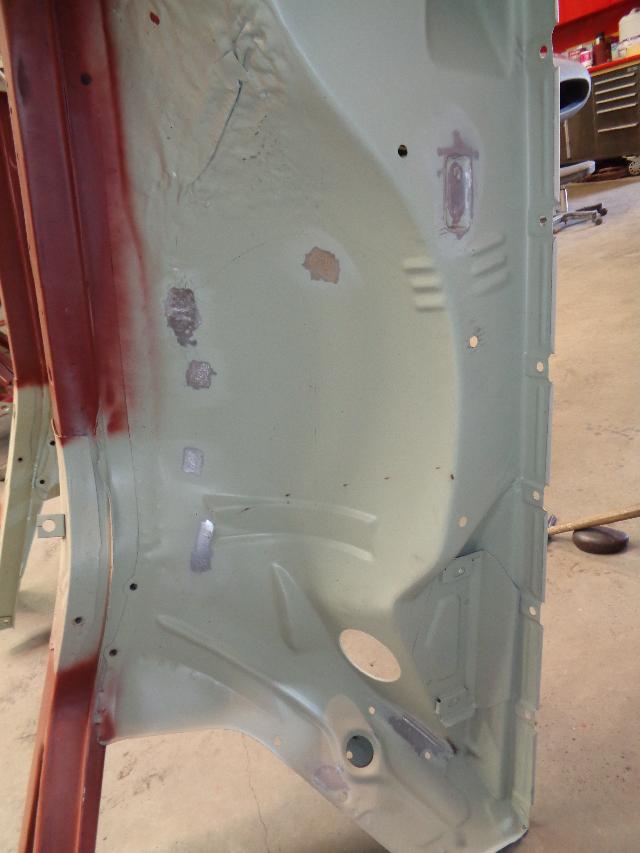
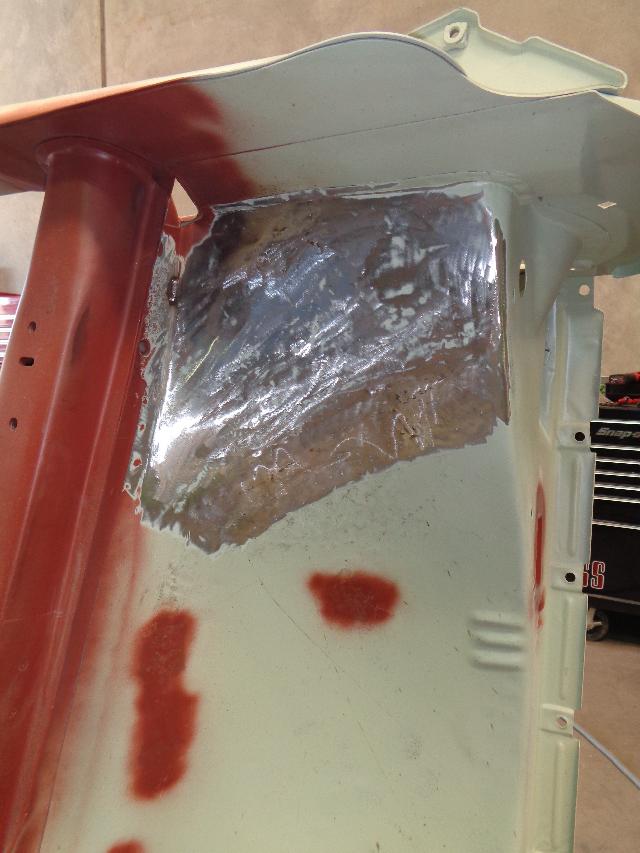
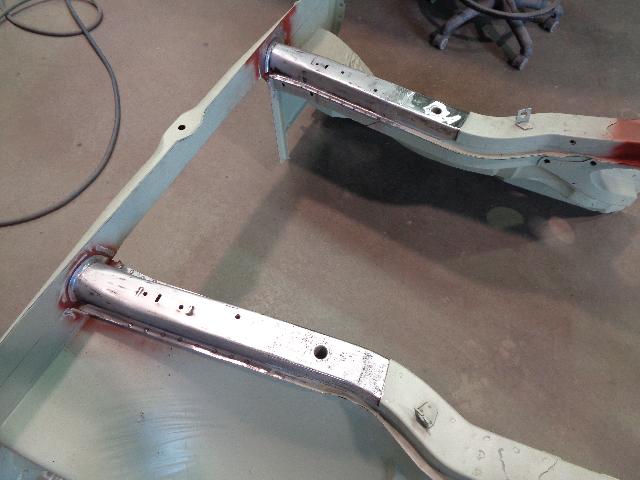
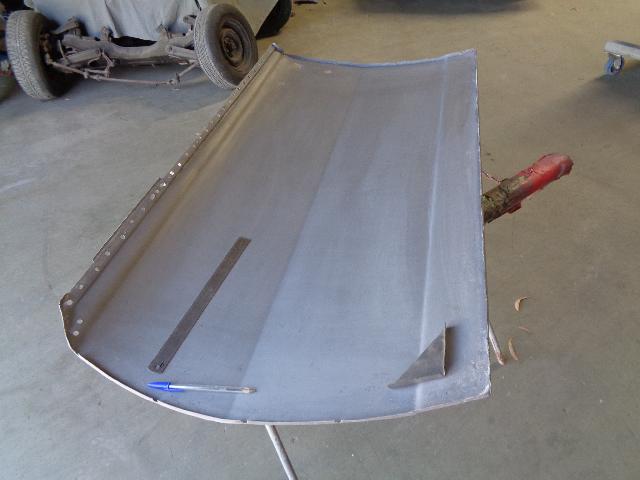
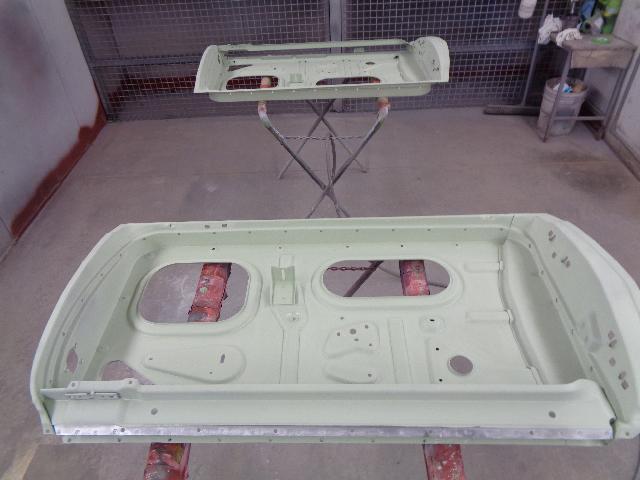
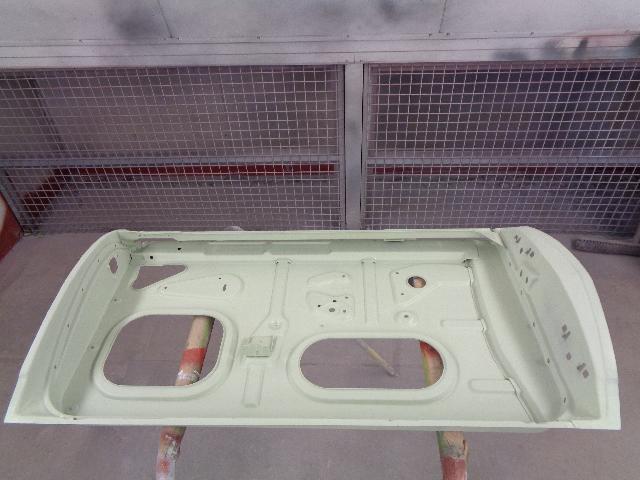
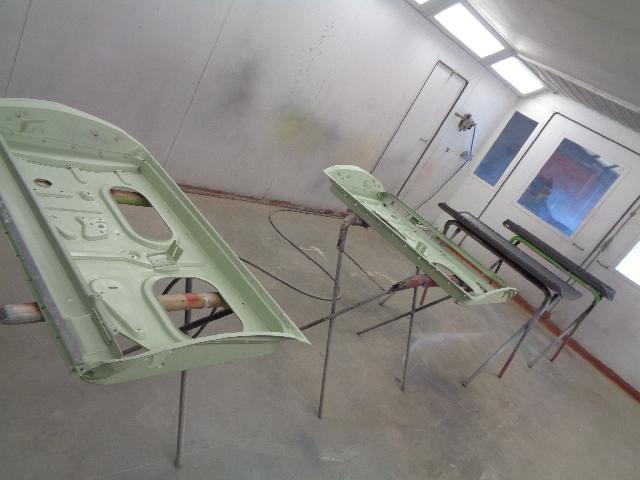
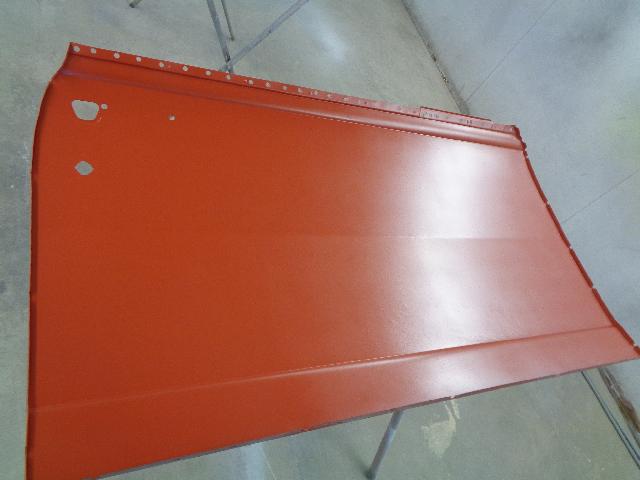
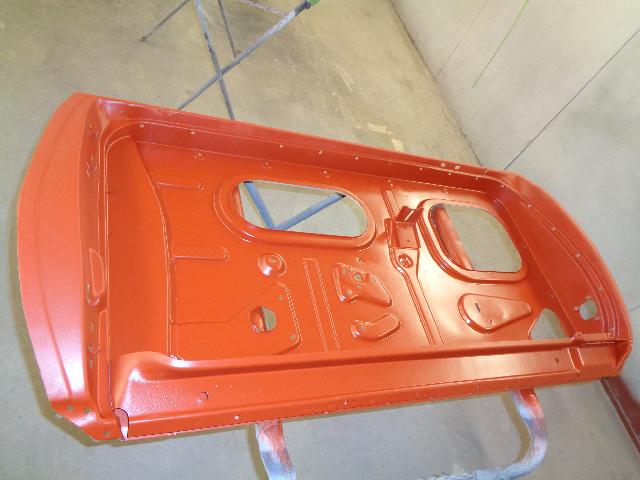
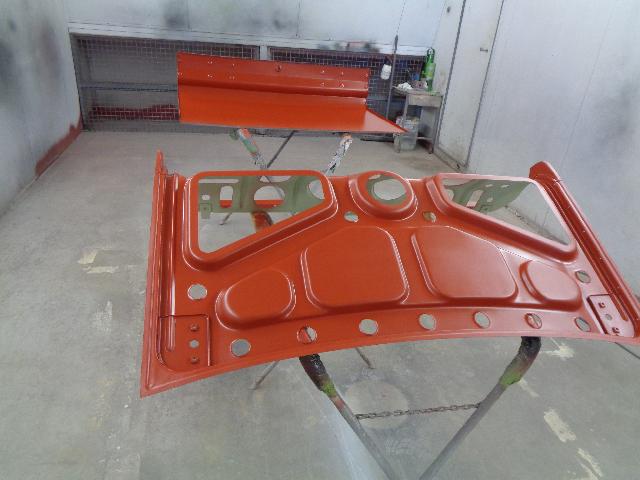
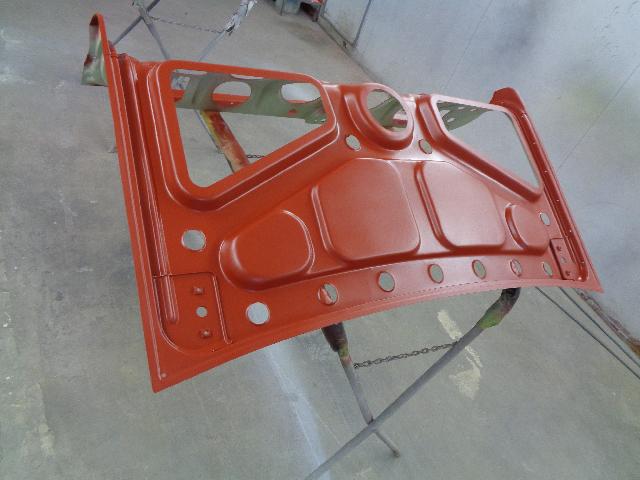
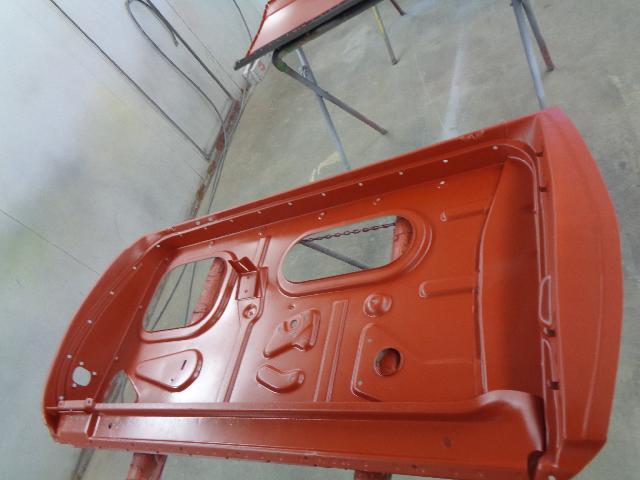
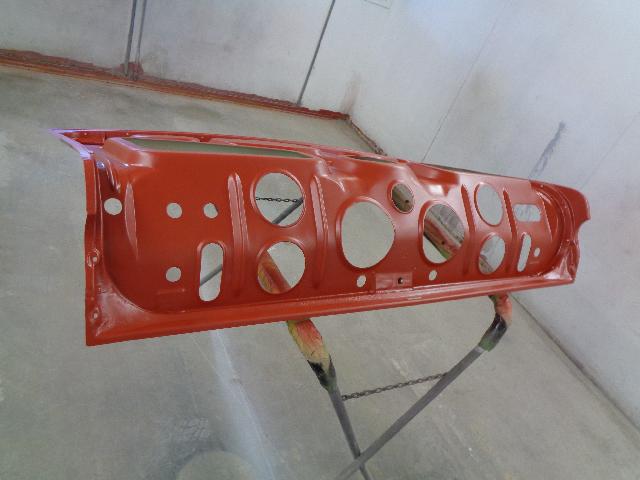
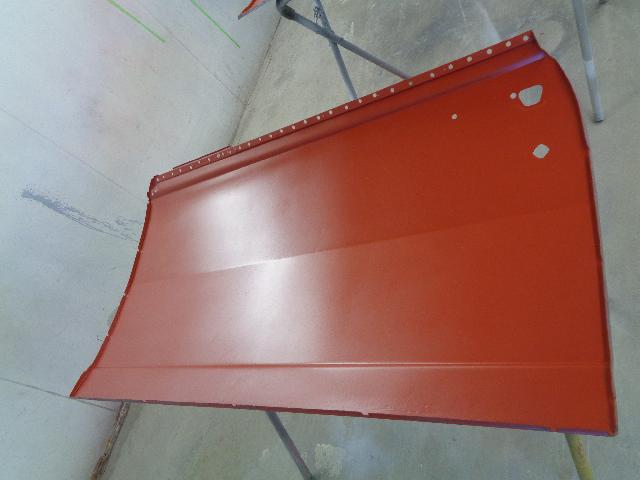
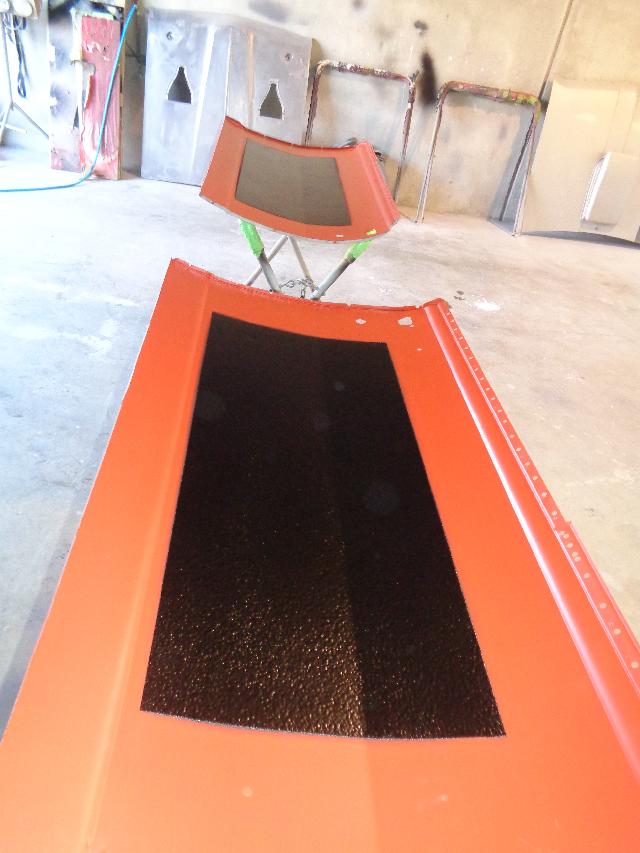
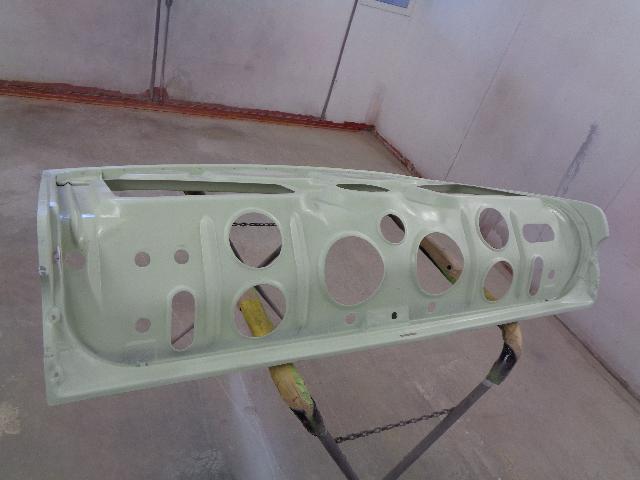
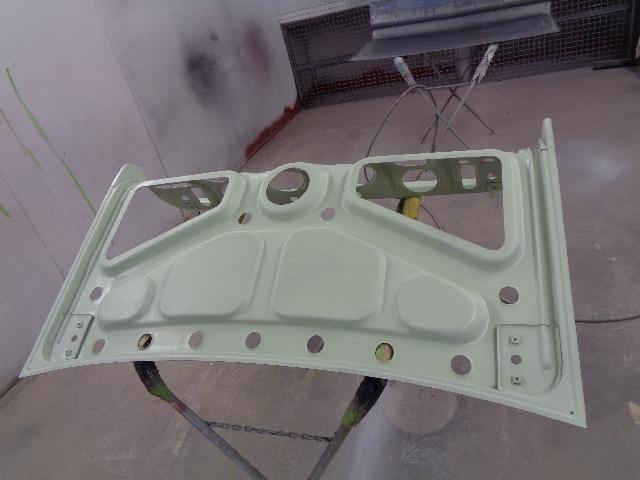
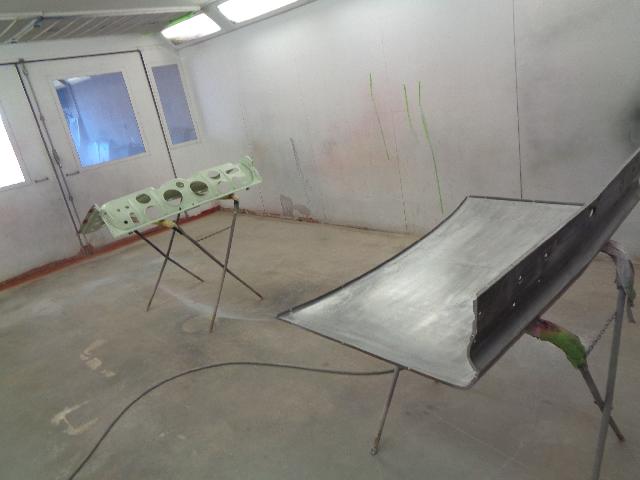
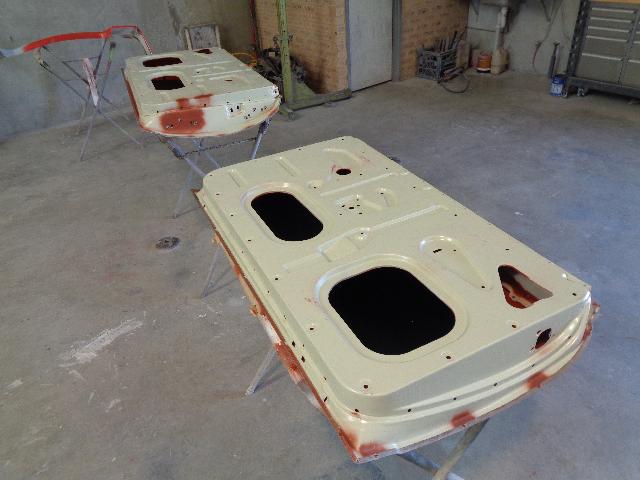
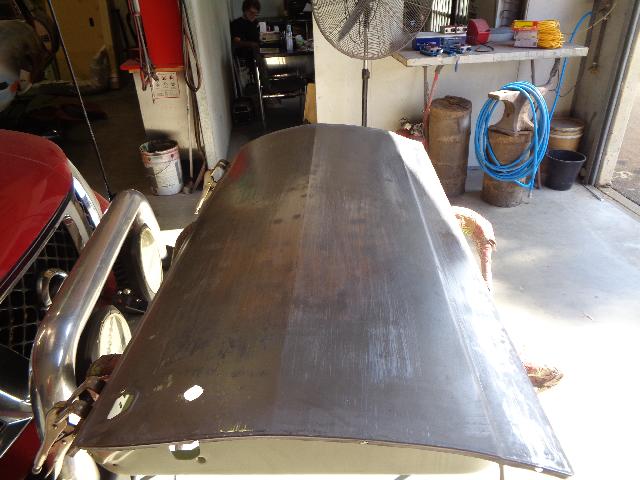
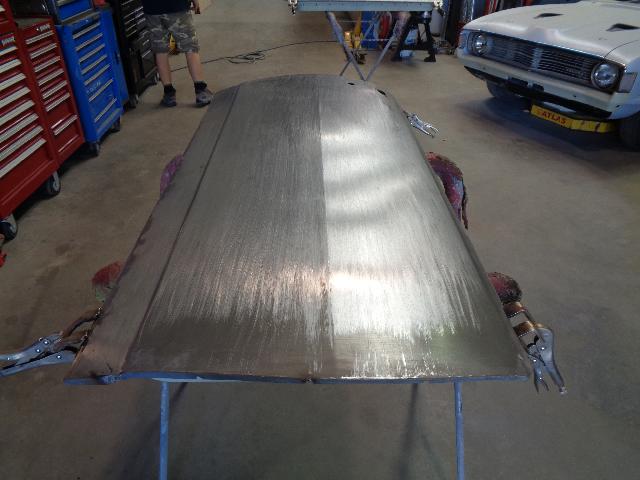
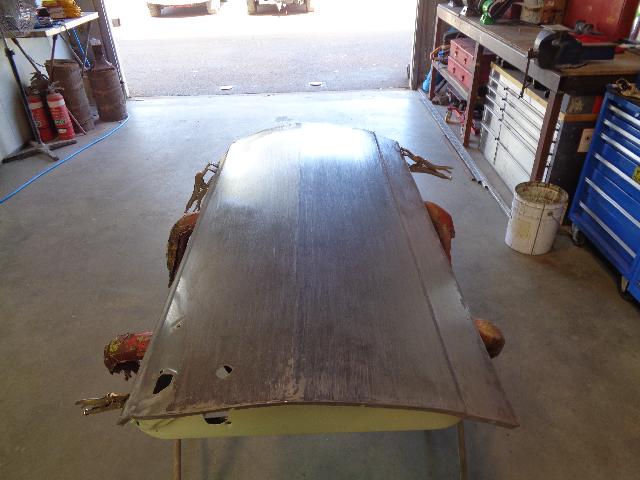
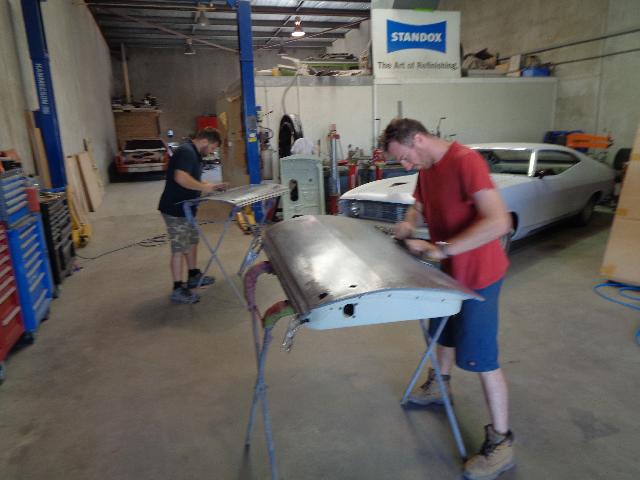
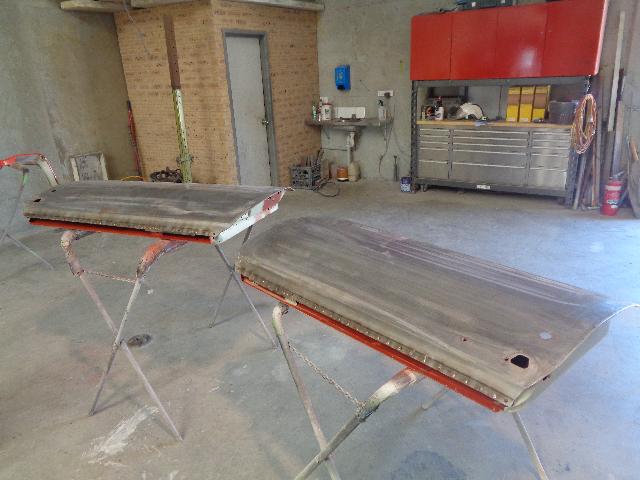
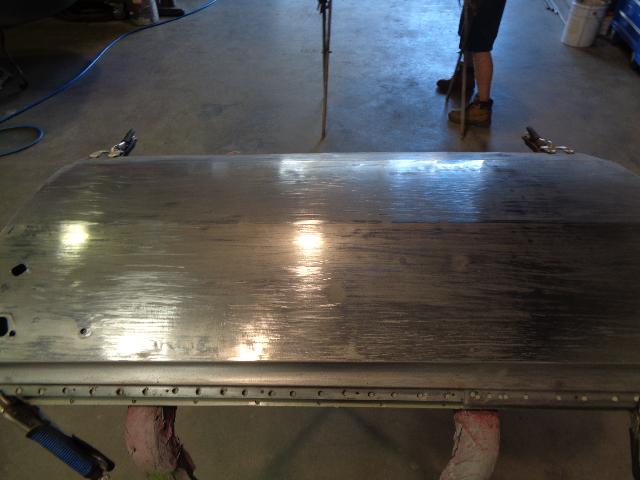
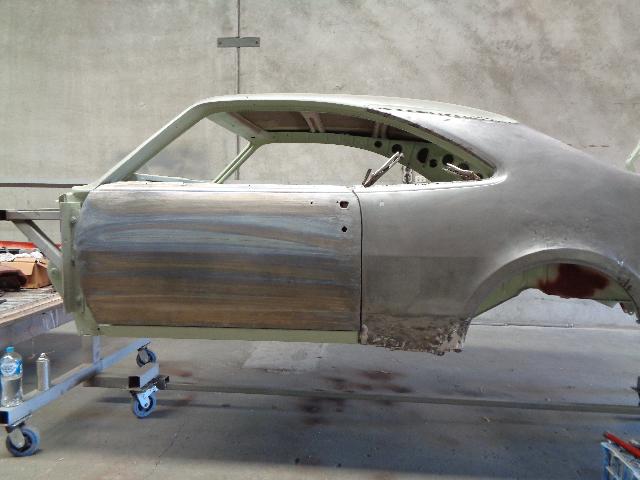
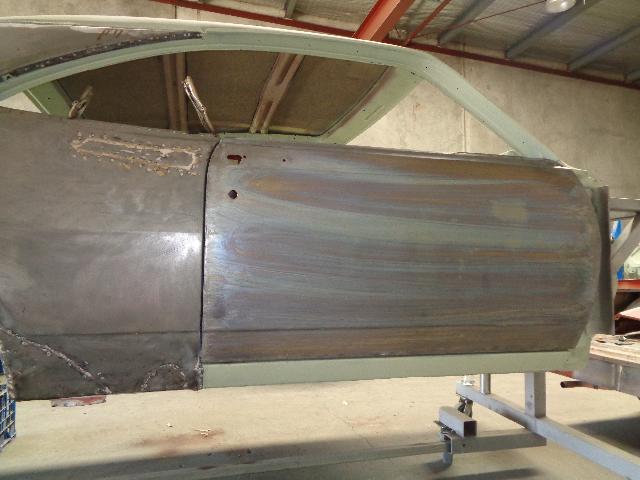
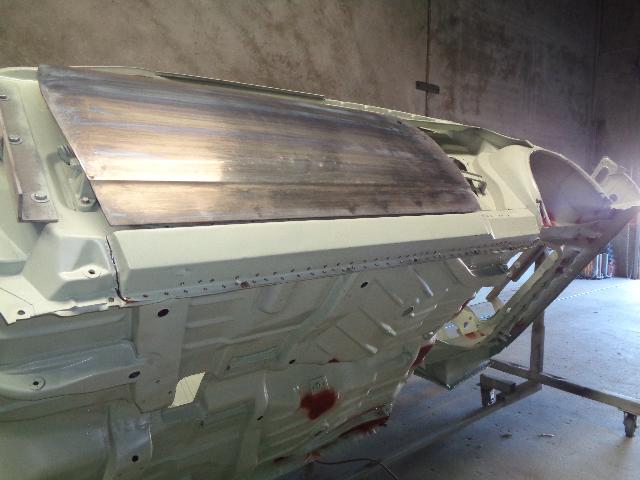
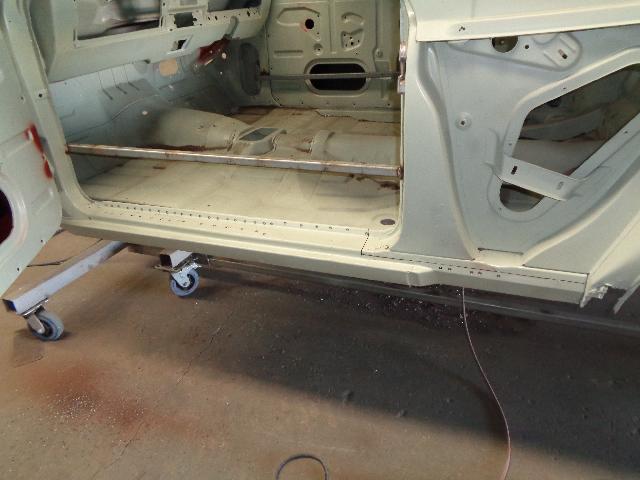
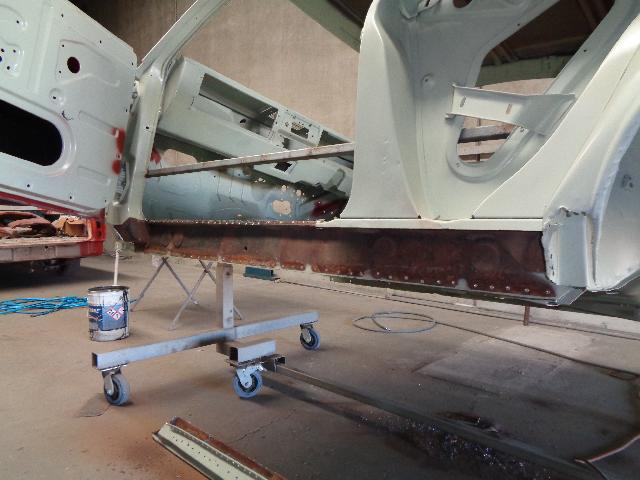
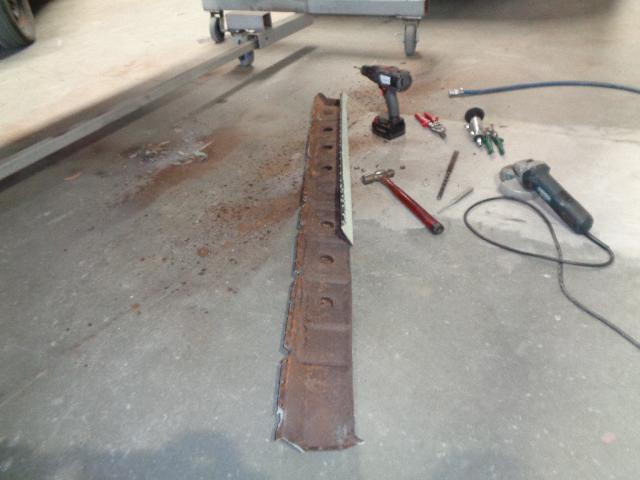
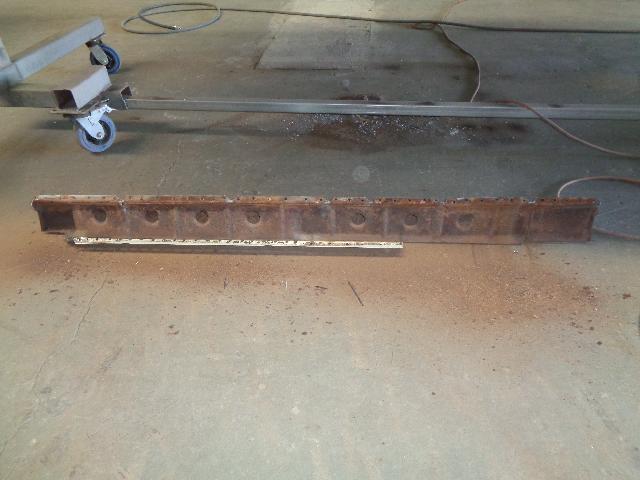
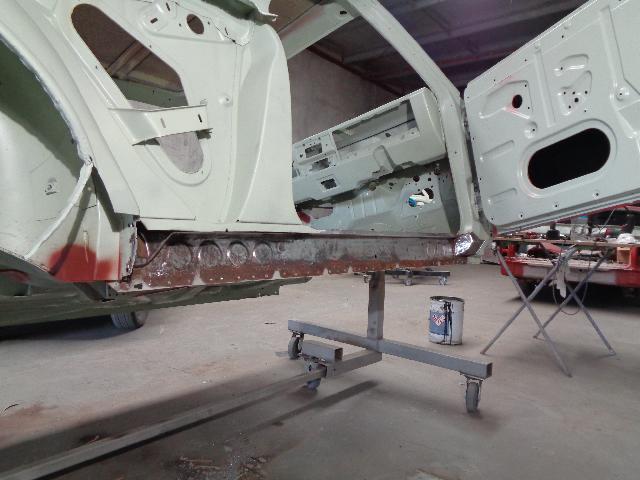
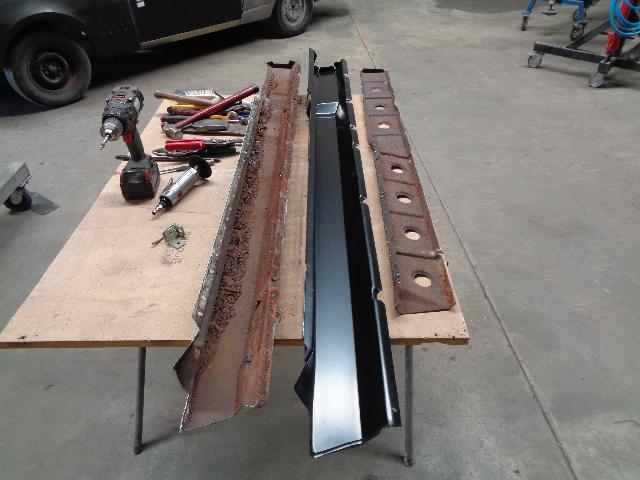
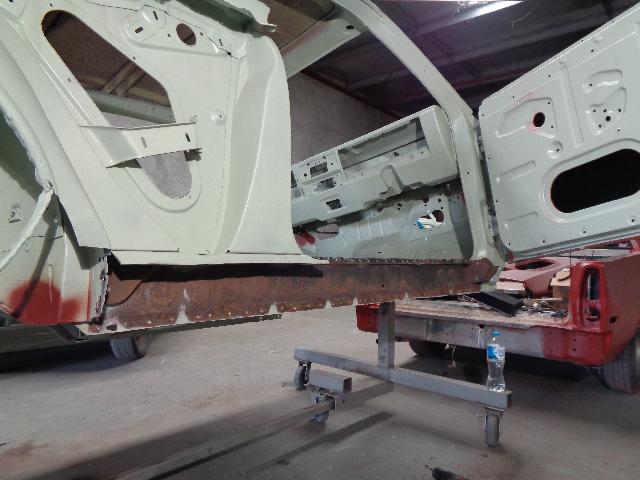
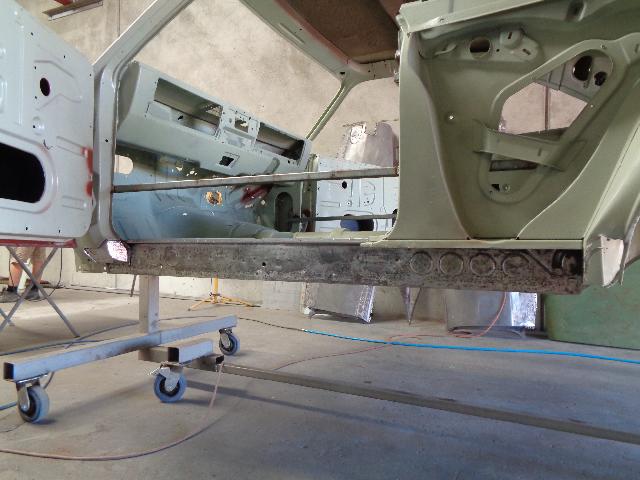
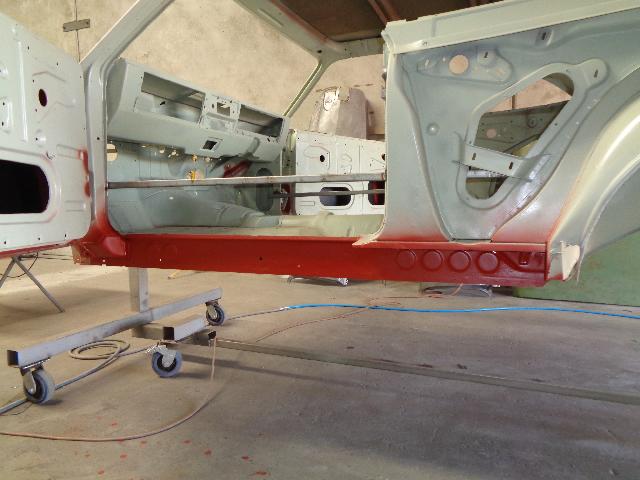
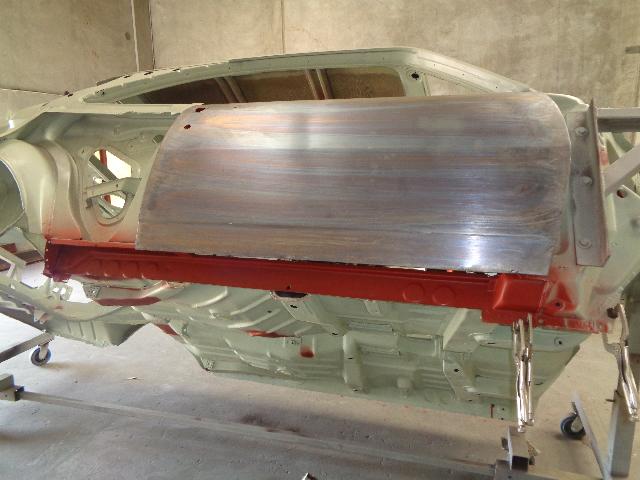
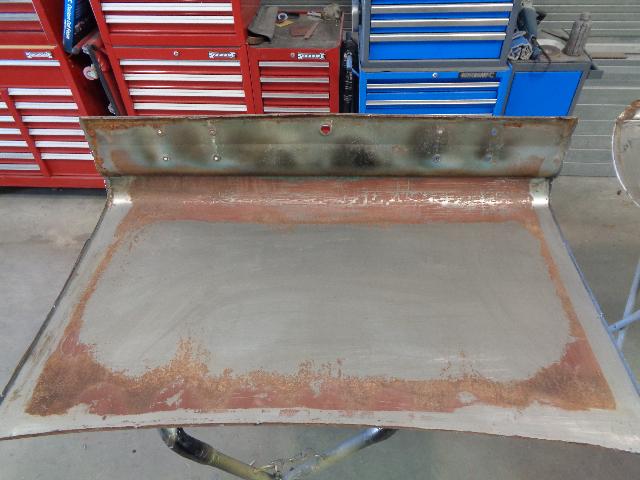
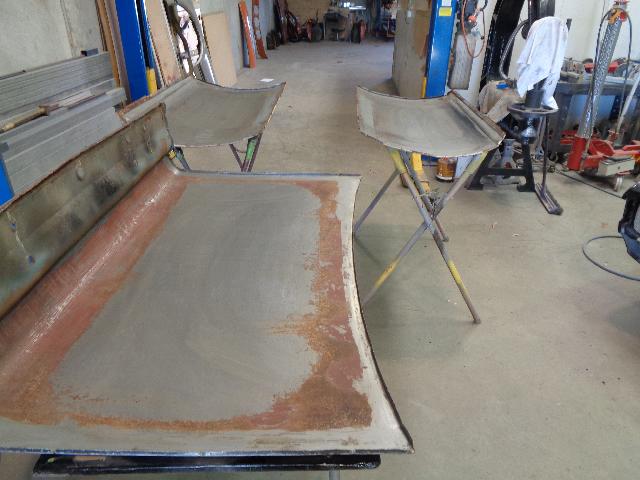
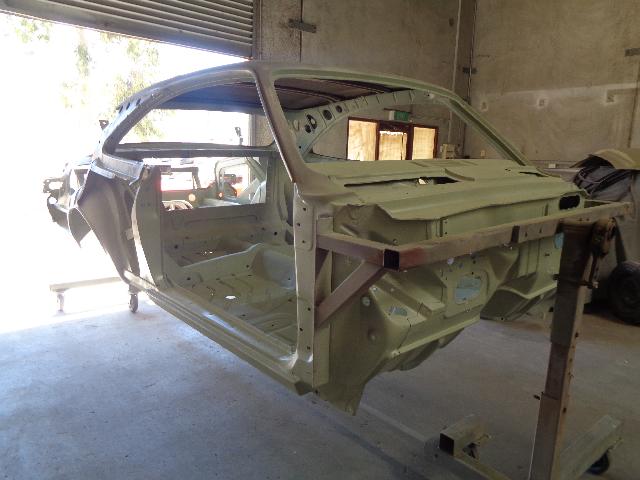
Sill panels floor and inner panels 43 hrs Reshape repro 1/4 sections skirts and rails 14 hrs L/h inner 1/4 trans tunnel r/h inner 1/4 and spare wheel well 39 hrs After a short break for xmas, the guys at The Panel Shop got back into in a big way. First up was the boot. Filled lots of holes where fuel pumps, the battery, and other things had been mounted over the years. One exhaust hanger was damaged, including the floor, so that was sorted out. The hump for the 25 gallon tank was smoothed out a bit (we ended up just repacing this section later). Some fairly heavy pitting had made the firewall a bit unsightly, where the K frame bolts up against the firewall. This was all cut out and replaced. The floor had a few spots that needed attention. A part had torn where there was once an exhaust hanger. That was cleaned up. Also, replacing some metal on the front lower edge of the rear wheel well. Next up was the front end. There was only really a couple tiny holes of rust, but it did have some dents, and surface rust, so anything that wasn't 110% perfect was cut out and replaced. Back in the day, the battery recess had been modified, to create a nice smooth wheel well that matched left to right. I wanted to keep that look, so the guys cleaned this up a bit. A bunch of holes were welded up, and it's now all ready to re-install. Door skins were all very good bar one which needed a corner repair. Door and boot frames were in perfect condition, no surface rust or holes, so we got luck here. Etch primer, was sprayed on, then a sound deadining section added as per fctory. After the doors were file finished, they were reinstalled back on the car and lined up against the original sills, with the rear quarters clamped back on to temporarily check the alingment. Once they were lined up nicely, the door opening was braced, and the original sills removed. After blasting, there was just one small 1.5mm hole on the passenger side, so both sides were removed to check for rust behind them. Luckily we did that, as the inner sill support brace had a lot of surface rust. Deano's Auto Restorations was given the go ahead to manufactuer two new inner supports, and Rare Parts supplied the outer sills. The Rare Spares sills are pretty good, but are missing the original style drain pressing. The guys fixed that up to look right. Labour during this period: 146 hours
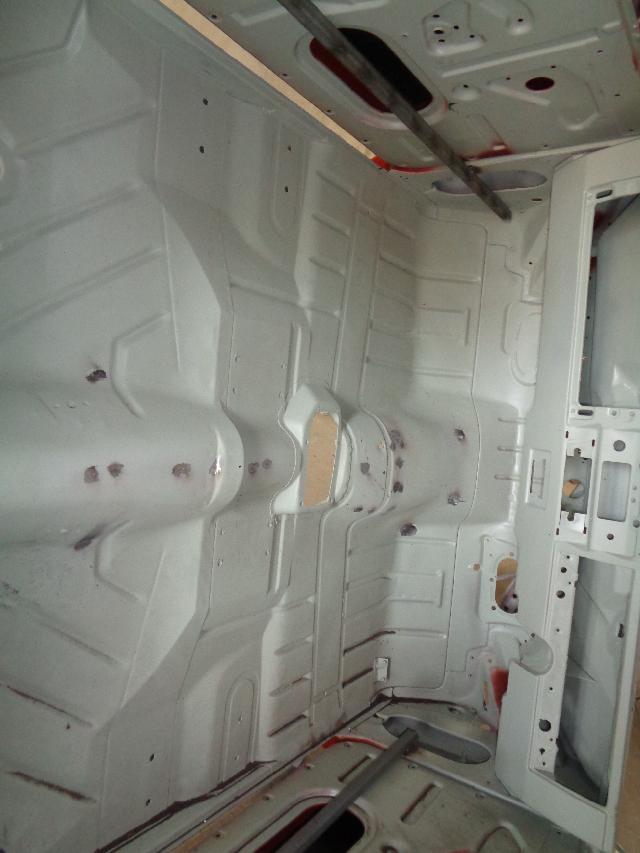
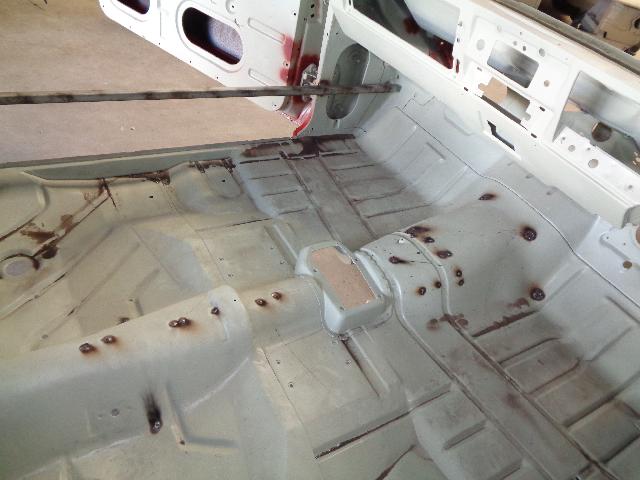
R/h door boot and fire wall 34 hrs L/h door and skirts & rails 13.5 hrs Floor pan 17 hrs 17.00 rod skirts & rails 8 hrs Paint doors & boot skins & frames & proof coat 4 Fit door skins gap doors remove sill panels 33.5 Skirts & rails reshape repro sills and front 1/4 panel sections 36 hrs Lots of cleaning of the inner panels surfaces over the last two weeks. Not fun work, but has to be done I suppose :)
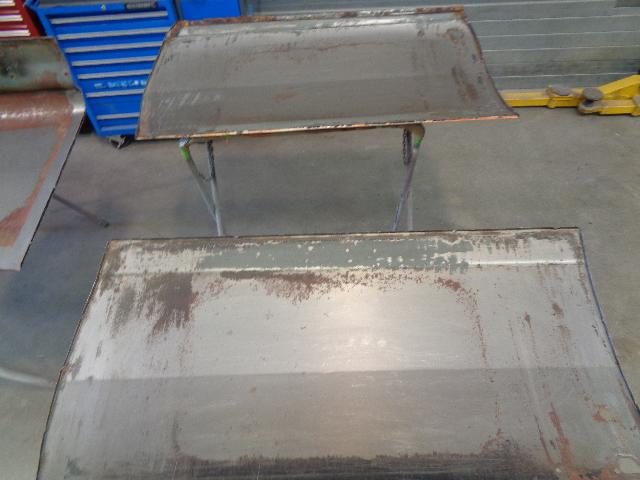
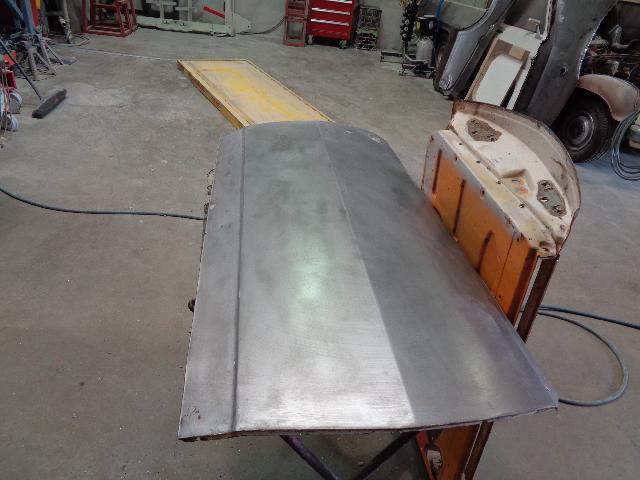
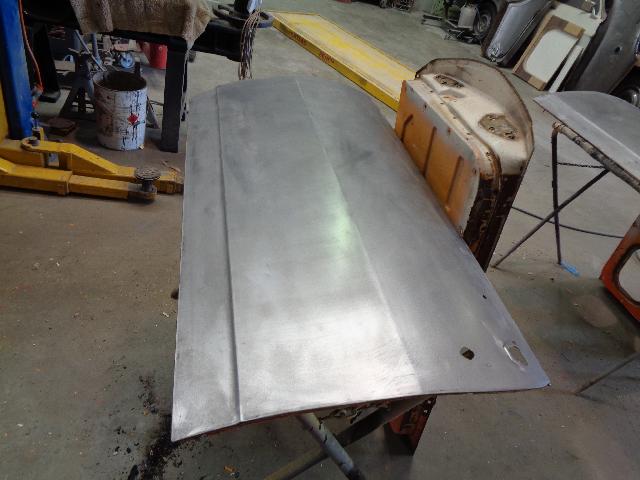
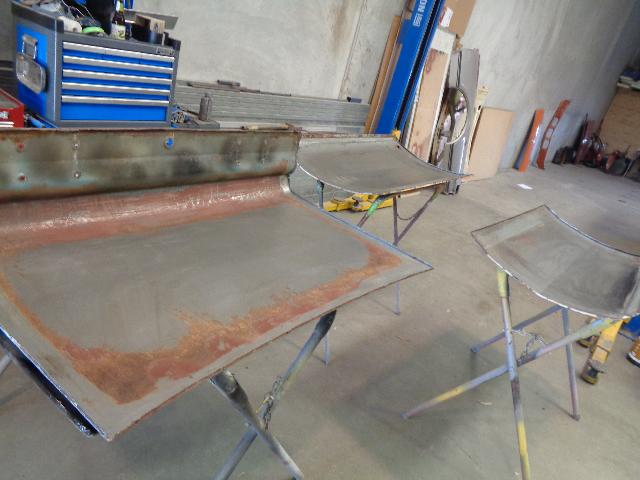
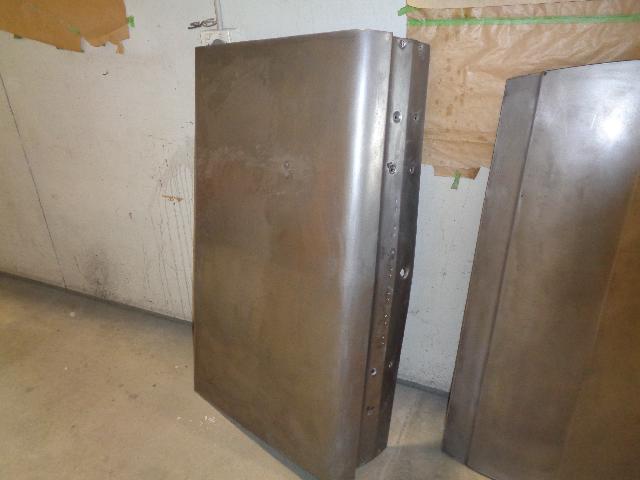
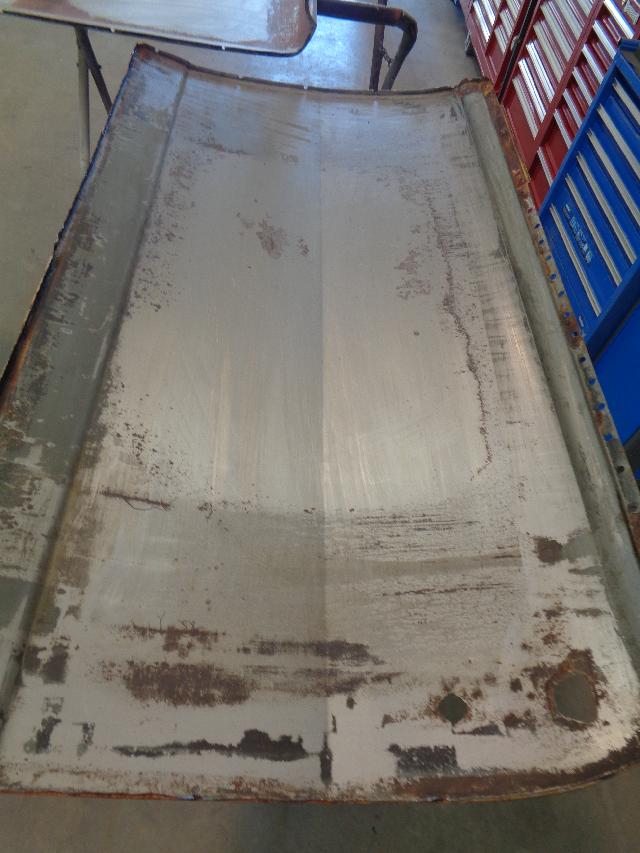
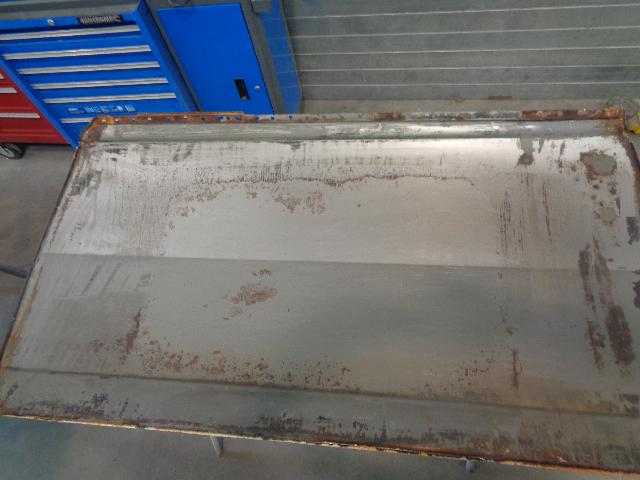
Interior was ordered through Winners Products. Code 10x, which is black. Ordered seat skins, new foam, kick panels, parcel shelf, door trims, interior light assembly, and new reclining seat adjustment knobs. Rare Parts, my local Rare Spares stockist, got a few orders for parts, including new eyebrow moulds, wheel arch moulds, new lock sets, some badges, bonnet release kit, and a number of small bits and pieces. Labour during this period: 13 hours Clean and treat inner panels 13hrs The shell was sent off to be sand blasted. We didn't expect to see it back before xmas, but it was. Thanks guys! The door and boot skins were removed, and cleanup was started. During this time I started working with Leon at A1 High Performance, to organise a new engine.
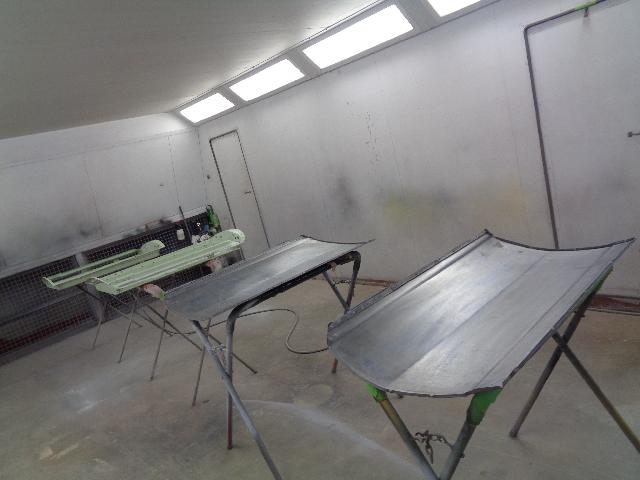
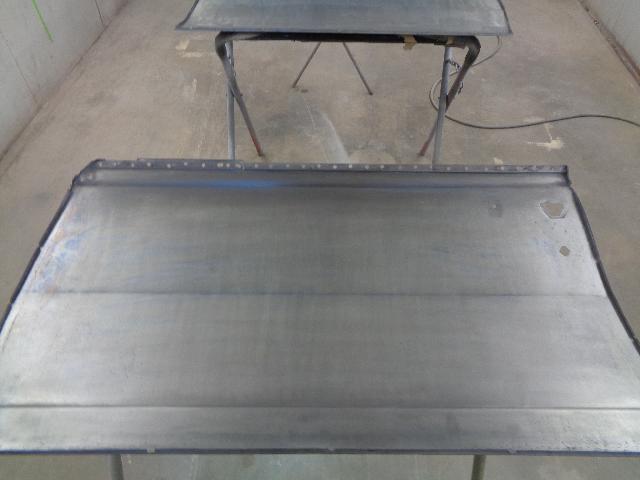
Labour during this period: 12.5 hrs De-skin panels 8.5 hrs Drop panels to blaster 1 hr Strip proof coat off boot and door skins 2 hrs Pick up panels from blaster 1 hr |
HK GTS MonaroFollow the rebuild! Archives
March 2020
Categories |
Proudly powered by Weebly







 RSS Feed